


Using Unwrap UVW to Map
the Left Wing
Now that you have applied the texture to the airplane model, you need to use the Unwrap UVW modifier to assign portions of the texture to specific faces.
 open p47_texture_applied_unadjusted.max.
 click the P-47 object
to select it.
click the P-47 object
to select it.
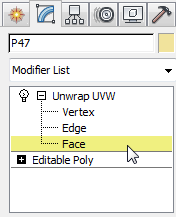
Apply the Unwrap UVW modifier:
 Modify panel. Open the Modifier
List drop-down list, and choose Unwrap UVW. (You can press U to quickly choose this modifier.)
Modify panel. Open the Modifier
List drop-down list, and choose Unwrap UVW. (You can press U to quickly choose this modifier.)
 plus-sign icon to open the Unwrap
UVW hierarchy.
plus-sign icon to open the Unwrap
UVW hierarchy.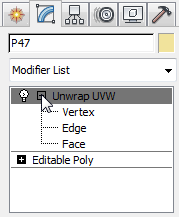
Set up the top of the left wing for mapping:
 (Maximize Viewport Toggle)
to make all four viewports visible.
(Maximize Viewport Toggle)
to make all four viewports visible.
 (Zoom Extents All Selected)
so you can see the whole airplane in the Top, Front, and Left viewports.
(Zoom Extents All Selected)
so you can see the whole airplane in the Top, Front, and Left viewports.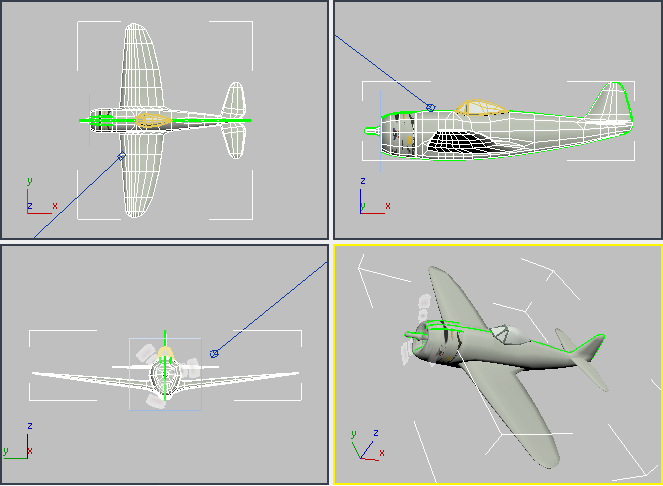
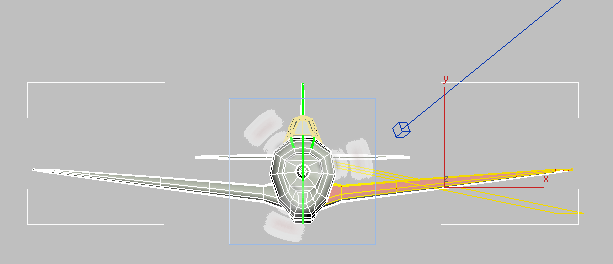
 Crossing state, then in
the Top viewport, drag a selection box to
select all the faces on the top of the left wing.
Crossing state, then in
the Top viewport, drag a selection box to
select all the faces on the top of the left wing.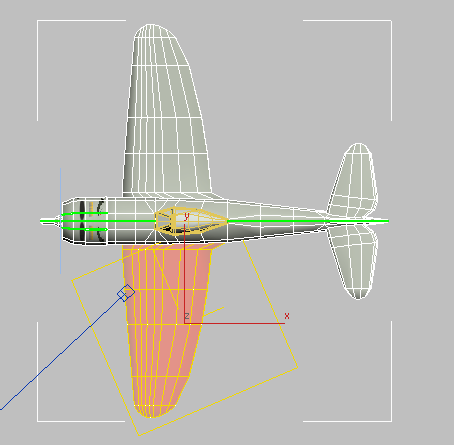
In the Left viewport, Ctrl+click to select the narrow faces along the leading edge of the wing, as well.
maximize the Left viewport
(press Alt+W).
Naming your sub-object selections as you go along can help you select these faces again, if you want to make further adjustments later on.
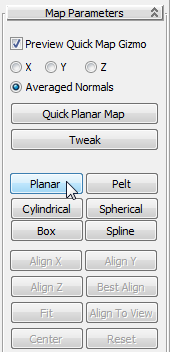
Set up the UVW Map modifier and the Edit UVWs dialog:
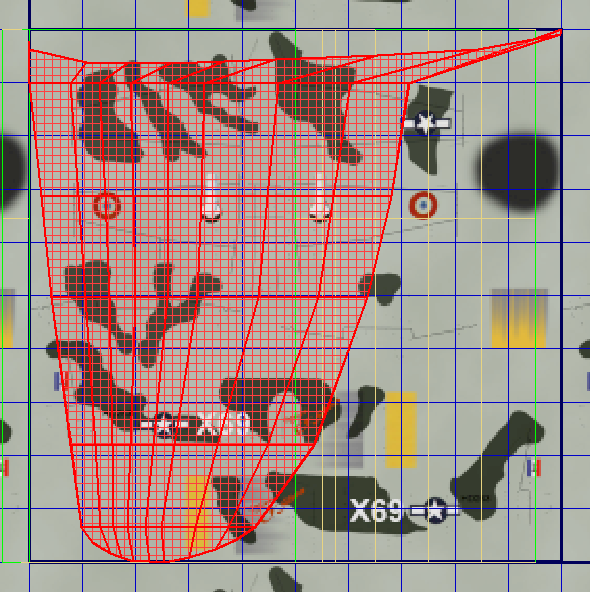
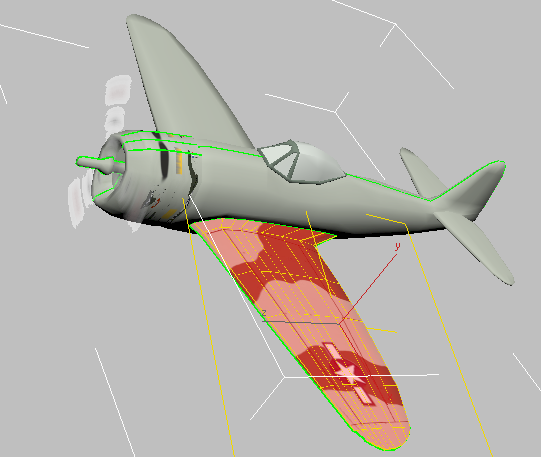
3ds Max applies a planar projection of the texture to the upper surface of the wing, but it still is not the correct mapping.
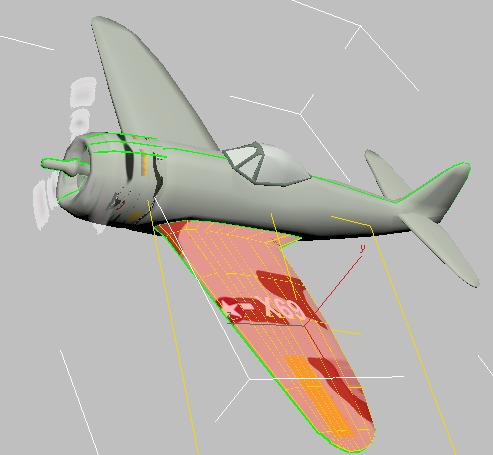

The layout of the pattern changes, but it still needs further adjusting.
The texture projection remains the same, because you have not chosen another method.
3ds Max opens the Edit UVWs dialog.
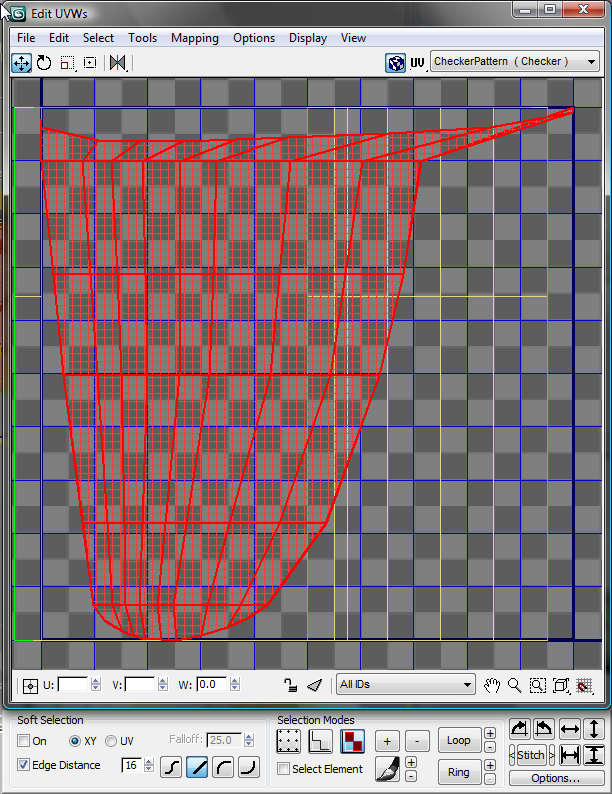
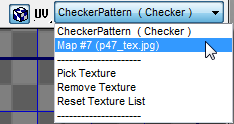
In the main window, the dialog now displays p47_tex.jpg as a background.
3ds Max opens an additional panel with further options.
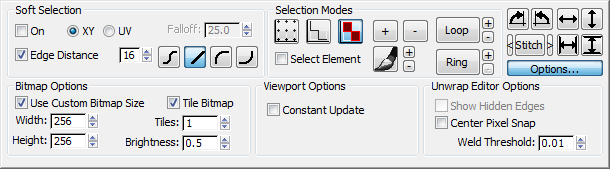
3ds Max brightens the background display, making it easier to read.
 lower toolbar, click
  (Filter Selected Faces)
to turn it on.
(Filter Selected Faces)
to turn it on.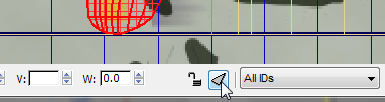
This hides the unselected geometry in the main Edit UVWS window, making it easier to adjust the mapping of the wing.
main toolbar (at the top), click  (Freeform Mode) to make
this tool active.
(Freeform Mode) to make
this tool active.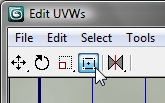
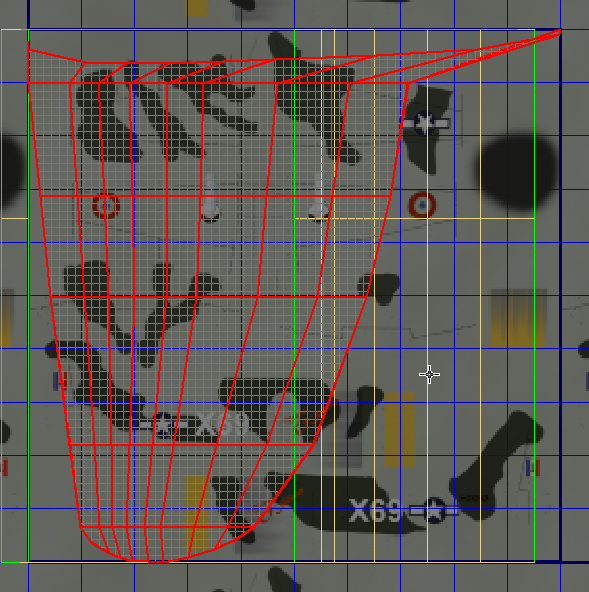
Now you are ready to position the wing faces over the correct portion of the texture map.
In Freeform Mode, the sub-object selection is surrounded by a box. Dragging the center of the box moves the selection; dragging a handle in the middle of a side rotates it; and dragging a handle at a corner scales the selection, relative to the texture you are mapping.
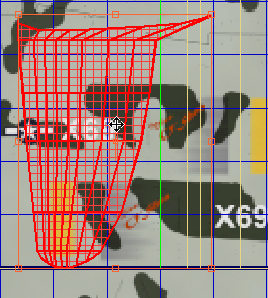
Freeform Mode: Moving a selection

Freeform Mode: Rotating a selection

Freeform Mode: Scaling a selection
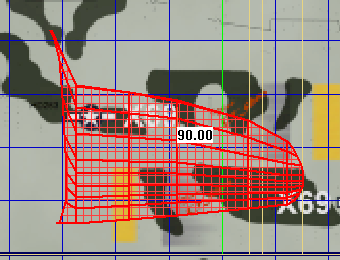

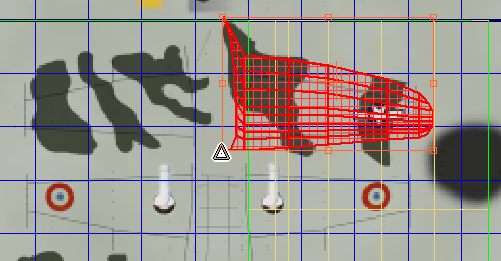
Fortunately, with the camouflage pattern the placement of the wing faces doesn’t have to be precise, but do make sure that the trailing edge of the wing is close to the top of the dark-green swatch that underlies the insignia on top of the wing.
In the Camera01 viewport, you can see that the top of the left wing is now textured correctly.
 (Edit Named Selection Sets),
use the Edit Named Selections dialog to delete the named selection,
then create it again.
(Edit Named Selection Sets),
use the Edit Named Selections dialog to delete the named selection,
then create it again.