


Creating a Material for
the Fuselage, Wings, and Tail
For the main parts of the P-47 Thunderbolt, you will use a single, multipurpose texture map.
 (Open File), navigate to \scenes\materials_and_mapping\unwrap_uvw\ and
open p47_texture_start.max.
(Open File), navigate to \scenes\materials_and_mapping\unwrap_uvw\ and
open p47_texture_start.max.
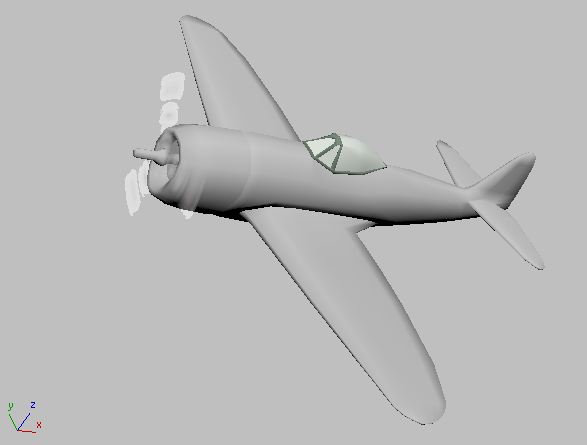
The airplane in this scene is a version of the P-47 model. It includes a shaft for the propellor, and a plane for the propellor itself. Materials have already been applied to the propellor and the cockpit canopy, but the fuselage, wings, and tail are not yet textured.
The scene also includes an environment map for the background.
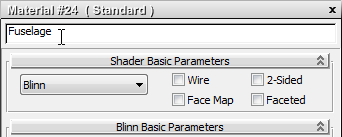
Create a material for the body of the airplane:
 Open the Slate Material
Editor.
Open the Slate Material
Editor.
 Standard Standard).
Bitmap from the pop-up menu.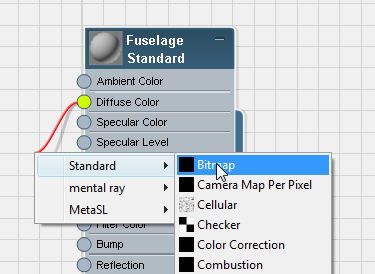
3ds Max adds a bitmap node to the Fuselage material. It adds a controller node as well.
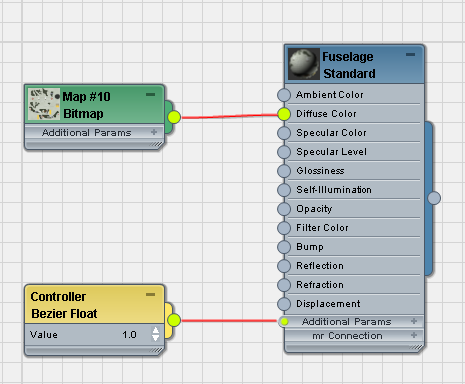
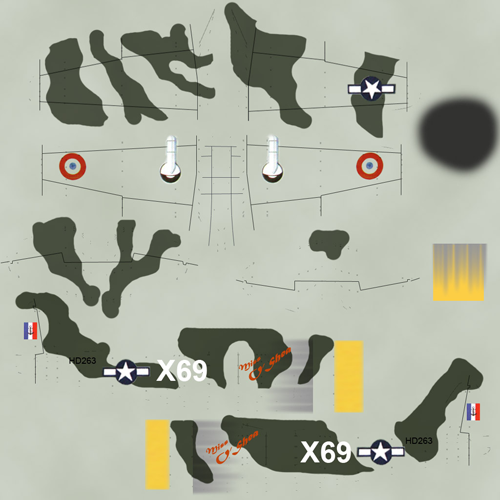
The bitmap p47_tex.jpg is a patchwork of different textures intended for various parts of the airplane. You will need to select faces and assign them to specific portions of the texture.
Apply the material to the airplane:
 (Show Standard Map In Viewport).
 Click the P-47 object, the
main part of the airplane, to select it.
Click the P-47 object, the
main part of the airplane, to select it.
 (Assign Material To Selection).
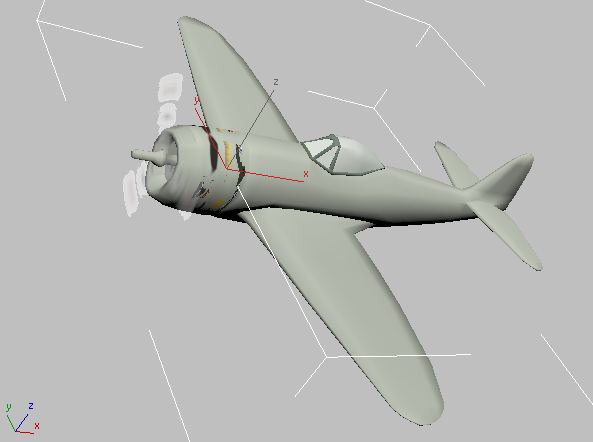
3ds Max applies the material to the body, wings, and tail of the airplane, but there is no sense to the way the texture is mapped. To arrange the various “pieces” of the texture, you will use Unwrap UVW.
 Close the Slate Material
Editor.
Close the Slate Material
Editor.