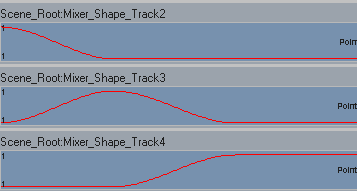
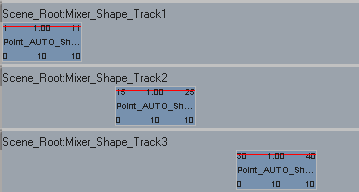
Shape instance modes determine how the shape clips are instantiated when they are added to the animation mixer. This is applicable when you:
Store and apply shape keys (see Storing and Applying Shape Keys)
Create shapes in the shape manager (see Using the Shape Manager)
Apply them after selecting them (see Selecting Target Shapes to Create Shape Keys)
But it is not applicable when you apply (see Applying Shape Keys), load, or drag shape keys from the explorer into the mixer.
Each mode affects how the shape clips are created in the mixer, their length, and their placement on the tracks. For example, in Mixed Weight and Blended Weight modes, shape clips automatically take the full length of the scene.
Once you store and apply a shape, you cannot change the shape key mode for that cluster.
Choose Deform  Shape
Shape  Preferences from the Animate toolbar or File
  Preferences from the main menu.
In the explorer that appears, select Shape Animation or click its icon.
In the Shape Animation Preferences property editor, select one of the five Shape Instancing Mode options:
Mixed Weight Mode is the default, and is compatible with working in the shape manager. It creates shape clips that take up the length of the scene, making it easy for blending.

When you store and apply shape keys in this mode, a Shape Weights custom parameter set is created for the object to help you mix weights easily — see Mixing Shape Weights in a Custom Parameter Set.
Blended Weight Mode is similar to Mixed Weight mode, but is the default for working in the shape manager.
Instance Only Mode creates 10-frame shape clips on separate tracks within a compound shape clip. This makes it easy to resize the clips and blend them.

Instance Only mode creates shape clips that are 10 frames long by default. You can resize them and add transitions or mix weights.
Standard Transition Mode creates shape clips that represent a transition point. Spatial transitions between the shapes are linear.
You can create the same transitions between shape clips manually using the Mix  Standard
  Transition or Cardinal Transition commands in the mixer —see Creating Transitions between Clips [Nonlinear Animation in the Animation Mixer].

Transitions are displayed as purple bars as they interpolate between clips. The shape clips are 0 frames long, which is why they appear a thin bars, with the last frame being extrapolated.
Cardinal Transition Mode creates shape clips that represent a transition point. This mode is the same as Standard except that the spatial transitions between the shapes are Cardinal.
You need at least four shape clips for the curve to be fully Cardinal, but three shape clips will give you a bit of a curve too. The interpolation on any segment is influenced by the four nearest shape clips.
Below on the left, a Standard transition: points follow a linear path between key positions.
Below on the right, a Cardinal transition: points follow a curved path between key positions.
 Except where otherwise noted, this work is licensed under a Creative Commons Attribution-NonCommercial-ShareAlike 3.0 Unported License