The parameters discussed in this section are based on the Fast Subsurface Scattering Phenomena. Although much of the discussion applies when creating any fast subsurface scattering effect.
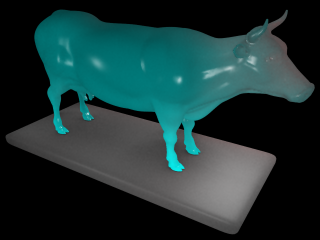
The scattering options for Fast Subsurface Scattering effects control how light is scattered on the shaded object's front and back surfaces.
The front surface is the first surface seen from the render pass camera's point of view. Front scattering is scattering that is directly visible in the rendered image.
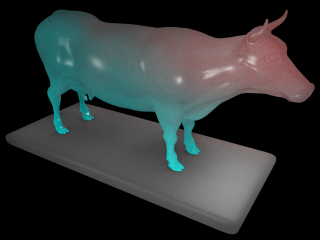
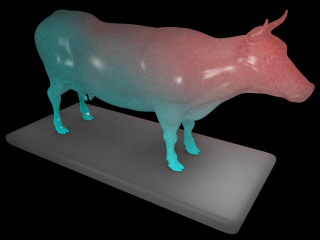
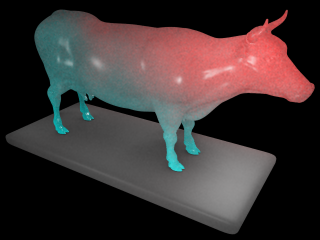
The back surface is the next surface behind the front surface. Back scattering is scattering that becomes visible when the back surface is lit, and the light scatters far enough through the object to be visible on the front surface.
Because the front and back surfaces shift, depending on the position of the camera, the scattering effect is extremely view-dependent. As a rule, scattering on either surface is most visible when that surface is lit directly.
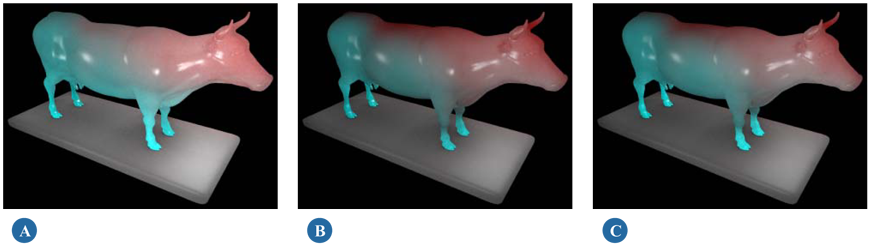
Front scattering is created when light passes just below an object's surface, underneath the diffuse shading, and scatters.
Front scattering is controlled by four parameters:
Color defines the color of the front-scattered light. The brighter the color value, the more intense the front scattering appears.
Weight controls the degree to which front scattering contributes to the overall effect.
Radius controls how far light is scattered along the front surface.
Falloff controls the falloff profile for front-scattered light. Higher values create a sharper falloff and vice-versa.
If the falloff value is set high enough, it may cause the radius to appear shorter. If this is the case, increase the radius to smooth the front scattering.
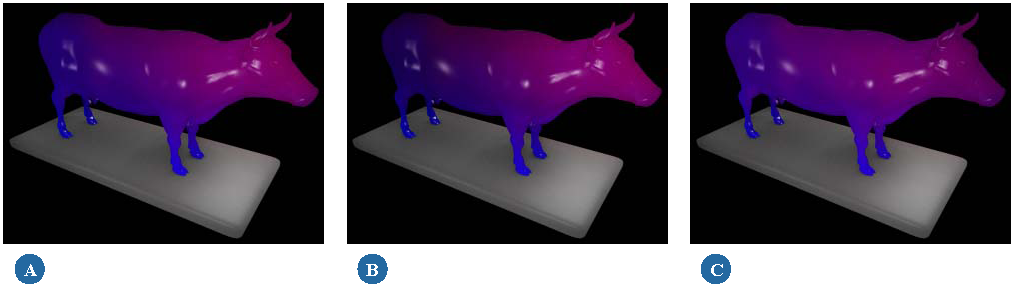
Back scattering is scattering that becomes visible when the shaded object's back surface is lit, and the light scatters deep enough within the object that it becomes visible on the front surface.
Unless a large amount of back scattering, and a very bright back light have been defined, back scattering is generally only visible on the edges, or particularly thin parts of backlit objects.
Back scattering is controlled by four parameters:
Color defines the color of the back-scattered light. The brighter the color value, the more intense the back scattering appears.
Weight controls the degree to which back scattering contributes to the overall effect.
Radius controls how far light is scattered along the back surface.
Depth controls how deeply light scatters within the object. The higher the value, the more likely it is that back scattering will be visible from the camera's point of view.
The Bias parameter allows you to adjust the subsurface scattering effect to favor either forward scattering or backward scattering, depending on whether the bias value is positive or negative.
Forward scattering means that more light from the back surface will scatter forwards. Positive Bias values favor forward scattering.
Backward scattering means that more light from the front surface will scatter backwards. Negative Bias values favor backward scattering.
Typically, small values (in the -0.1 to 0.1 range) are used to subtly nudge the final scattering effect in one direction or another.
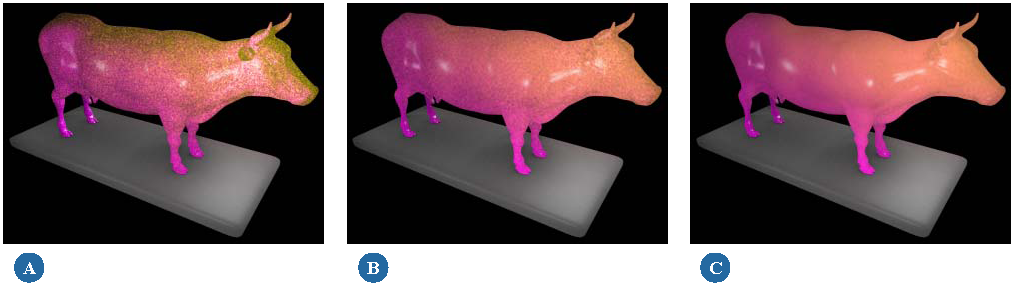
The Lightmap Samples parameter controls the number of times the lightmap is sampled for each rendered ray. This helps to smooth the scattering effect when speckling artifacts appear.
For subtle scattering, this value need not be particularly high (128 or lower), but for intense back scattering, you may need to increase the value quite a bit. Increasing the number of samples does increase render times, although you shouldn't see much of an impact until you start using relatively high values (1024 or greater). For best results, increase the number of samples by powers of two (32, 64, 128, 256, and so on).
 Except where otherwise noted, this work is licensed under a Creative Commons Attribution-NonCommercial-ShareAlike 3.0 Unported License