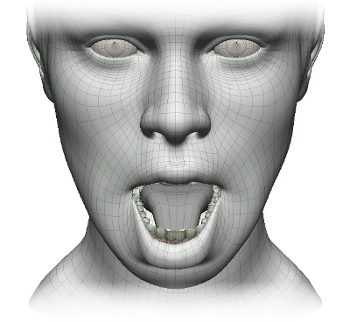
If you don't have a tongue mesh included in your head model, you can use the Build Tongue options to import, fit, and solve a tongue. Being able to import and solve a tongue is especially useful when you have an older complete head model that doesn't have a tongue. Once the tongue has been fitted and solved, it's fully functional and ready to be used for things such as lip-sync animation.
If you do have a tongue in your head model but don't need it, such as when exporting the head to a game or another 3D software, you can use the Build Tongue options to remove the tongue mesh and its controls completely.
On the Face > Tools tab on the Tune panel, select Build Tongue.
In the Tongue Setup property editor that appears, do either of the following to select a tongue:
Click the Import Tongue button to have Face Robot automatically select a tongue in the scene.
Select a tongue object in your scene and click the Set to Selected button.
The name of the tongue appears in the Tongue Mesh text box.
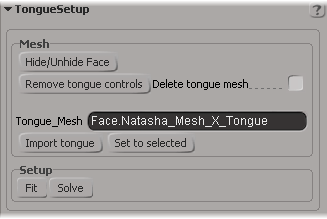
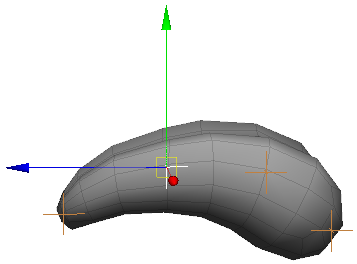
Click the Setup  Fit button to create four markers (nulls) on the tongue. You can then move these markers to fit inside the tongue mesh as is
done on the Stage 4: Fit panel.
Fit button to create four markers (nulls) on the tongue. You can then move these markers to fit inside the tongue mesh as is
done on the Stage 4: Fit panel.
Click the Hide/Unhide Face button to hide the head so that you can see and adjust the tongue.
When the tongue is fitted, click the Setup Solve button to process the tongue as is done when you click the Solve button on the Fit panel — see Fitting the Face.
 Except where otherwise noted, this work is licensed under a Creative Commons Attribution-NonCommercial-ShareAlike 3.0 Unported License


