It's time to fine-tune the placement of the controls and curves that were created as a result of the solving process. At this stage, you can adjust and fit the controls for specialized parts of the face that include the eyes, the jaw curves, the jaw bone, the neck spine, and the tongue.
If you accurately picked the landmark points in Stage 3: Landmarks, you shouldn't need to adjust these controls very much - just do a bit of tweaking to make everything perfect.
|
|
Select the element you want to adjust from the Adjust list.
The appropriate elements on the Display list are selected automatically. These are the element controls that you want to display on the face for each adjustment area.
You can also select more items from the Display list, or deselect others, as you like by toggling them.

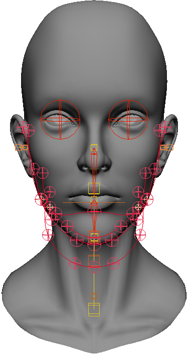
Select and move the controls on the curves until they accurately fit the face and head. See the following sections for information about each area:
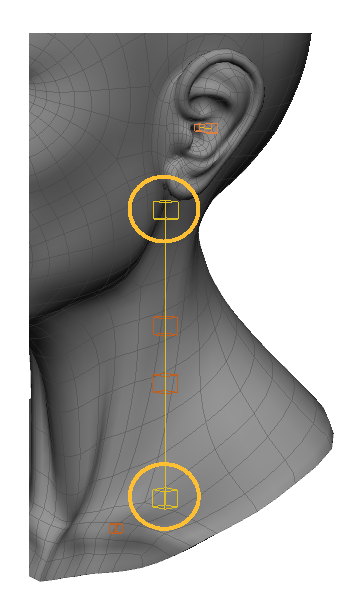
Select the Type of animation that you will be using for the facial animation: Keyframe or Motion Capture. This optimizes the solver for the particular type of animation in terms of how the neck is built:
Click the Solve button when you're done fitting.

Face Robot computes the shape of a human face model based on the position of the controls and a set of soft tissue parameters. This algorithm processes the skull geometry and the soft tissue model to generate an animation control setup for the head.
The calculations required for this process take a few minutes.
When the solving algorithm is complete, you should test out the head's movements to make sure that the face deforms the way it should.
For example, if your character's mouth remains sealed when trying to open it, it's usually caused by the solver not having a good enough sense of the facial construction of your model.
If you go back to your Fit scene (pre-solved), you will notice two ear clusters have been created on the mesh (LEarCluster and REarCluster). Each cluster should accurately contain all the points of their respective ear. This tells you Face Robot is building an accurate representation of your head for solving. If the correct points are not selected, simply add or remove points to the clusters until the proper area is selected. Do this for both ear clusters and resolve your head. The mouth should now behave properly when opening.
After you've tested the head's movements, and you're happy with the solved results, go to the next stage: Stage 5: Act.
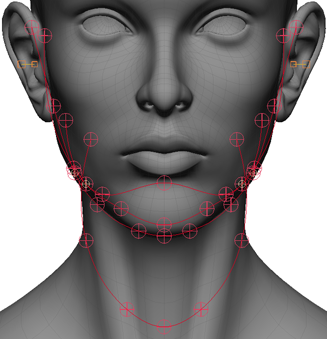
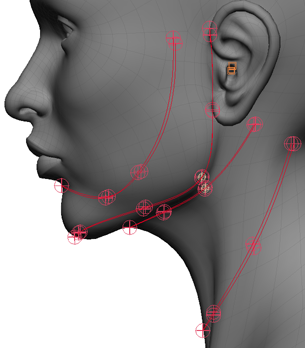
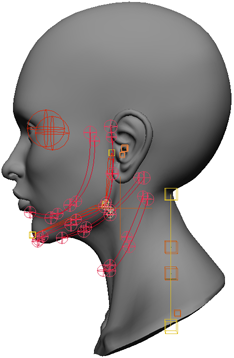
You need to adjust the controls on the face to make the curves fit the face's jaw contour as closely as possible.
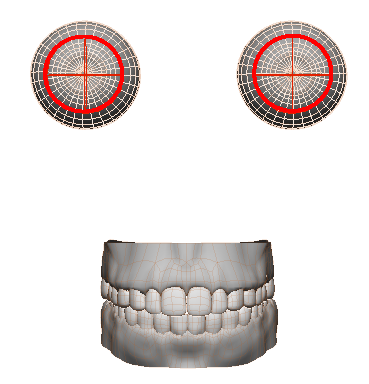
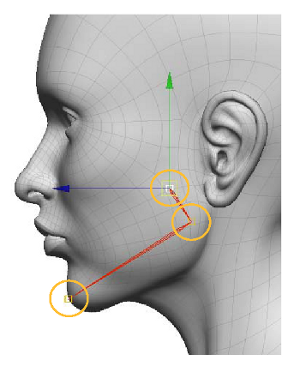
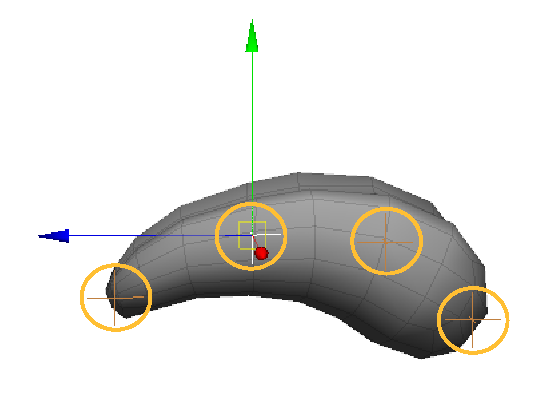
Select Tongue in the Adjust list to see these controls displayed.
Select and move the orange nulls so that they fit inside the mesh for the four parts of the tongue: the tip, the front, the back, and the base.
If you're doing lip-synching, it's important to have these controls placed as accurately as possible. The tongue tip is crucial to certain making phonemes (language sounds) look correct, such as for "L" and "TH".
 Except where otherwise noted, this work is licensed under a Creative Commons Attribution-NonCommercial-ShareAlike 3.0 Unported License