The Render Manager > mental ray (Global Renderer)
The Render Manager > (expand a pass) > mental ray
Set the current pass and choose Render > Render > Renderer Options from the Render toolbar.
Tab: Rendering [Properties Reference]
Options: Aliasing (Raytracing & Scanline Only)
The mental ray renderer provides three different algorithms you can use to render motion blur.
Select a rendering algorithm to use when rendering motion blur from the Primary Rays  Type options:
Raytracing correctly blurs attributes applied to moving objects, such as highlights, textures, shadows, and reflections as well as refractions, transparency, and intersecting objects.
Scanline is much faster than raytracing motion blur, but it cannot handle reflections and refractions (and shadows must be approximated with shadow maps). However, motion blur of highlights, textures, transparency, and intersecting objects still work with scanline rendering.
Rasterizer accelerates motion blur rendering in large and complex scenes with a lot of motion blur. Using this algorithm requires that you set additional parameters that are described in The Rasterizer.
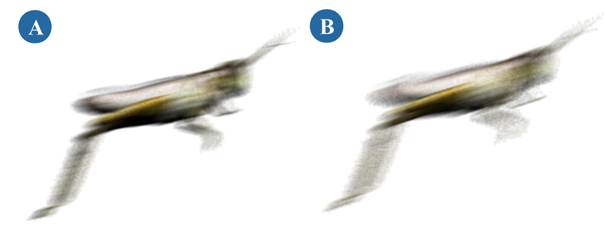
Although the differences between raytraced motion blur and scanline motion blur are subtle, they are visible.
| A |
Raytracing motion blur is clearer and more accurate. |
| B |
The scanline motion blur renders more quickly but cannot calculate reflections and refraction on a moving object. |
Antialiasing and Moti on Sampling
Options: Sampling Contrast [Properties Reference]
You can use antialiasing techniques on motion blurred objects to heighten the level of realism. When you apply antialiasing to an object that has a blur on it, the antialiasing level determines whether more subdivisions of the pixel are needed during sampling.
Use Min Level and Max Level options only to set a hard sampling limit, and then you can further improve the motion blur effect by adding Motion Samples for every color sample taken.
For more information on antialiasing, see Controlling Aliasing and Antialiasing, Sampling, and Filtering Tips & Tricks [Rendering].
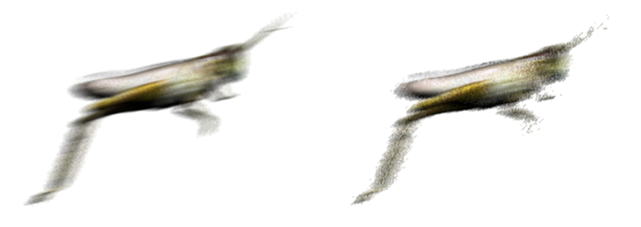
Both of these images have the same animation and motion blur. The image on the left uses a low number of Motion Samples, whereas the image on the right uses a higher value. Notice how the image with a higher sampling value has more contrast and detail than the image with low sampling.
Transform Motion Steps for Ro tational Blur
Options: Enabled Features [Properties Reference]
If your scene contains rotating objects that require improved motion blur results, increase the Motion Steps Transform value to control the interpolation between an object's motion data during the shutter interval.
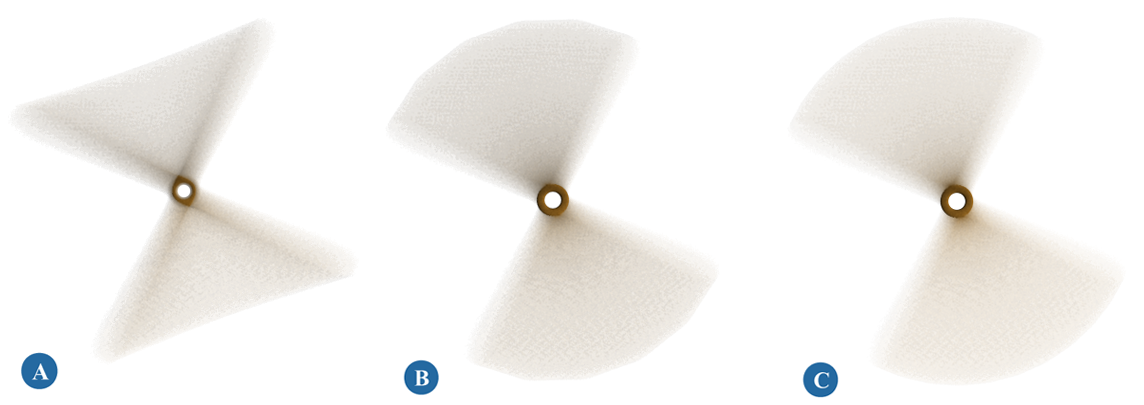
When this value is set to 1, motion blur is calculated based on a single linear interpolation between the two values. This may not be adequate for objects that are rotating about an axis (propellers, for example). Increasing the interpolation value adds extra steps between the two points, and interpolates linearly between successive steps. This improves the blurred result considerably for rotating objects.
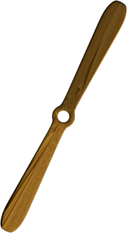
The images below show the propeller in mid rotation with motion blur activated. Increasing the Transform Motion Steps makes the rotational blur more accurate.
Deformation Motion Steps for Deformation Blur
Options: Enabled Features [Properties Reference]
Enable Motion Steps Deformation if you want shape changes to be considered in the motion blurred results. This option should only be activated when objects
in the scene change shape quickly enough to cause a motion blur. Deformation motion blur is computed for each animated vertex.
This greatly increases rendering time.
If your scene contains animated deformations that require improved motion blur results, increase the Deformation steps value. Deformation motion blur is calculated based on a curvilinear interpolation between an object's motion data at the beginning and end of the shutter interval. Increasing the interpolation value adds extra steps between these two points, and creates curved motion between each successive interpolation step. The interpolation steps are placed randomly (using the Quasi-Monte Carlo method) along the object's motion data.
For information on how to optimize rendering with deformation motion blur, see Local Deformation Motion Blur.
 Except where otherwise noted, this work is licensed under a Creative Commons Attribution-NonCommercial-ShareAlike 3.0 Unported License