The Paint Tools let you apply digital paint to your models in Mudbox.
Along with PTEX painting, two basic paint modes are available in Mudbox:
Using these two paint modes in combination with the tool properties and other bitmap images provides the possibility for an unlimited variety of brush tips.
In this lesson, you’ll learn the basics of both techniques to apply paint to the sphere. (For more information on PTEX painting, see PTEX painting overview.)

The Create New Paint Layer window appears before any paint is applied, because you need at least one paint layer to paint on a model. The paint layer stores your paint as a bitmap image.

For more information on paint layer options see Create a new paint layer. (The default layer settings are sufficient for this lesson.)
Mudbox creates a paint layer called Paint Layer 1 and you can now paint on the model.
Note that the Layers window automatically switches to display the Paint Layers window.

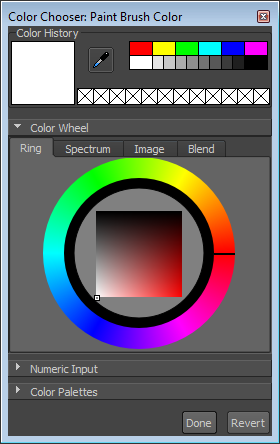
The default paint color is white.

The Color Chooser window appears.


 from Paint Tools tray, then stroke across paint on the model.
You can also press Ctrl + Z immediately after painting to undo a stroke.
You can load images or textures into the 3D View and project a portion or all of an image onto a model.


Mudbox loads the grass image as a stencil at the center of the 3D View. If the grass image fills the entire 3D View, press the S key while right-dragging to scale the stencil smaller. For more information, see Move rotate or scale a stencil.

The grass stencil disappears as you stroke and paint is projected onto the model based on the stencil image. The stencil reappears after each stroke.


 Previous lesson Sculpt using layers and stencils Previous lesson Sculpt using layers and stencils
|
Next lesson Save your work 
|
 Except where otherwise noted, this work is licensed under a Creative Commons Attribution-NonCommercial-ShareAlike 3.0 Unported License