To create an animated path, you must first create the curve that is used to derive the animation.
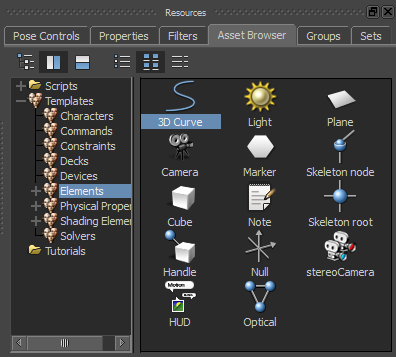
Asset browser showing the 3D Curve is selected
The cursor becomes a cross hair.
The keyboard shortcuts to add vertices, cancel your action, or finalize your 3D curve are displayed at the bottom of the Viewer window.

Viewer window displaying cursor and keyboard shortcuts for 3D Curve
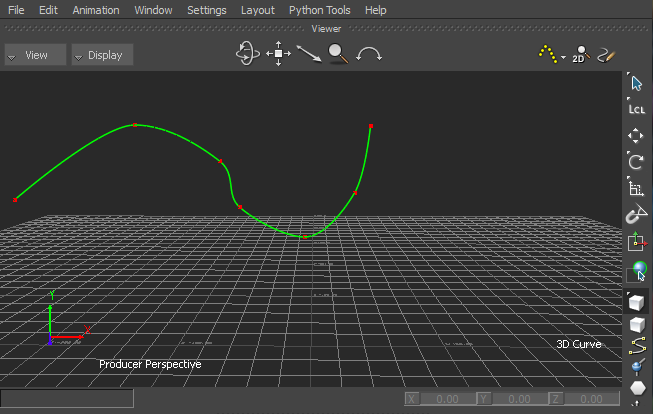
A green line connects each vertex represented by a red point.
Creating a 3D Curve
(Optional) Use the middle-mouse button or scroll wheel to add a vertex between the points.
(Optional) Click the right mouse button to add a vertex at the start point.
The green line represents the 3D curve. It also shows the 3D Curve is selected.
To edit a 3D Curve or create an animated path using a 3D Curve, see:
 Except where otherwise noted, this work is licensed under a Creative Commons Attribution-NonCommercial-ShareAlike 3.0 Unported License


