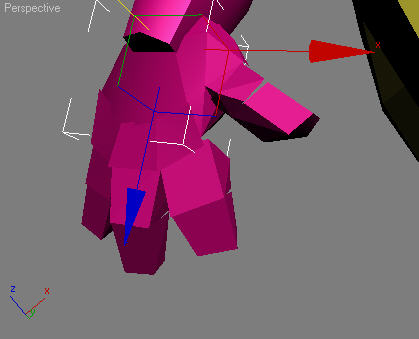
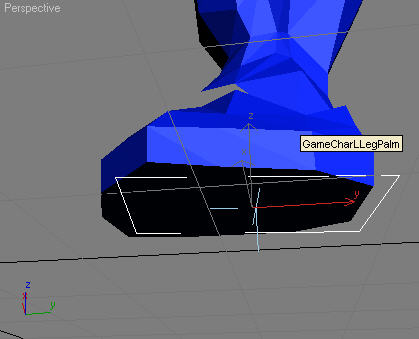
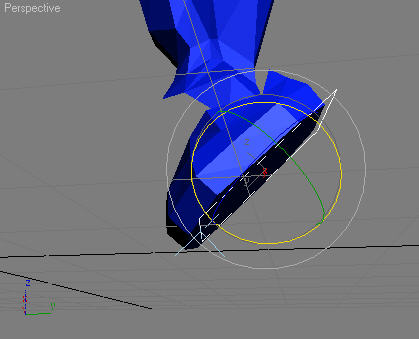
The F/IK system in 3ds Max CAT lets you simply push your character into the pose you want without having to worry about the too much about IK and FK. Most of the control you'd normally associate with IK is also present in FK as well and vice-versa.
When working with the rig you will find you can achieve a great deal with the Move tool. Rotation is possible, of course, but often is not necessary.
The FK/IK system comprises three main features: effect hierarchy, FK-driven IK, and retargeting. These are complemented by 3ds Max CAT's procedural spine, digit controls, and foot-pivot system.
One of the features of the CATRig is that if you move a bone in the hierarchy (regardless of whether you are in IK or FK), the bones on either side rotate to accommodate the move. This is system allows you to just manipulate the rig quickly and intuitively. This system is called Effect Hierarchy. Following are three examples of this.
Moving the elbow (forearm) back bends the arm.

Arm position before edit

Arm position after moving forearm
Moving finger parts is likewise intuitive.

Outstretched fingers

Moving the middle digit bends up the finger.
CATRigs have two types of spines, procedural and FK, both of which you can work with in much the same way. The main difference is that FK spines have PRS controllers on every spine bone, which means you can transform them individually. Be aware that FK spines have limitations as well.
Spines interpolate between the hubs at their extremities, so all you have to do is transform the hubs as you want.

Original pose: Select the ribcage.

As you move the ribcage, the spine interpolates with it.
While FK spines let you animate each spine bone individually, they have limitations:
Last, FK spines require you to manage many more keyframes. Unless you really need the extra control, it is strongly recommended that you use a procedural spine.
Sometimes you want to adjust the pelvis (parent hub) without affecting the ribcage (child hub). For this purpose 3ds Max CAT has a feature called Pin Bone, which lets you manipulate the pelvis without affecting the ribcage.

Pelvis selected

As the pelvis is transformed, the ribcage remains stationary.
While you can transform fingers (digits) directly, you might prefer to use the Digit Manager instead. Its controls give you the ability to edit selected fingers’ spread, bend, roll, and curl. Digit Manager also has a built-in digit-pose preset manager.

Select the palm.

In the Digit Manager, highlight the digits to edit.

Drag the Curl spinner and the fingers curl in.
In the Foot Pivot system, the Foot Pivot is a sub-object of the FootPlatform (the IK target for the foot). You simply position it as required and then rotate the foot. It is completely animatable.

Select the Footplatform. When you select it you can already see the Foot Pivot.

Move the pivot to the front of the FootPlatform.

When you rotate the FootPlatform it now rotates from the toe.
As you continue to animate the Foot pivot is simply animated into position as required.
When you right-click a selected hub in Animate mode, you’ll find the Pin Bone command on the Tools 2 quadrant. When this control is on, you can, for example, edit the base hub (such as the pelvis), without affecting the position and rotation of the tip hub (such as the ribcage). See Pin Hub.
To manipulate a tail, select several bones in the tail and rotate. All the bones rotate together to cause the tail to curl nicely.

Multiple tail links selected

When rotated up the tail curls smoothly
Typically, you rotate a collarbone rather than moving it. Also, it’s best not to twist the collarbone.
An easy way to edit the collarbone rotation is to select the upper arm or shoulder bone and move it. When you move the upper arm bone, the collarbone will be rotated according to your movements. Alternatively, select the collarbone directly and use the Move, Rotate, and Scale tools.
