


Importing DPX File Sequences
for Data Conform
The following workflow is designed specifically to accommodate importing or soft-importing DPX sequences generated from a film scanner. This allows you to import DPX sequences originating from different film reels in a single step. You can efficiently batch-capture file-based media in preparation for data conform from an EDL. The imported clips all have the correct source keycode, timecode, and tape name, making it easy to load your EDL and assemble the timeline for conforming and finishing.
To import DPX file sequences for data conform:
Typically, all DPX sequences generated by a film scanner reside in a top-level <project> directory, sorted into subdirectories corresponding to tape name, resolution, and sometimes clip name, as follows: ./<project>/<tape>/<resolution>/*.######.dpx
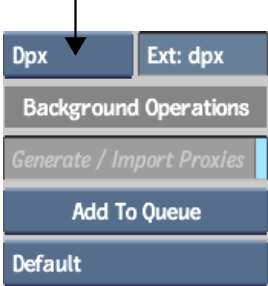
You can select any single, supported image type. The default type for image files is DPX because this is a DI standard that embeds source metadata in the file header.


The criteria is checked against the entire path. For example, if you enter *2048*, the filter will list only those sequences that reside under a directory path containing the string “2048”. In this case, only 2K sequences are displayed while everything else, such as 1K proxies or thumbnails, is filtered out.
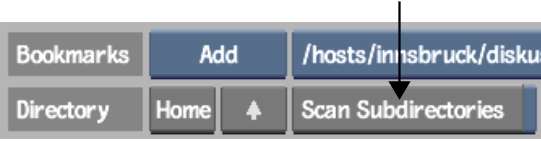
The directory scan begins. This may take some time to complete, depending on the size and quantity of subdirectories and files.
When the scan is complete, the Files list displays all detected files with the directory path relative to the top-level directory. The list is sorted alphanumerically by path and filename.
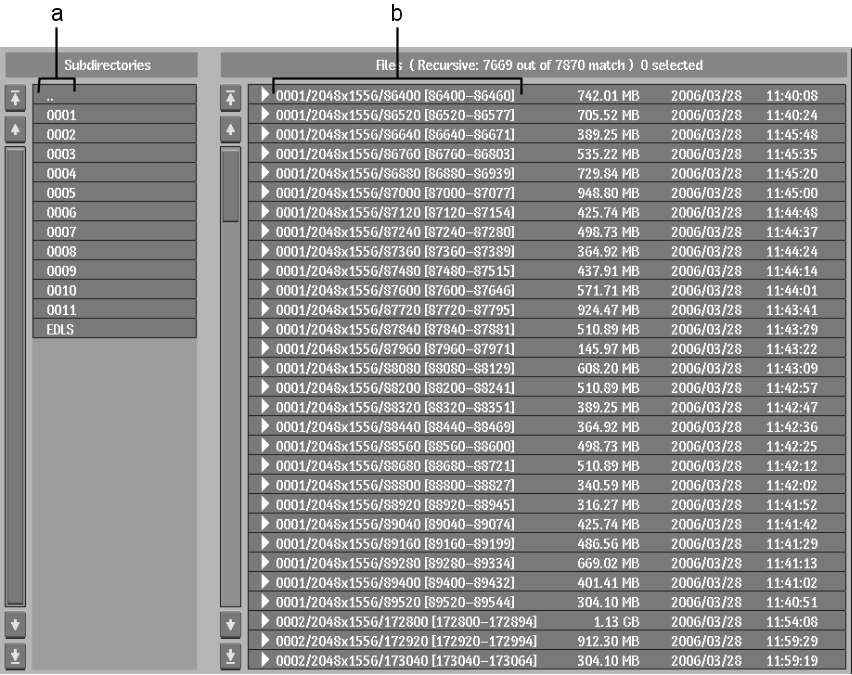
(a) Subdirectories in the scanned directory (b) All nested subdirectories with full path
The results of the scan remain until you browse upwards to another directory, in which case the Scan Subdirectories option gets disabled.
This will set the source timecode of the imported clip based on the timecode information in the DPX image file header.
This option allows DPX files that contain keycode data to be imported with their keycode data intact.
This option allows you to detect and use any existing framerate information in the DPX file to create the clip.
This value is necessary because keycode values are assigned to each frame of the sequence differently, depending on the film gauge.
You can either infer the tape name from a directory name or read the tape name from a DPX file header. Do one of the following:
This is designed to work with the directory structures that are output by film scanners. For example: ./<tape>/<resolution>/clip.######.dpx. In this case, selecting Up 2 Levels in the Level field identifies the directory that corresponds to the tape name.
The tape name is read from the Input Device Name field (field 38) in the header of the DPX file and is displayed in the Tape Name field. There is currently no industry standard for embedding the tape name in the DPX header. Some film scanners, such as the ARRISCAN, write the tape name associated with a film frame into field 38 of the DPX header. Other scanners, for example, Imagica or Filmlight, allow field 38 to be user-definable, although the default value is not the tape name.
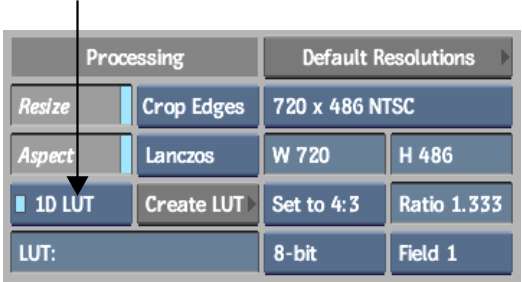
When you disable the Resize button during import operations, the aspect ratio of the clip reverts to default. See Processing Group.
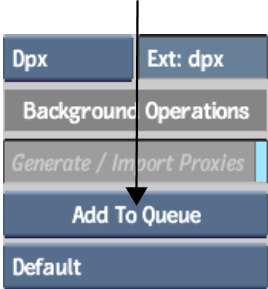
If you are soft-importing the clips, you can generate proxies in the background. This gives you the ability to assemble the timeline while proxy generation is taking place. See Importing and Soft-Importing in the Background.
After you have imported or soft-imported all the sequences, you can import the corresponding EDLs to assemble a clip with unlinked media, then relink the clip to the DPX files in the reel.