The Diffusion map component lets you apply an additional, second texture to modify the Diffuse component.
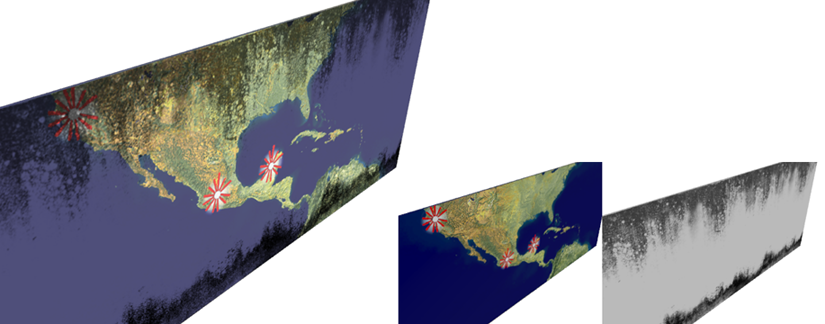
A Diffusion map puts a layer of dirt over a poster.
The Amount of the original Diffuse map is reduced to give it a faded look and highlight the Diffusion pattern.
Typically, you will want to reduce the Amount of this map to allow the main Diffuse map to show through.
For example, you might have a clean, bright image for a billboard. You use this image as the Diffuse map, and then use a second map as a Diffusion map to apply soot and city grime.
3ds Max opens the Material/Map Browser.
(If you choose Bitmap as the map type, 3ds Max opens a file dialog that lets you choose the image file.)
Alternatively, you can use the  Slate Material Editor to wire a map node to the Diffusion component.


 Material Editor