A character assembly is a special type of group for objects particular to a character setup: the character mesh, bones, IK chains, helper objects, controllers, and other objects used to animate characters. Once the objects are grouped (assembled), you can perform various functions on the group as a whole, such as saving and loading animation for the entire bone/mesh set.
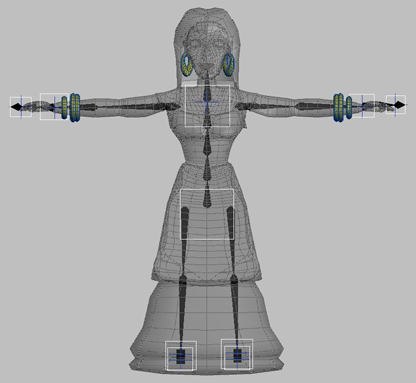
The objects that make up a typical character assembly
Unlike an ordinary group, there is no need to open a character assembly to work with its individual members.
When a character assembly is created, it is designated by a placeholder object called a node, placed near the bottom of the character assembly. Selecting the node gives access to special tools for working with character models and animation.
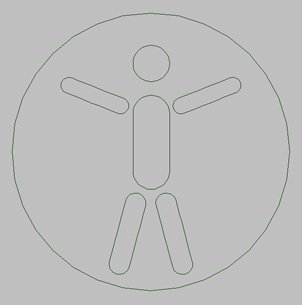
Character assembly node
A character assembly will not create a character mesh or bone structure for you. The character assembly tool is designed for use on character structures that have already been set up using other tools.
Although the character assembly feature was designed for use with character structures, it will work equally well with any type of hierarchy or related set of objects.
Adding Character Assembly Commands to the UI
By default, the character-assembly commands described here are not part of the 3ds Max user interface. To add them, choose Customize menu  Customize User Interface, click the tab representing the part of the UI to which you'll add the commands (Keyboard, Toolbars,
etc.) and then, from the Category drop-down list, choose Characters. Use standard CUI functionality to add the commands.
Customize User Interface, click the tab representing the part of the UI to which you'll add the commands (Keyboard, Toolbars,
etc.) and then, from the Category drop-down list, choose Characters. Use standard CUI functionality to add the commands.
To create a character assembly, first select the objects that will make up the assembly. Next, you need to add any character-assembly commands you wish to use to the user interface; see Adding Character Assembly Commands to the UI. Last, choose the Create Character command.
All selected objects become members of the assembly, and the character assembly node is created. Other objects can be manually added to the assembly after it has been created.
Once the character assembly has been created, you can work with it in a variety of ways. For information about the Modify panel options available after a character assembly is created, see Create Character.
Linked Objects in Character Assemblies
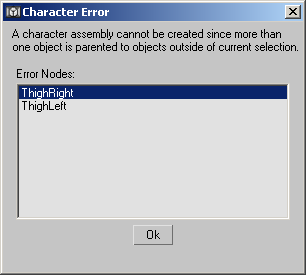
Any or all members of the character assembly can be linked to a single object outside the assembly, but no more than one. For example, ThighLeft and ThighRight, which are both part of the assembly, can both be linked to Pelvis, which is not part of the assembly. However, if ThighLeft and ThighRight are each linked to different objects outside the assembly, the creation of the assembly will fail, and will show the following error message:
Parameter Wiring and Animation
If you plan to wire parameters between two objects, create the assembly first and then set up the wiring. Be sure to include both objects in the assembly.
Because wiring should be done after the assembly is created, you will probably find it easiest to create the character assembly before animating the character.


