In the Motion Mixer, you can shorten clips or change their timing interactively within the track display.
You can change the timing of motion clips in a number of ways:
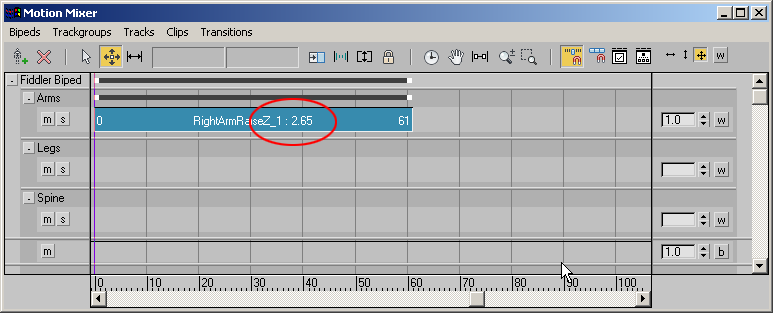
 When changing clip timing, it can be helpful to display start and end frame numbers and the clip time scale. To do this,
click Preferences on the Motion Mixer and choose the appropriate options in the Mixer Preferences dialog. As you choose options, the Motion Mixer display is changed interactively.
When changing clip timing, it can be helpful to display start and end frame numbers and the clip time scale. To do this,
click Preferences on the Motion Mixer and choose the appropriate options in the Mixer Preferences dialog. As you choose options, the Motion Mixer display is changed interactively.
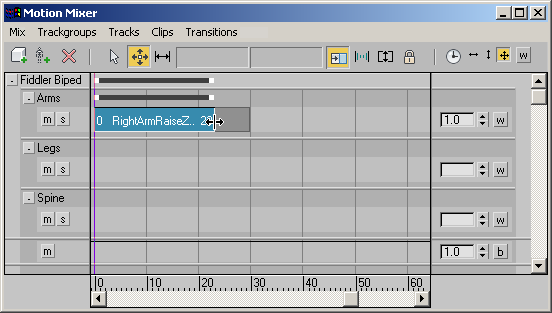
To change the length of a clip without changing its speed:
 (Trim Clips).

To remove scaling or trimming from a clip in the Motion Mixer, select the clip, right-click and choose Remove Scale/Trim.
To change the speed of an entire clip:
You can cause a motion to slow down or speed up by changing the length of the clip in the Mixer. Lengthening a clip will slow down the motion, while shortening the clip will speed it up.


 (Move Clips).