


In the following procedure, you animate in MotionBuilder the 3ds Max Pepe character you rigged in the previous procedure (Add a Control rig to the characterized 3ds Max character) by using motion capture data.
If you did not perform the previous procedure, you can use the Pepe_rigged.fbx file located in the MotionBuilder root directory in the Tutorials folder on your system.
To animate the characterized 3ds Max Pepe character using motion capture data:
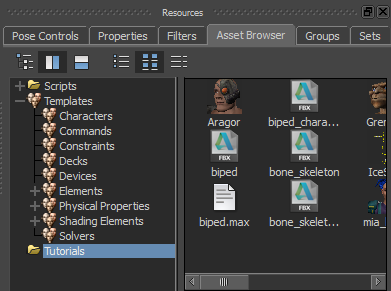
Resources window Asset browser
 Options... from context menu.

The Open Options dialog appears displaying disabled camera settings.
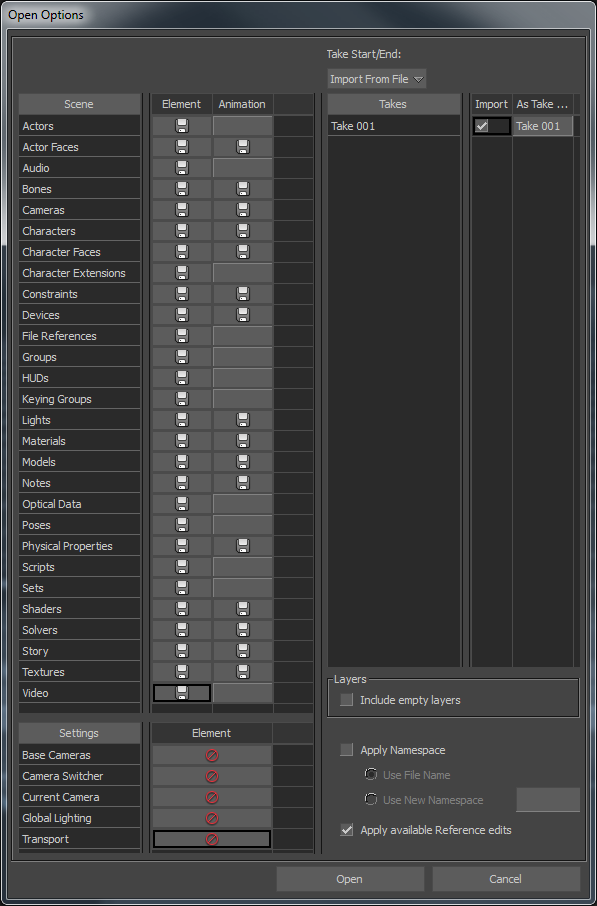
Open Options dialog display disabled camera settings

The characterized 3ds Max Pepe character loads in the Viewer window.
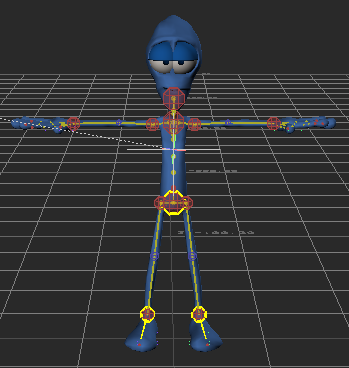
3ds Max characterized Pepe character
 ), drag the Orbit tool (
  ) towards the right or Ctrl-Shift and left-click drag to orbit towards the right until you can see the right side of the Pepe character. Use the following figure as a guideline.
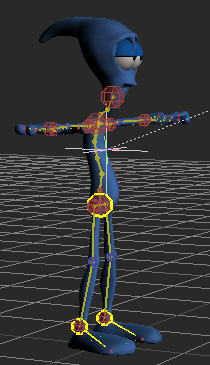
Orbit around Pepe
IceSlip from the context menu.

A large yellow skeleton representing the motion capture animation now joins Pepe in the scene.
), drag the Zoom tool (  ) or Ctrl-drag and zoom out until you can see the yellow skeleton.

Pepe with skeleton containing motion capture data
 ) below the Viewer window, click the Play button (
  ) or press Ctrl-Spacebar to play the animation.
The skeleton walks towards Pepe and then slips and falls on the ground.
 or press Ctrl-Home to go back to the beginning of the clip.
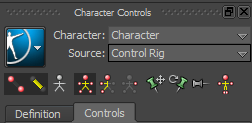
In the Character Controls, notice the Source is set to ControlRig.
Skeleton2 is the name of the skeleton that contains the motion capture animation.
Pepe assumes the skeleton's stance, as shown in the following figure.

 ) in the Action timeline to scrub the animation.
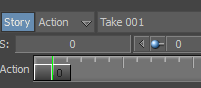
Timeline indicator in the Action timeline
 ) in the Action timeline to frame 92 or enter 92 in the Transport Controls Timecode field.
 or Ctrl-drag) on Pepe, orbit ( or Ctrl-Shift and left-click-drag) and pan (
  or Shift-drag).
If you look carefully, Pepe’s hands pass though his face.

Unwanted hand movement from the motion capture
The animation that drives Pepe’s bone movement is based on a skeleton that has a very different physiology. For example, Pepe’s head, hands, and feet are much larger than the skeleton, while Pepe’s shoulders are much smaller than the skeleton’s shoulder.
Now that Pepe is animated with the motion capture data from the skeleton, you can fine-tune the animation to correct Pepe’s hand movements. Go to the next procedure: Modify the animation of the 3ds Max character.
 Except where otherwise noted, this work is licensed under a Creative Commons Attribution-NonCommercial-ShareAlike 3.0 Unported License