


In the following procedure, you set keyframes to the 3ds Max Pepe character you animated in the previous procedure (Animate the 3ds Max character) to resolve the animation issues with Pepe's hands.
If you did not perform the previous procedure, you can use the Pepe_Mocap.fbx file located in the MotionBuilder root directory in the Tutorials folder on your system.
To fine-tune the motion capture animation of the 3ds Max Pepe character:
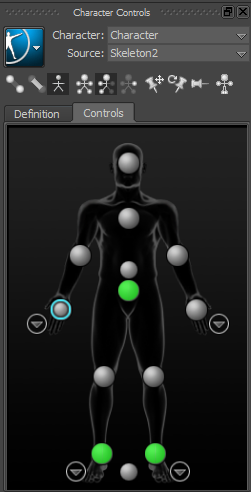
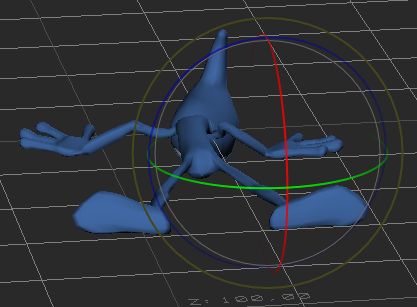
Character representation Right Wrist effector selected
An effector that is selected is displayed with a blue (  ) contour.
 ) or click in the Viewer window and press T.
Nothing happens because Pepe’s animation is controlled by the skeleton, not the Control rig. Before you can keyframe Pepe’s motion capture animation, you must plot (or bake) the skeleton animation onto the Pepe character Control rig.
 Bake (plot) To Control Rig.
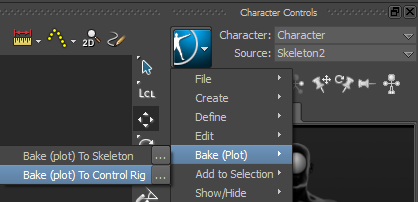
The Control rig is plotted to Pepe's character.
The Bake (plot) to Control Rig command creates a key at every frame at the base ( BaseAnimation) layer of the animation track, making edits difficult. (You can see these keyframes in the Transport Controls if you select Pepe’s wrist effector.)
You can now edit the Pepe character using Pepe’s Control rig.

Key Controls Layer menu
An animation layer (AnimLayer1) is created and shown as the active layer in the Key Controls window and in the Animation Layers window.
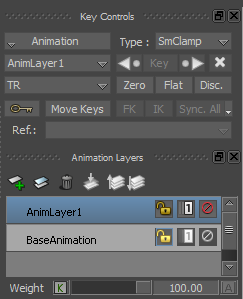
The timeline shows there are no keyframes set on AnimLayer1.
Selecting to edit the animation on a new layer (AnimLayer1) enables you to edit the current animation while preserving the original animation on the BaseAnimation layer.
 ) in the Action timeline to frame 80 or enter 80 in the Transport Controls Timecode field to start modifying Pepe's right hand animation.

 ), zoom in (
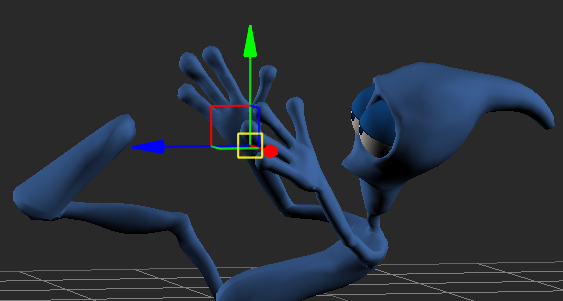
  or Ctrl-drag) on Pepe, orbit (
  or Ctrl-Shift and left-click-drag) and pan (
  or Shift-drag) to have a better view of Pepe's hands.
 ) or use the K keyboard shortcut.

A keyframe is added and shown in the Transport Controls,(  ).
).
Setting the first keyframe at frame 80 and another keyframe at frame 108 enables you to modify the animation between these two frames without affecting the animation before frame 80 and after frame 108 by setting additional keyframes between frame 80 and frame 108.
 ) or click Play (
  ) to view the modified animation.
 ) or press R to enable rotation.
Now that you fine-tuned the animation to correct Pepe’s hand movements, you can send Pepe back to 3ds Max. Go to the next procedure: Send the animated 3ds Max character to 3ds Max.
 Except where otherwise noted, this work is licensed under a Creative Commons Attribution-NonCommercial-ShareAlike 3.0 Unported License