


In the following procedure, you send the 3ds Max character you animated in MotionBuilder back to 3ds Max.
If you did not perform the previous procedure, you can use the Pepe_keyanim.fbx file located in the MotionBuilder root directory in the Tutorials folder on your system.
To send the animated 3ds Max character to 3ds Max:
The X-Ray mode enables you to see the character and the skeleton. The animated Pepe character in the scene is saved, but so is the yellow reference skeleton.
 Send To 3ds Max Send as New Scene.

The established connection between is indicated in the Viewer window Status bar (  ).
).
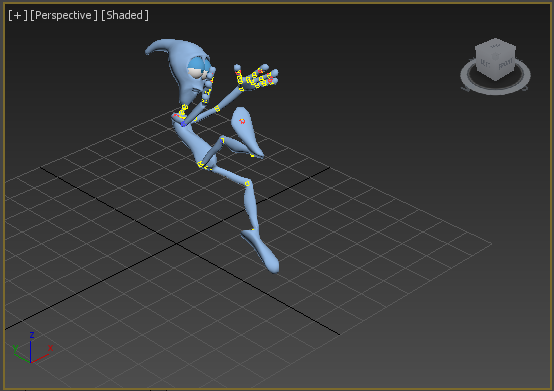
Pepe's animation is played back in 3ds Max
 Except where otherwise noted, this work is licensed under a Creative Commons Attribution-NonCommercial-ShareAlike 3.0 Unported License