Select a CATRig part. > Motion panel > Layer Manager rollout > Create or highlight an Absolute animation layer. > Click Display Layer Transform Gizmo. > Select the transform gizmo. > Layer Transform rollout
You use a layer transform gizmo to transform an animation in space. You can move and rotate the transform gizmo to change the position and direction of an animation clip. It appears as if the character is linked to the transform gizmo, but it is not. In fact, each layer has its own transform gizmo. The transform gizmo’s main purpose is to allow you to reuse animations by moving and rotating them in space.
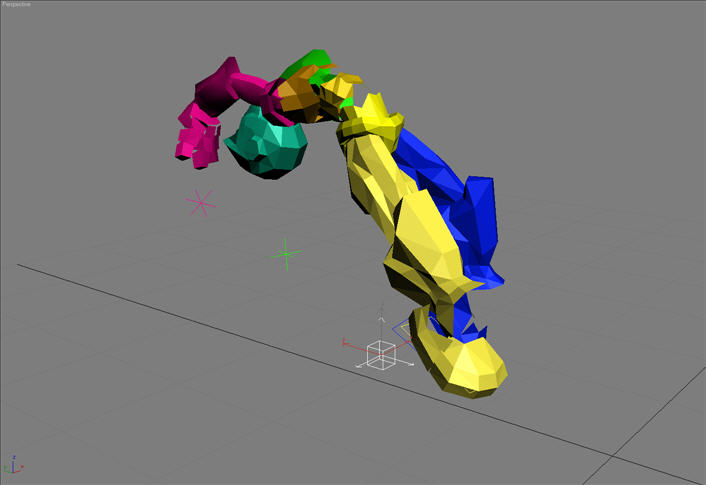
The name of the transform gizmo is "[current animation layer name]Transform". After you rename an animation layer, update the name of the transform gizmo by toggling the Display Layer Transform Gizmo button.
Transform gizmos are available for Absolute layers only, and each Absolute layer can have its own transform gizmo.
While you can animate the transform gizmo, it does not support custom controller assignments and cannot be linked to other objects. If you wish to animate a transform gizmo, it is recommended that you not animate the rotation. Apply basic animation only. This it not a method for general animation.
There are three different ways to create a transform gizmo:
 Click the Display Layer Transform
Gizmo button. This creates a transform node with a specific offset
from the pelvis, defined by the pose in the Setup mode. The distance
between the origin and the pelvis defines the offset. In Animation
mode this offset is always respected even if you move the pelvis
down, so it can happen that the transform node is created below
the feet, for example.
For example, if you select the foot of a character, hold Ctrl and click the transform node button, the node appears exactly at the location of the foot. You could then highlight a different layer and, again holding Ctrl, turn on the transform node for that layer. Now you can align the foot locations on both layers with the Align tool in 3ds Max.
For example, you could load a walk cycle loop and move it forwards by exactly 60 units because this is how long the loop is.
You can use the layer transform node to transform your animation layers in the viewport. This includes moving, rotating, and scaling the data, both uniformly and non-uniformly. The layer transform gizmo is particularly useful for lining up clips for blending between them.
To transform your animation layer with the layer transform gizmo:
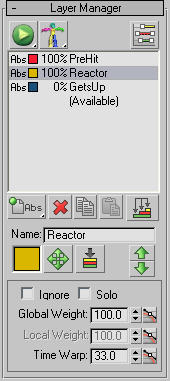
 Click
the Display Layer Transform Node button.
The node gizmo appears in the viewport at its default position: between the feet of the rig.
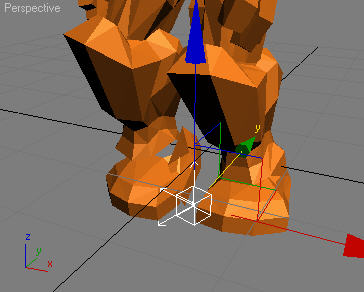
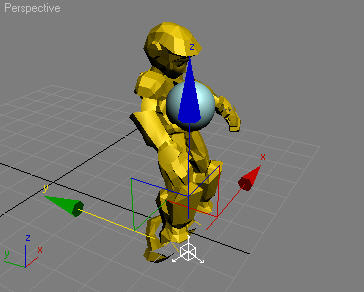
The rig and its entire animation move as well.
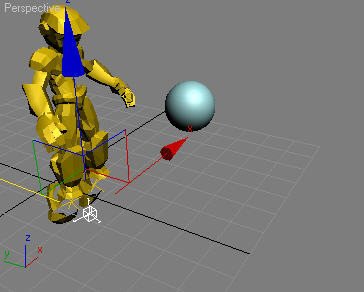
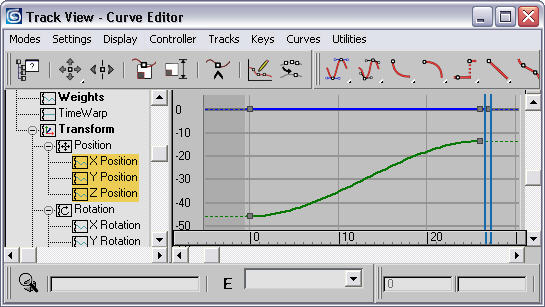
You’ll find the animation keys for the transform node gizmo in the Curve Editor in the Transform branch, on the CATParent under the selected layer. You can also access the keys quickly with the Ranges View function.
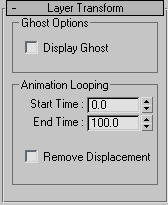
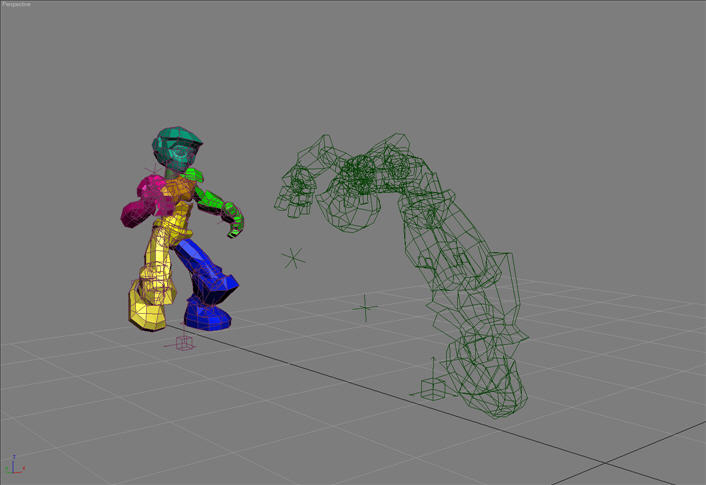
After creating a transform node, you can use it to display a ghost of the animation on a particular layer. This is particularly useful if you are blending between two different layers. The ghost can tell you what animation is being played back on a layer even if that layer is disabled, or your character is using a completely different animation on a separate layer.
When on, the overall displacement of the character is disabled.
This feature removes the overall movement of your rig. The Transform node measures the movement of your pelvis from the time specified in the start time, to the time specified in the end time, and then calculates the overall movement of your rig for this time frame.
It then removes this displacement over the course of your animation. This feature is equivalent to the In Place Mode in character studio Biped.
This function could described as a walk-in-place for hand animation. It works by displacing the animation linearly from the start and end points specified. The idea is that the movement in space is removed so that the character remains animated on the spot. This tool is mainly for game animators who are creating walk cycles for game assets.
For example, if you are creating a walk cycle and you need to export it to your game engine without any overall displacement, then use this feature to remove the forward motion from your character, leaving only the walking motion. You can toggle this feature whenever you need to export animation data.