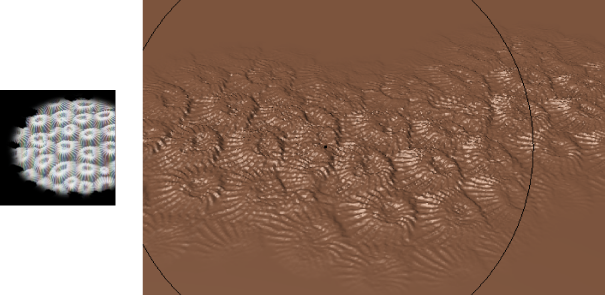
Stamps work in combination with the sculpting and paint tools to let you mask the tip of your tool with an image and apply interesting sculpted detail effects and features to a model.

Black values in the stamp image act as opaque regions that fully protect the model and white values in the image act as transparent regions that allow the tool’s characteristics to pass through and affect the model. Areas outside the stamp image are regarded as black and remain unaffected.

Stamps are especially useful for sculpting features that need to repeat such as scales, shoe lacing, stitching, and screw heads as well as random textured effects that would otherwise be difficult to achieve.
You can create images of lines, text, geometric shapes, virtually any image you can imagine, as stamps to further aid your sculpting.
Stamps can be applied when sculpting in two ways:
Sculpt using a repeating stamp image
The stamp image appears in the Sculpt properties window with the Use Stamp Image option selected.
As you stroke, the stamp detail is applied and repeated along your stroke automatically. If you want more spacing between the individual stamps, increase the Stamp Spacing property in the properties window. You can also have the stamp orient its direction to the stroke path. For more information, see the Sculpt Tool properties.
If you want to apply a single instance of a stamp, see Sculpt a single stamp using the Imprint tool.
Sculpt a single stamp using the Imprint tool
The Imprint tool lets you apply a single instance of a stamp image to your model. Imprint is useful for applying raised or recessed features such as buttons, logos, and so on. You can scale the imprinted stamp image as you apply it to the model.

The stamp image appears in the Imprint properties window with the Use Stamp Image option turned on.
As you drag, the stamp image displays and either scales or rotates from the location you first click with your mouse/stylus to the last position you drag (and release the mouse/stylus button). The image is immediately applied in that area as a single stamp.
You can display the properties for a stamp as follows:
The Properties window displays the tool’s properties. Several options are available to modify how the stamp gets applied to the surface. For more information, see Sculpt Tool properties.
