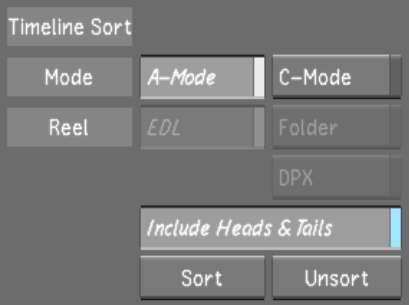
When you use A-mode to sort your timeline, your shots are organized according to their time location within the sequence (i.e., the record timecode). The shots are displayed one after another on a single layer and any dissolves and retimes are not displayed.
To sort the shots using A-mode sort:


The shots are now sorted by the record timecode. A green border appears around the timeline canvas to indicate that you are working in a sorted timeline.
Once you have completed grading the shots, you can do one of the following:
To return the sorted shots to their original order:
You can also sort the shots, without accessing the Assemble menu, by using hotkeys. Press Alt+F9 to sort the shots in A-mode and enable the heads and tails. The heads and tails are showing 0 (zero) so you can work on every single frame within the shot.


Press Alt+F10 to sort the shots in A-mode and for head and tail frames to remain unexposed (disabled).


