Show in Contents

Add to Favorites

Home: Lustre

Animating the Shape of Geometries with the Point Tracker

Animating Geometries with the Point Tracker

Soloing and Ganging Point Trackers

Assigning and Unassigning
Point Trackers to Geometries
You
can assign Point Trackers to, or unassign Point Trackers from, geometries
at any time after you create them.
You can assign a Point
Tracker to the axis of any geometry when you want to animate the
entire geometry with or without changing its shape. You can also
assign a Point Tracker to a vertex of a geometry when you want part of
the edge of the geometry to change as it tracks a moving element
in the shot. However, if you want to assign Point Trackers to all
the vertices in a geometry, use Track Shape. See
Animating the Shape of Geometries with the Point Tracker.
To assign a Point Tracker to a geometry:
- In the Secondaries menu, enable the Secondary
button that contains the geometry you want to track.
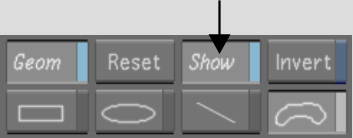
- Enable Show.
The geometry is displayed
in the Player.
- Do one of the following:
- Add a new Point Tracker.
- Click the + or - button to select a Point
Tracker from the Tracker list. Make sure the tracker is set to On
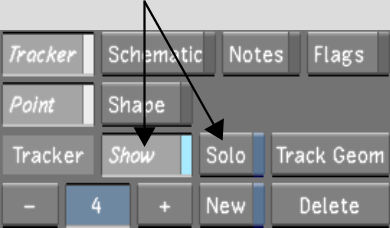
and is in Solo mode.
The current Point Tracker
is displayed in the Player.
- Enable Assign.
- In the Player, do one of the following:
- To animate the entire geometry without
changing its shape, click the geometry's axis.
- To animate a single vertex in a geometry,
click the vertex.
The Point Tracker is
assigned to the geometry's axis or vertex.
NoteYou cannot assign
a Point Tracker to more than one point on a geometry. If the tracker
is already assigned to a vertex or axis on the geometry, you must
unassign it.
To unassign a Point Tracker from a geometry:
- Select the shot that contains the tracking
data.
- In the Secondaries menu, enable Show.
The geometry is displayed
in the Player.
- Click the + or - button to select a Point
Tracker from the Tracker list. Make sure the tracker is set to On
and is in Solo mode.
The current tracker is
displayed in the Player.
- Enable Unassign and then click the vertex
or axis to which you assigned the tracker.
The Point Tracker is
unassigned to the vertex but remains in the Tracker list.


