Exporting DPX Files


You can export DPX files while taking advantage of all their inherent properties, such as LUTs and DPX Transfer Characteristics.

To export a DPX file:

  1. Open the clip library containing the clip that you want to export.

    You can also do this from the desktop. See Exporting Image Files.

  2. Select the clip that you want to export and click Export Image.

    The Export Image menu appears.

  3. In the file browser, browse to the directory to which you want to export the clip.
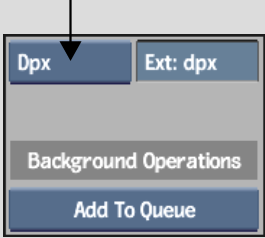
  4. From the File Format box, select DPX.

    Show small imageShow large image

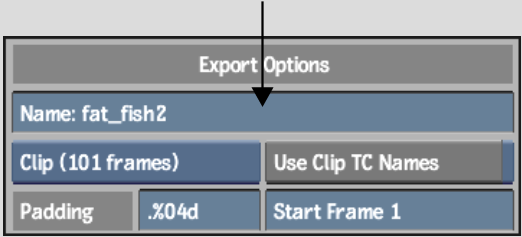
  5. To change the name of the exported DPX file, enter a name in the Name field.

    Show small imageShow large image

    NoteTo avoid filename compatibility issues upon export, underscores will be substituted in your filename in place of any of the following characters: ` # ~ @ $ % ^ & * ( ) [ ] { } < > \ | / ! ? , ; : ' "
  6. Specify whether you are exporting a single frame or a clip in the Frame/Clip box.
  7. Enable Use Clip TC Names, if you would like to use the timecode contained in your clip to number the exported files.
  8. Adjust any other file numbering parameters. See Export Options Group.
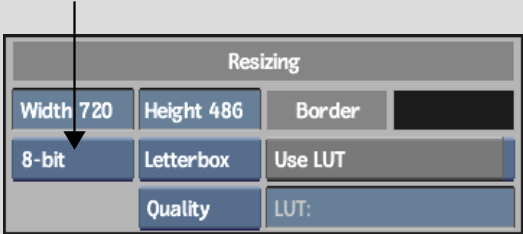
  9. From the Bit Depth box, select a bit depth value.

    Show small imageShow large image

    DPX files can be exported as 8-bit, 10-bit, or 12-bit clips.

  10. To use a predefined LUT, load it with the Use LUT button. See Applying a LUT on Import or Export.
  11. Adjust any other parameters for resizing options. See Resizing Group.
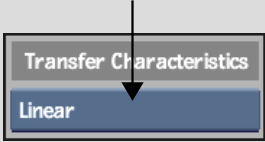
  12. Select a DPX Transfer Characteristic.

    Show small imageShow large image

    This is used to identify the attributes associated with a particular film or video format, such as resolution, frame rate, and colour space. The commonly used options are listed here. See DPX Transfer Characteristics Group.

    Select: For:
    Unspecified Images where the format is not specified.
    Logarithmic Negative film scanners recording status M densities.
    Linear Video images which have built-in gamma correction. This refers to images having a true linear quantization scheme (such as CG-originated material).
    Printing Density Negative film scans which use the SMPTE Printing Density settings. SMPTE Printing Densities use status M density measurements with a higher gain in the red component.
  13. To generate thumbnail proxies for the file browser, select an option from the Proxy Generation box. See Proxies Group.
  14. Click Export.

    The DPX files are generated and saved in the specified location.

    When the export is finished, you are returned to the clip library.