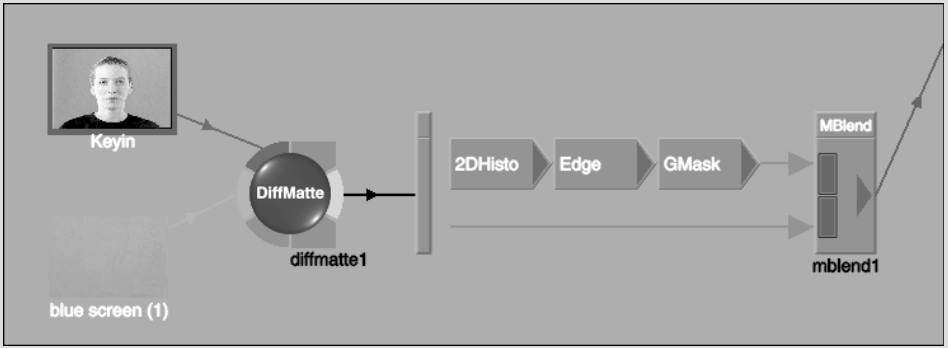
Use the Difference Matte node to create a matte based on the differences between two clips. You can generate a matte from two clips with the same background but different foreground elements. For example, the first clip could be the blue or green screen shot you want to key, and the second clip could be a “clean plate”—a shot of the blue or green screen with no foreground subject.
This node functions in the same way as the Difference command in the Processing menu. For more on how Difference Matte works, see Generating a Difference Matte.
You can add a Difference Matte node to any part of the pipeline except to the blend node pipes. This is because the nodes in the CBlend and MBlend pipes must have a single input only, and the Difference Matte node always requires two input sources. Typically, you add a Difference Matte node to the beginning of the Matte branch. You can then apply the 2D histogram, Edge tools, garbage mask, and so on, to the resulting matte.
To use the Difference Matte node:


