Applying a LUT to a film clip on import or export converts the clip's images according to the contents of the LUT.
A typical workflow when using 1D LUTs would be to apply the import LUT provided, converting 10-bit logarithmic image data to 8-bit linear image data. After working with the images in Flint, you would then export the clip using the inverse of the LUT, . This restores its logarithmic values, in preparation for film printing.
Sample 1D LUTs have been provided that cover the most common conversion processes, and use standard data for Cineon digital negatives (normal exposure). If these LUTs do not give the desired results, you can use them to create a custom LUT. Often, a minor adjustment is all that is required. See Creating Custom 1D LUTs.
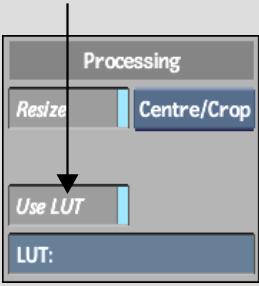
To apply a LUT on image import or export from the EditDesk:


The file browser appears. The Files list contains the LUTs currently residing in your project's ~/lut directory. These include the samples provided with Flint, as well as any LUTs you may have saved or exported to this directory.
Sample 1D LUTs include the following.
| LUT File Name | Conversion Process |
|---|---|
| 10logto12 | Converts a 10-bit logarithmic image to a 12-bit linear image. |
| 10logto8 | Converts a 10-bit logarithmic image to an 8-bit linear image. |
| 8to10log | Converts an 8-bit linear image to a 10-bit logarithmic image. |
| 12to10log | Converts a 12-bit linear image to a 10-bit logarithmic image. |
| invertRGB | Inverts the RGB values of the image. |
| oxberry12to8 | Converts a 16-bit SGI image file created by the Oxberry film scanner to an 8-bit image file. Note that these SGI image files contain 12 bits of data scaled in a non-standard way. |
| oxberry12to12 | Converts a 16-bit SGI image file created by the Oxberry film scanner to a 12-bit image file. Note that these SGI image files contain 12 bits of data scaled in a non-standard way. |
The Import Image or Export Image menu reappears. The LUT field displays the name of the new LUT. It will be applied to the clip you import or export.


