Show in Contents

Add to Favorites

Home: Flint

Accessing the LUT Editor from the Import Image Menu

Accessing the LUT Editor

Creating Custom 1D LUTs

Accessing the LUT Editor in Batch
You
can drag a LUT Editor node to the Batch desktop.
You can
use the LUT Editor from any LUT Editor, Import, or Batch FX Output node
to create or import a 1D LUT. Clips are then processed through the
LUT in the Batch process tree.
To
access the LUT Editor using a LUT Editor node:
- Drag
a LUT Editor node to the Batch schematic.
- Parent
the output of another node to the front input socket of the LUT Editor
node.
- Select
the LUT Editor node to view its menu.
To
access the LUT Editor as an integrated part of clip input and output
processes:
- Select a Batch FX Output node or drag a Desk,
Import, Output, or Export node to the Batch schematic.
- Set up the node so the LUT you create is applied
to the clip that you want to convert:
- If
you selected a Batch FX node or dragged a Desk node to the Batch
schematic, you are ready to create the LUT or use the LUT Editor
to import a 3D LUT.
- If
you dragged an Import node to the Batch schematic, use the file
browser to locate the clip that you want to import.
- If
you dragged an Export or Output node to the Batch schematic, parent outputs
from the process tree you are working on to the input socket(s)
of the Export or Output nodes.
- Select
the clip.
- Select
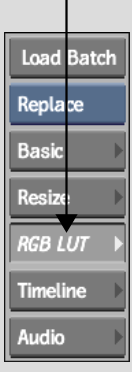
the RGB LUT or Matte LUT menu.
TipThe Matte LUT menu appears in the Export
node. You can create a LUT to remap luma for the alpha channel associated
with the selected image on import, or remap the matte luma when
exporting image formats that have an associated alpha channel.
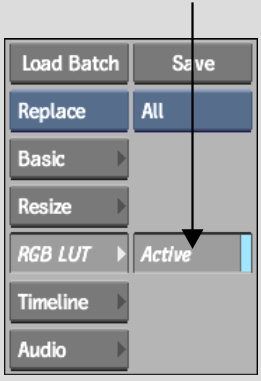
- Enable
Active to apply the current LUT settings to the front clip.
TipThe RGB LUT button in the Basic menu is
linked to the Active button in the RGB LUT menu. Toggling either
button enables the LUT.


