


In this section, you will render a single frame of the curtain simulation using the mental ray for Maya renderer. When rendered, the details of the beads you assigned to the curves using the Paint Effects brush will appear.
Before rendering, you need to create a directional light in the scene.
To create a directional light and render the scene
The light now points to the upper left corner of the curtain.
You can now turn on the mental ray for Maya renderer and render a single frame of your simulation.
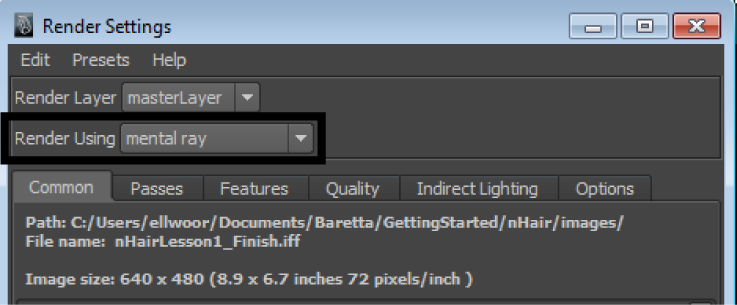
To turn on the mental ray for Maya renderer and render a single frame
 +
+  ) and click the
  button to render the current frame.
In the rendered frame, you see the details and color pattern you created for the beads.
In the next section of the lesson, you use an nConstraint to constrain the hair curves so that the curtain beads appear to be tied together.
 Except where otherwise noted, this work is licensed under a Creative Commons Attribution-NonCommercial-ShareAlike 3.0 Unported License