


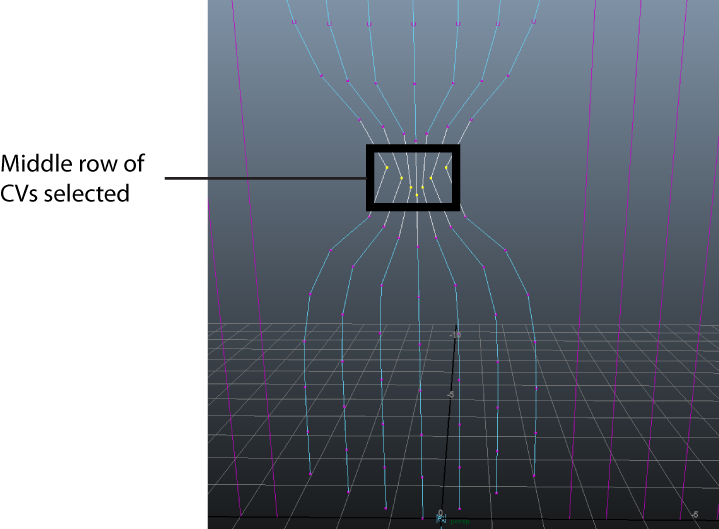
In this section of the lesson, you tie up the middle section of the beaded curtain by first modeling the Start curves into a bound position, and then creating an nConstraint to hold the curves. To keep the curves in place during the simulation, you use a Component to Component nConstraint to connect selected CVs on the hair curves together.
To model the curtain into a tied-back position
This ensures the entire curve is modified when you transform CVs in the next steps.
 icon to display the CVs on the curves.

To constrain the curtain in the tied-back position
You will use an nConstraint to connect these components together.
All of the selected CVs are now linked together by the constraint.
In the Outliner, a dynamicConstraint node appears. This node carries all the nCloth, nParticle, and nHair constraint attributes.
 icon on the Status Line to display the Start curves
When you play the simulation, notice that the curves are not pulled together tight enough to resembled a tied curtain. For example at frame 45 of the simulation, the curves are constrained, but they do not touch each other.
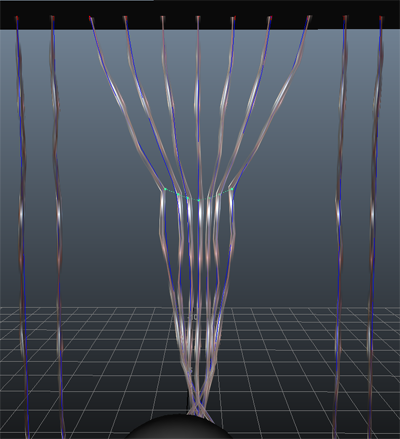
You can make the simulation look more realistic by further adjusting the nConstraint attributes.
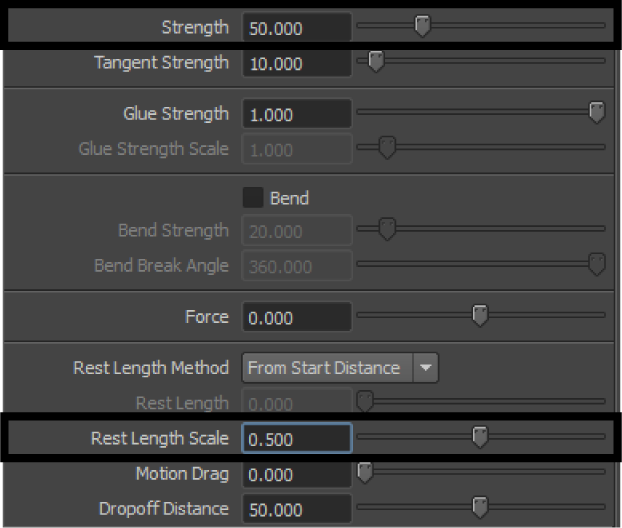
This setting increases the strength of the connections between the CVs so that the curves are held tighter together.
This setting decreases the length of the constraint connections at the start frame of the simulation.
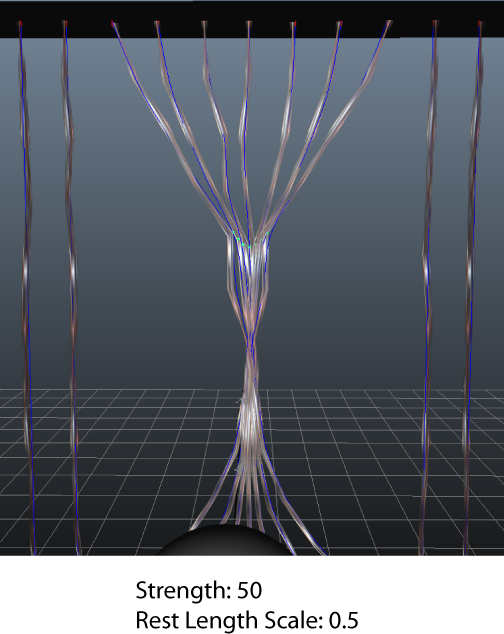
With the new settings, at frame 45, the curves are held closely together by the nConstraint.
Notice that when you play the hair simulation, the animated sphere collides with the curtain while the curves are still moving from the effects of Nucleus gravity. You fix this by setting a new Start Position for the hair curve so they are stationary at the start frame.
 Except where otherwise noted, this work is licensed under a Creative Commons Attribution-NonCommercial-ShareAlike 3.0 Unported License