


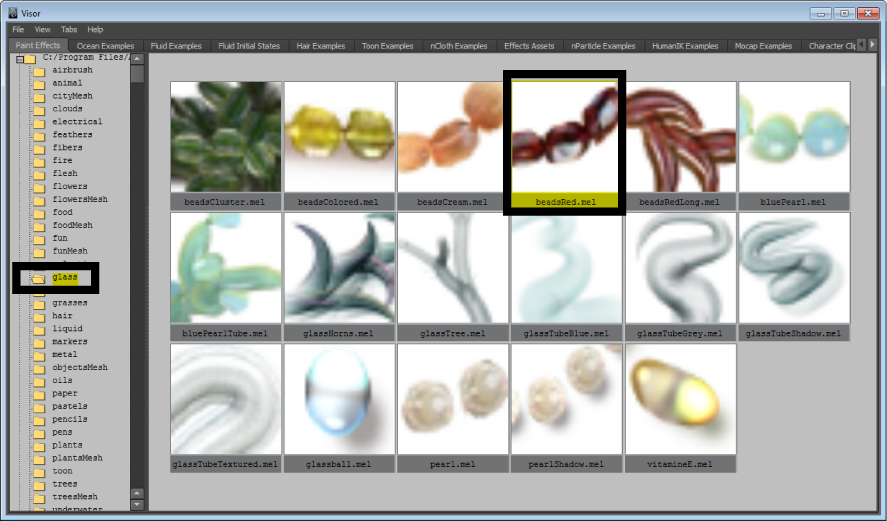
You can assign a Paint Effects brush to a hair system to achieve a variety of effects. In these next steps, you apply the red beads brush to the hair system to create the beaded curtain. Then you modify the brush and hair system settings to achieve the desired look.
To turn the hair curtain into a beaded curtain
You don’t see the beads in the scene view, but you will when you render it later using the mental ray for Maya renderer. The brush needs some adjustments to make it look like a beaded curtain when it is rendered.
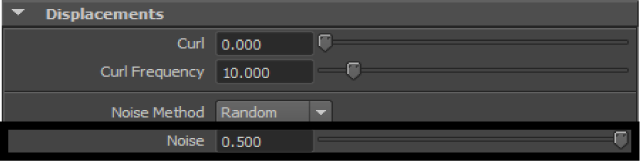
Noise adds some randomization to the appearance of the beads.
If the beadsRed tab does not appear in the Attribute Editor, re-select the hair curves. The beadsRed tab should now appear.

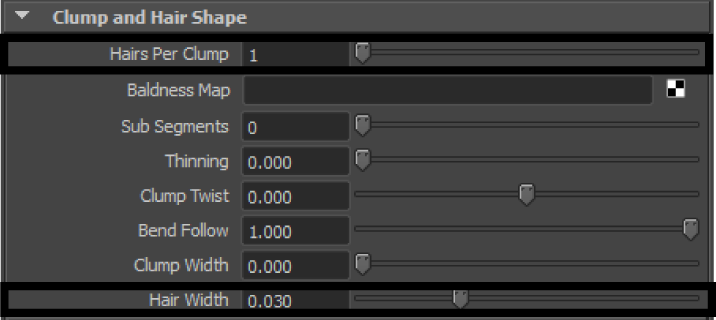
This changes the size of the beads making them appear more realistic in the rendered output.
Before you can render in mental ray for Maya, you must convert Paint Effects to polygons.
In the next section of the lesson, you render a single frame of your simulation.
 Except where otherwise noted, this work is licensed under a Creative Commons Attribution-NonCommercial-ShareAlike 3.0 Unported License