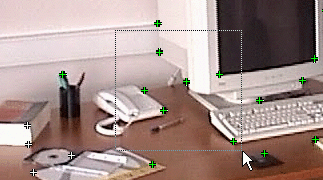
MatchMover allows manual editing of track points. In addition, advanced users may prefer to manually add tracks before running the automatic tracking process to strengthen the result, or after, to refine the result.
MatchMover creates an
item in the Point Tracks sub folder in the
Project window and the pointer changes to  in the
Workspace. Whenever the pointer has this appearance, you are in
the New Track Creation mode.
See Magnifier window for the Magnifier configuration.
When you add a track, the following icons appear in the Project window indicating the track status.
The left part of the icon shows its calibration status:
 An empty
circle indicates a track not used for 3D solving.

 A cross
in circle indicates a hard track (always fed into the engine).
 An xyz
indicates a survey points (a track with known 3D coordinates).
The right part of the icon shows its 3D reconstruction status:
 An empty
circle indicates a track that should not be reconstructed.
 A gray
circle indicates a track that can be reconstructed by the engine.
 A green/yellow/red
circle indicates a good/medium/bad reconstructed point.
In the Parameters Window, or if you right-click any point in the Point Tracks folder in the Project window or the Track window, the following options are checked by default in the pop-up menu and correspond to the icons above table.

The window shows read-only fields:
For example, you want to track a table corner through an image sequence. In image 0, press Shift+right-click the table corner. MatchMover creates the “Track 0” and an intermediate key. The tracker uses this key point to remain on the point track during the tracking process. Now, you can launch the tracker.
The Relations tab just shows the list of relations involving this track. Double-click one to select it.
Click a track (either the cross, the pattern, the point or the 3D helper depending on your current view and settings) to select it.
To select several points, do any of the following:

When 2D features of the scene move out of the view then back in or are occulted by objects in motion causing the tracker to misinterpret them as distinct points, you can merge the keys from several tracks into one.
MatchMover checks whether the selected tracks have keys in common (at the same frame) or not. If not, all keys and computed points are copied to the first tracks, and the other tracks are deleted.