This process reconstructs the 3D points corresponding to the 2D tracks and computes the camera path for all the sequences or frames and all the objects in one solve. There are several stages:
This process is done first for the main camera (looking at a static scene), and then for all the mobile rigid objects.
At the same time the process computes the camera parameters and reconstructs the 3D coordinates of the 2D computed points.
Each camera parameter--focal length, principal point, pixel aspect ratio and non-linear distortion-- has a value that varies or remains constant throughout the sequence and is either known or unknown.
Optionally, you can specify these parameters. Doing so helps the camera solver to give more accurate and faster results. See Setting up a camera.
By default, MatchMover processes all frames in the Work Area. However, you may have for example, blurred images or an obscured frame, for which the camera will not solve. You can select the frame that you want to solve and therefore ignoring the frames that will not solve.
To run the camera solver, do one of the following:
 icon in the Toolbar.
A blue progress bar appears in the status bar, showing the progress of the solving process.

A popup window also opens to show you the current solving step:
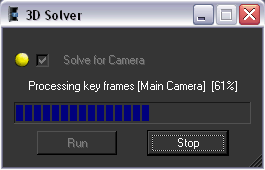
You can press the Stop button inside it at any time to stop the solver (this may take a little time before the computation thread really safely stops).
The process halts if you attempt to run the solver with no frames initialized. If the tracking fails for any reason, an error message is displayed to give some hints to the user on how to fix it. It may be, for example, that some frames do not have enough tracks, or that the coordinate system definition is bad with respect to some survey points, etc.
In some tough case, you might prefer tracking your shots pieces by pieces. You basically start from a rock-solid frame range that you track the best you can.
If you want, you can extend your solve by adding more frames into it. You can do it in three ways in MatchMover:
 . This option starts the solver, but first initializes the solution with the current one. The solver can refine current frames
in this case, and any additional data will be computed.
. This option starts the solver, but first initializes the solution with the current one. The solver can refine current frames
in this case, and any additional data will be computed.
 . All additional data are computed, but currently computed tracks are locked and will not be modified.
In some cases you may need to tweak the keyframes settings to cope with your new configuration.


