Learning Resources > Tutorials > Getting Started with Maya > Polygon Texturing > Lesson 2: UV unfolding >
Unfolding a UV mesh
Unfolding a UV mesh is the process of cutting a mesh so that you can lay its entire surface area flat. However, before you do this, you want to make sure your UVs are spread out evenly along the surface. You can do this by applying a basic checker pattern to the mesh.
To apply a checker pattern to the torso
 -click
the torso and select Assign New Material > Lambert.
-click
the torso and select Assign New Material > Lambert.
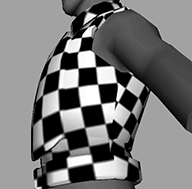
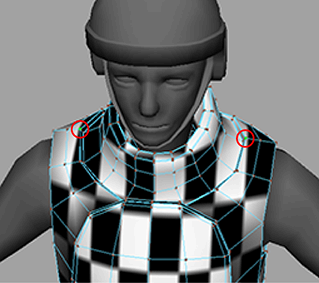
The torso is covered in a checker pattern.
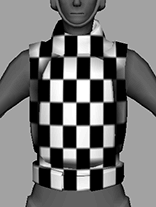
From the front view, the checker pattern looks roughly even with very little distortion. This indicates that the spread of UVs is fairly even. An even spread of UVs is important to avoid texture warping when you apply your texture. In some cases you may need to experiment with different planar mappings to give you the best base to start with.
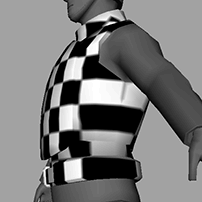
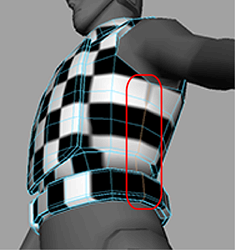
However, the planar projection isn’t perfect. If you look at the sides of the torso, from the armpits to the waist, you can see some warping. This is the ideal place to cut the UV edges for unwrapping.
-click
the vest and select Edge from the marking menu.
 -select
the corresponding edges on the other side.
-select
the corresponding edges on the other side.
Now you are ready to unfold the mesh.
-click
the torso and select UV.
 .
.
A pinned UV does not move when a UV mesh is unfolded. In general, you want at least one pinned UV when unfolding because it gives the unfold process a point of reference. This is similar to placing a pin in a piece of fabric so that it does not unfurl out of control as you unfold it.
Maya lays the UV mesh out across the UV space. Parts of it may fall outside the UV space, but that’s fine for now. More importantly, notice that the pattern is much more even across the mesh now.
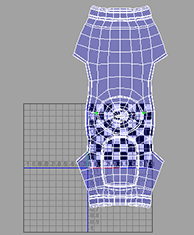
Unfortunately, while you’ve minimized the distortion, you’ve also create a visible seam where you cut the UV edges. Unfortunately this is unavoidable. In general it is best to put your seams in the least visible places. In this case, the seams will be obscured by the arms most of the time and therefore won’t be as noticeable.