


Lesson 2: Set muscle pose
states
This lesson shows you how to set up the muscle pose states.
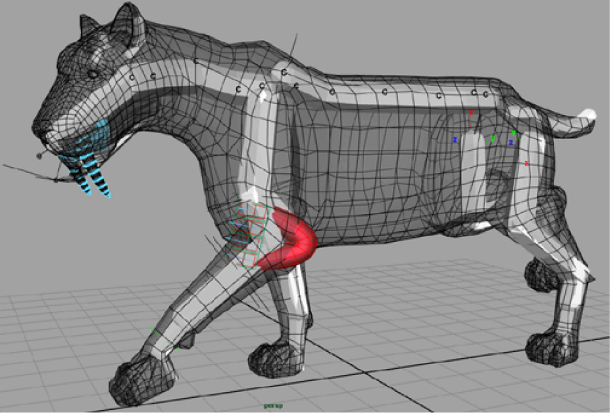
This scene contains the saber tooth tiger with a front leg muscle.
Notice the exaggerated deformation of the front leg muscle. By default, all muscles contain a certain amount of jiggle, which is causing the deformation. In the next steps, you will remove the default Jiggle so that you can better visualize and set the muscle’s pose states.
To turn off the default Jiggle
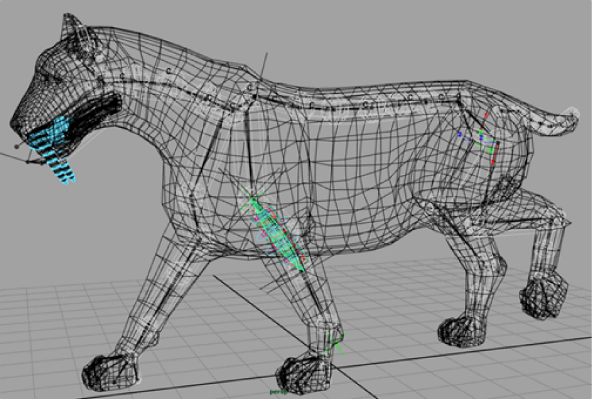
These outer wireframe boxes store the Jiggle settings.

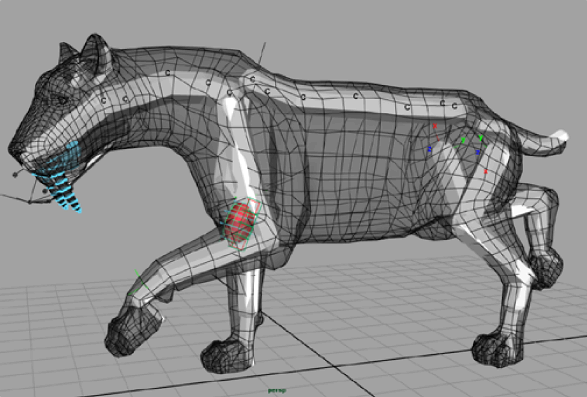
The muscle deformation is much more natural. Without the default Jiggle value, it is easier to set the three main pose states in the next steps.
The Edit tab contains controls that let you shape and fine tune your muscle surfaces in the different pose states.
This sets the muscle’s current pose as its rest state.
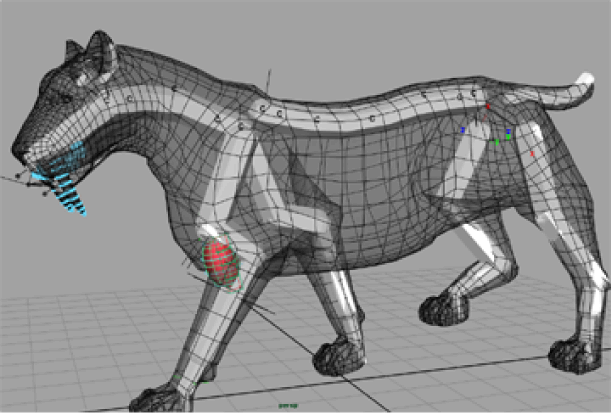
At this point, the humerus and leg joints are almost parallel, indicating a good muscle stretch position.
The muscle surface thins out when the state is set.
This is the point where the humerus is almost perpendicular to the leg joints, indicating a good muscle squash.
The muscle surface’s volume expands a little to compensate for its new set state.
Now that you have set the pose states, you can turn Jiggle back on. You can now clearly see the front leg muscle bulge and stretch as you scrub through the animation.
In this lesson you learned about setting muscle pose states. You can find the completed file for this lesson, Sabertooth_Set_End.mb in the Maya Muscle Advanced Techniques folder.
Now you are ready to adjust the muscle’s attach points locators, as well as edit its length and shape.