Tracking object points
in a shot
In the next steps, you track the motion of a flower. Tracking points on the ground is common practice and the flowers are easy targets to track.
If you don’t see a full-color image of the scene in the view, go one frame forward in the Time Slider and go back to the start time to refresh the view.
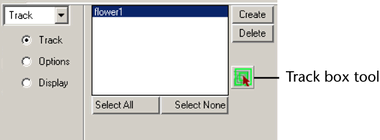
If you switch to another tool, such as rotate, remember to select the track box tool again if you thereafter need to move track boxes.
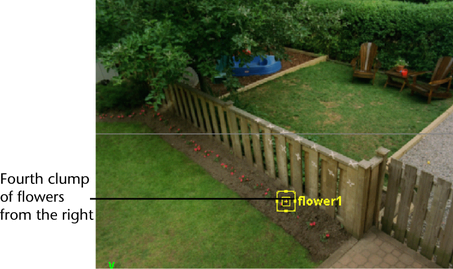
This pair of flowers is good to track because it is visible in all frames. Strive to track points that are visible for a large number of frames.
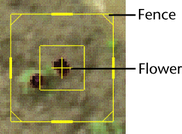
Notice that the track box resizes if you drag the edges. For this track point, keep the boxes at the default size. Choose Edit > Undo if you resize it accidentally. It may require a number of Undo commands to return to the original configuration of the track box.
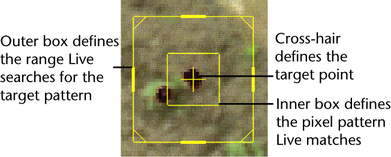
The point you are tracking is at the center of the track box cross-hair. To track this point, Live uses the pattern of pixels defined by the inner box. The outer box is the range Live searches for the target pattern.
During the course of creating track points, you will change this setting often. Depending on the situation, you might track Forward, Backward, or Bidirectional.
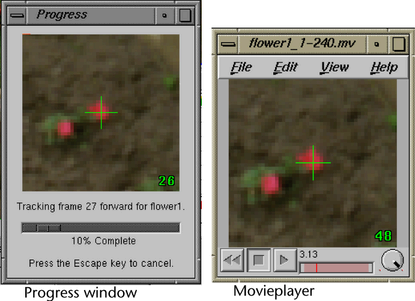
First a progress dialog box appears, then a movie of the track point. These point-centered movies are important tools for evaluating how closely the track point stays on target (see the following steps).