


Tracking additional points
Now that you’ve tracked one point successfully, you’ll continue with tracking a different spot in the image sequence. In general, you keep tracking points until you have enough to solve. (You will learn how to make this determination later in the lesson.)
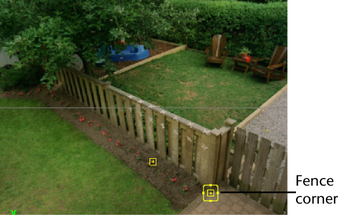
The point you are about to track demonstrates what to do if the spot falls out of view midway in the shot.

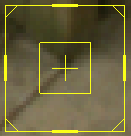
Knowing where to position the track box involves two important factors. One factor is the pattern framed by the inner target box. This pattern must have at least some contrast and must be distinct from the surrounding region that is framed by the outer box. By having a distinct pattern within the inner target, you will prevent the tracker from jumping off target and onto a similar pattern.
Another important factor is choosing where you place the cross-hair. You want it to be over a spot that you can recognize in later frames when the pattern changes. By aligning the vertical cross-hair line with the post edge and the horizontal cross-hair line with the bottom of the post, you can identify this same spot in later frames.
The tracker stops around frame 60 or 80 because the corner falls out of view. The track box also moves off target toward the end. You will correct both of these tracking problems in the next steps.