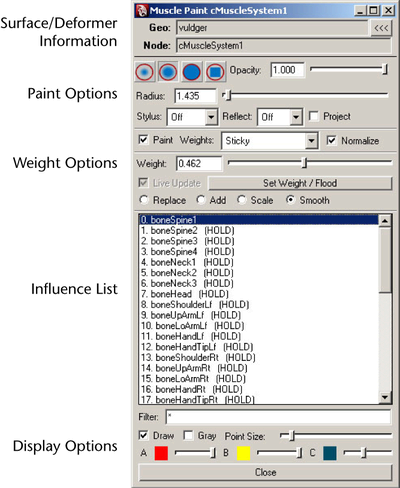
The Muscle Paint tool provides a number of different weight types to paint for the various deformation features. In addition to painting weights or applying default weights, you can also load, save, mirror, transfer, and prune weights.
The object must have a Muscle deformer applied. You can also select points of the object, which allows the painting to be effectively ‘masked’ so that you only paint on the selected points.
The Muscle paint weights feature draws a colored mesh similar to Maya painting if you are using a polygon mesh. For NURBS and subdivision surfaces, colored points display instead.
This floods the bone or object to have 100% of all the weight. If you do not do this initially, points may move incorrectly as you paint because they may not have a truly normalized weight of 1.0, even though the Normalize button is on.
You can also disable the deformer as you paint weights for faster interaction.
When you are finished with the other weight types, you can use the Smooth weights to fix any problems.
To set point weights on each point or multiple points
You can now directly select points on the mesh, and set their weights with the slider. The average weight for selected points is shown in the Weight field when points are selected and Live Update is on.
When finished, if you want to return to Paint mode, you can deselect any currently selected points, then turn the Paint option back on to return to painting the entire mesh. Alternatively, if you leave some points selected, only those points are paintable, and you have effectively ‘masked’ the painting to only the selected points.
