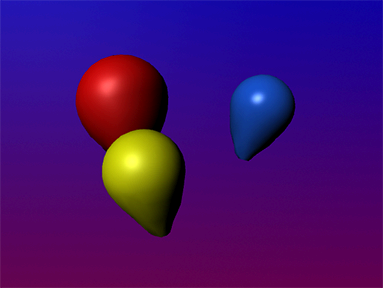
This example will show you how to create a flexible skin for a virtual balloon.
To model the balloon you will create a Icosahedron. This will result in more realistic movement than a polygon sphere.
 .
.
Resize and reshape the balloon
In this example the balloon model for the balloon will remain spherical. You can optionally reshape the model into a more balloon-like shape.
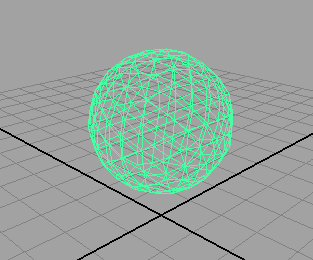
 -click
the balloon and select Face from
the marking menu that appears.
The balloon now appears in face selection mode.
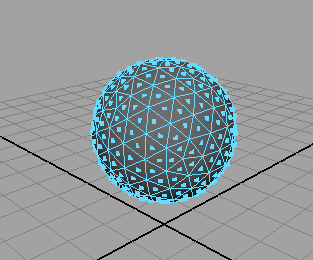
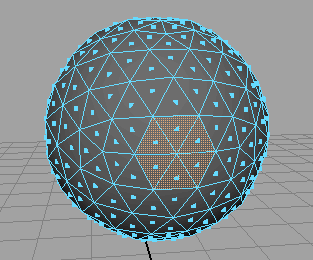
 .
.
Make the balloon model act like a balloon
Now that you have the basic shape for your inflated balloon, you need to configure the balloon’s attributes so it acts like a balloon and its initial state so it starts deflated.
To adjust the balloon’s attributes
The deflated balloon falls to the floor.
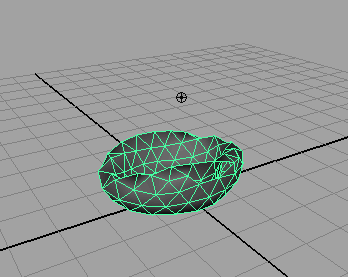
To set the balloon’s initial state
 .
.
Maya will automatically playback the scene to frame 200 and save the balloon simulation to disk.
Inflate and deflate the balloon
Now that the balloon begins deflated you can animate the balloon inflating and then deflating.
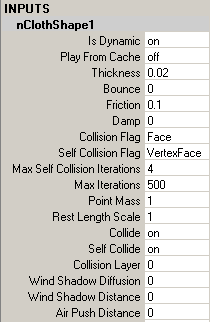
 -click Seal
Holes to include it in the selection.
  -click
either name and select Key Selected from
the context-sensitive menu that appears.
The fields will change color to confirm you set the keys correctly.
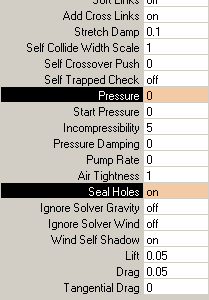
 -click
the name and select Key Selected from the context-sensitive
menu that appears.
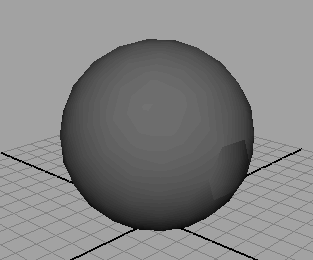
The balloon inflates very quickly initially, and then slows down until frame 200.
 -click Seal
Holes to include it in the selection.
  -click
either name and select Key Selected from
the context-sensitive menu that appears.
The fields will change color to confirm you have set the keys correctly.
 -click
the name Seal Holes and select Key Selected from
the context-sensitive menu that appears.
 -click
the name Pressure and select Key Selected from
the context-sensitive menu that appears.
At frame 300 the balloon flies away due to the release of air from the hole in the geometry.