Learning Resources > Tutorials > Getting Started with Maya > Hair > Lesson 2: Creating a dynamic
non-hair simulation >
Assigning a Paint
Effects brush to the hair
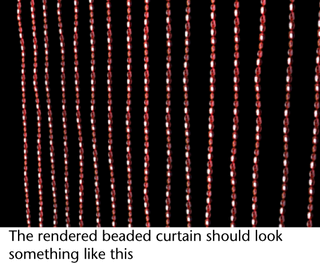
You can assign a Paint Effects brush to a hair system to achieve a variety of effects. In these next steps you apply the red beads brush to the hair system to create the beaded curtain. Then you modify the brush and hair system settings to achieve the desired look.
To turn the hair curtain into a beaded curtain
You don’t see the beads in the scene view, but you will when you render it later using the Maya Software renderer. The brush needs some adjustments to make it look like a beaded curtain when it is rendered.
 +
+  ) and
click the
) and
click the  button
to render the current frame.
button
to render the current frame.