In Maya, you move and pose your character during animation using kinematics. Kinematics is a system with which you can specify motion for your skeleton. There are two types of kinematics in Maya: forward kinematics (FK) and inverse kinematics (IK). Each type of kinematics is best suited for specific types of motion.
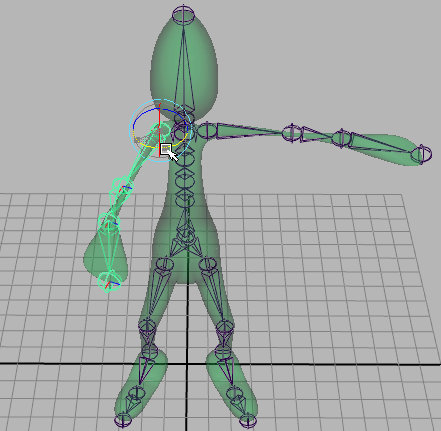
With forward kinematics, you rotate and key the individual joints in the skeleton. Forward kinematics is ideal for creating detailed arc motions such as the rotation of a biped’s shoulder joint.
With inverse kinematics, you translate and key an IK handle to pose and animate the transformations and rotations of its IK chain’s joints. All the joints between the start and end joints of the IK handle are driven by the IK handle. Inverse kinematics is ideal for creating goal-directed motions such as the motion of a biped’s hand reaching for an object.
In addition to using solely FK or IK to pose and animate the joints of your skeleton, you can blend FK and IK animation on the same joints.
With forward kinematics (FK), you rotate or move individual joints to pose and animate your joint chains. See Pose joints with FK. Moving a joint affect’s that joint and any joints below it in the hierarchy. For example, if you want a joint chain to reach for a particular location in space, you have to rotate each joint individually so that the joint chain can reach the location. To do this, you rotate and translate the joint chain’s parent joint, then the next joint, and so on down the joint chain. When you animate a skeleton using forward kinematics, Maya interpolates the joint rotations starting with the root joint, then the root’s child joints, and so on down through the skeleton’s hierarchy.
Forward kinematics is ideal for creating non-directed motion (such as the rotations of a shoulder joint), and should not be used to animate a large, complicated skeleton. Also, forward kinematics is difficult to use for specifying goal-directed motion. For example, if you use FK to animate a skeleton, it is difficult to keep a foot still when the body moves forward. Also, when you think about moving your hand to some location in space, you don’t normally think about how you are going to rotate all the joints in your arm.
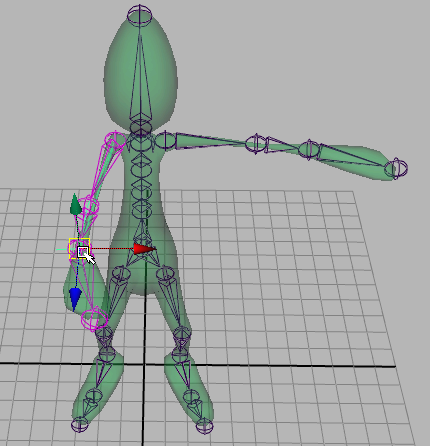
With inverse kinematics (IK), you move an IK handle to pose an entire joint chain. An IK handle is an object you can select and move that affects the joints it is assigned to. See IK handles. A joint chain that has an IK handle is called an IK chain. When you pose and animate a joint chain with an IK handle, the IK solver automatically rotates all the joints in the IK chain. The IK solver is what Maya uses to calculate the rotations of all the joints in the IK chain when you position the IK handle. See IK solvers.
Inverse kinematics is more intuitive for goal-directed motion than forward kinematics because you can focus on the goal you want a joint chain to reach without worrying about how each joint in the chain should rotate.
You can quickly and easily create natural looking poses and animation for your biped and quadruped characters with the new full body IK (FBIK) in Maya.
Instead of using single IK handles per limb, full body IK allows you to translate and rotate your character’s body parts with FBIK effectors and have the rest of your character’s body follow those movements. For example, if you use FBIK to animate the arm of a biped character reaching down to pick up an object off the floor, your character will bend in a natural way at the waist and knees as you move your character’s FBIK hand effectors downward. You can also use FBIK to animate movements such as: a character swinging by its arms from a tree branch, a character doing a handstand, a character’s walk cycle, and so on.
Maya's full body IK is based on the Autodesk® HumanIK® solver used in Autodesk® MotionBuilder®. FBIK utilizes the full capabilities of the HumanIK solver so that you can use the various hikHandle attributes to tweak the motions of your characters during interaction and playback when animating with FBIK. Also, the Autodesk® FBX® plug-in and file interchange format allows you to transfer rigged characters animated with FBIK between Maya and MotionBuilder without requiring the animation to be baked.
Each of the following steps are mandatory when using FBIK in Maya unless otherwise specified.
See Pin and unpin your character’s effectors and How do I pose my characters with full body IK?.
See How do I animate my characters with full body IK? and How do I manage my full body IK keys?.


