Learning Resources > Tutorials > Getting Started with Maya > Fur > Lesson 1: Assigning a fur
description >
Assigning objects to a
reference layer
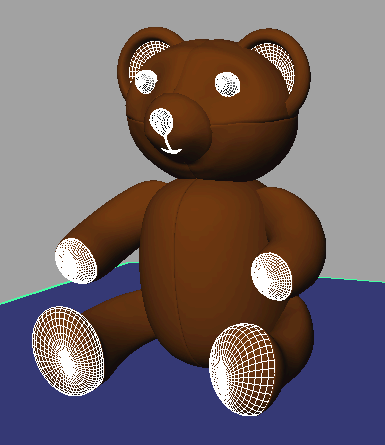
In this section you will assign any objects that will not have fur assigned to a referenced display layer so they become temporarily unselectable when adding or changing a fur description.
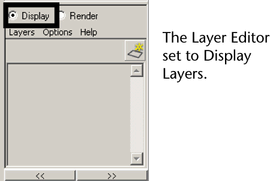
Layers are overlapping views of your scene that can have objects assigned to them. You can assign any objects within a scene to layers. One useful characteristic of layers is that they let you simplify your scene so you can work on specific objects without disturbing other objects. You can choose which objects of the scene you want to assign to a layer and then selectively make them visible or invisible. You can also template or reference all objects associated with a given layer.
To assign objects to a display layer
 .
.
In the Layer Editor, the name of the layer updates and its status is now set to Reference. The Reference display state indicates that the objects in that layer can still viewed in the scene but cannot be selected.
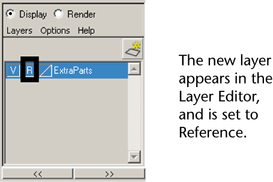
The selected objects are assigned to the ExtraParts display layer which is currently set to Reference. You can still view these objects but they cannot be selected again until you set the display setting for this layer to Normal. Using reference layers in this fashion aids your workflow by ensuring you don’t accidentally select unwanted surfaces when applying Fur.