Describes typical workflows using bookmarks.
Bookmarks in Alias are typically used for one of the following two purposes:
In the first workflow, the user is likely a designer exploring different concepts for a design. He/she wants to be able to sketch on top of a model then save the different sketches (including orientation and shading) as a series of bookmarks that can be quickly viewed later. For example, a car designer may be experimenting with different looks for some components on the front panel of a car (see workflow A below).
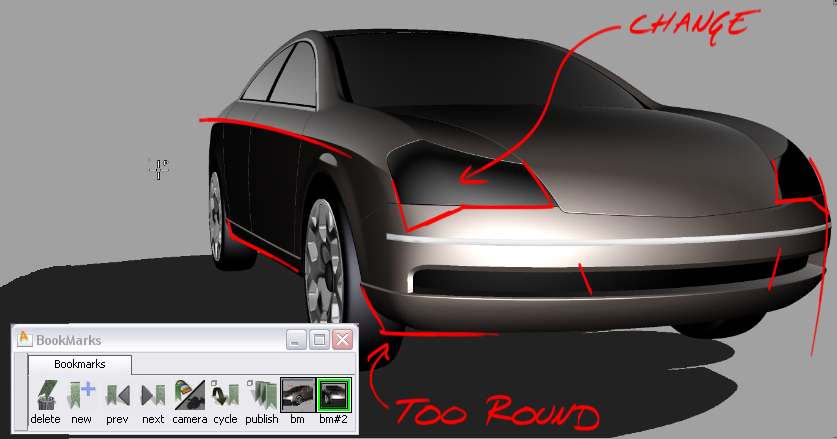
In the second workflow, a designer or manager wants to review a completed design and indicate areas that require modification, or simply add some comments.
Both workflows are described in detail below.
A. Using sketch tools and bookmarks to explore design ideas.
 to open your model in Alias.
 to shade the model or choose one of the shading modes in the Diagnostic Shading Panel.
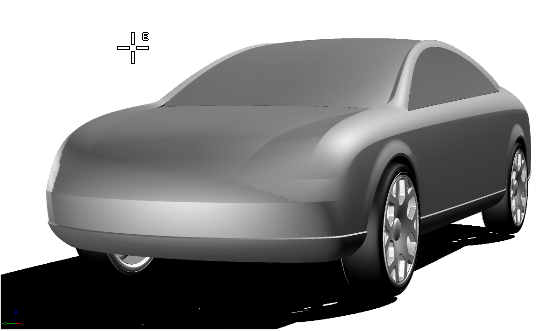
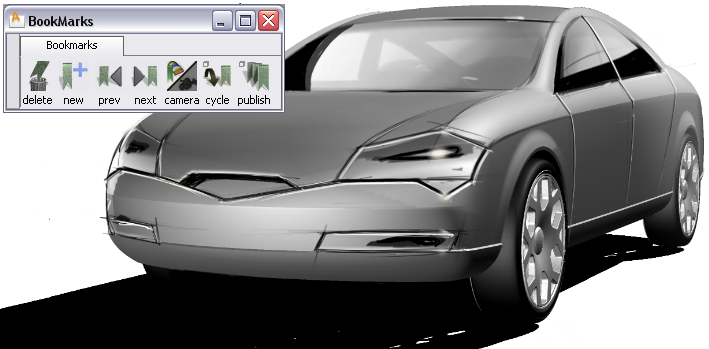
 to open the Bookmark Lister.
 to create a new overlay canvas in the Perspective window.
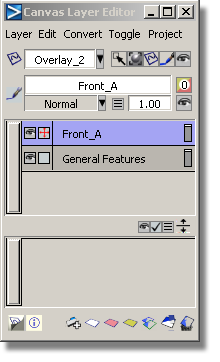
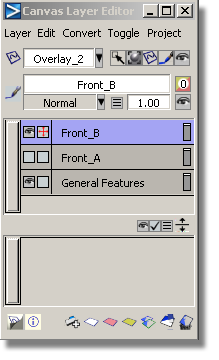
 to open the Canvas Layer Editor.
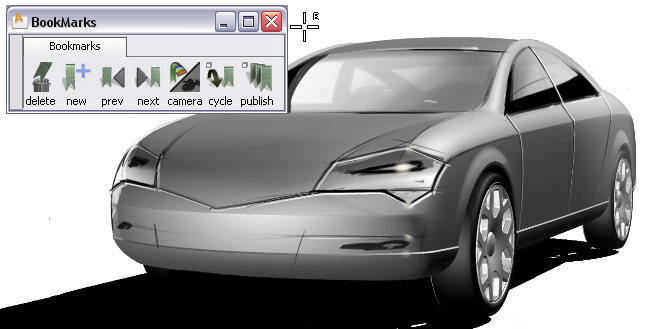
Let’s say you now want to explore two different alternatives for the front detailing, but want to show both with the general features you sketched in the previous step.
 icon so that it becomes a
  icon.
icon.
A new bookmark is created, containing the general features and second version of the front detailing.
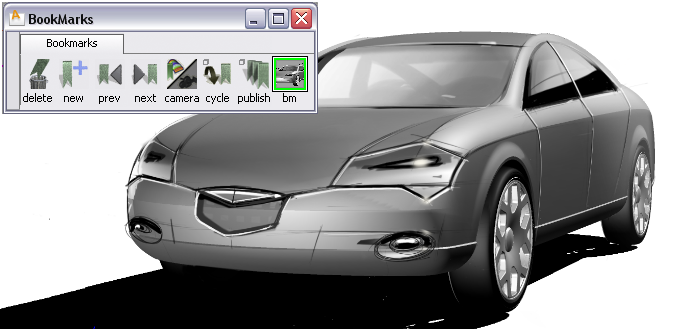 icon, and make the Front_B layer invisible by clicking its icon.
A new bookmark is created, containing the general features and first version of the front detailing.
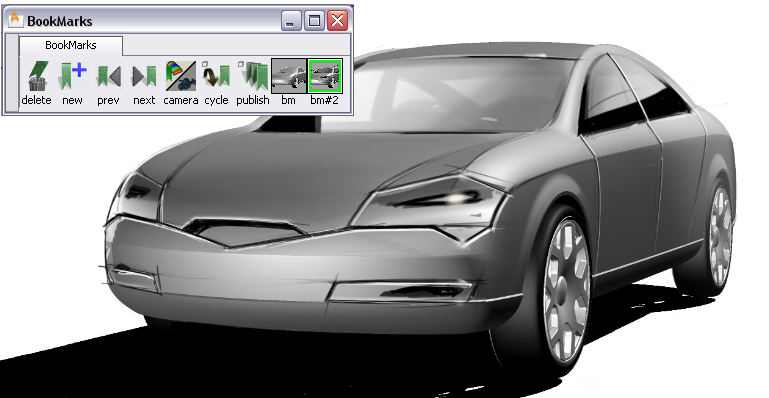
By now you should have two bookmarks showing the same view of your car model with different sets of front detailing.
B. Using sketch tools and bookmarks to review a completed design.
to open your model in Alias.
to shade the model or choose one of the shading modes in the Diagnostic Shading Panel.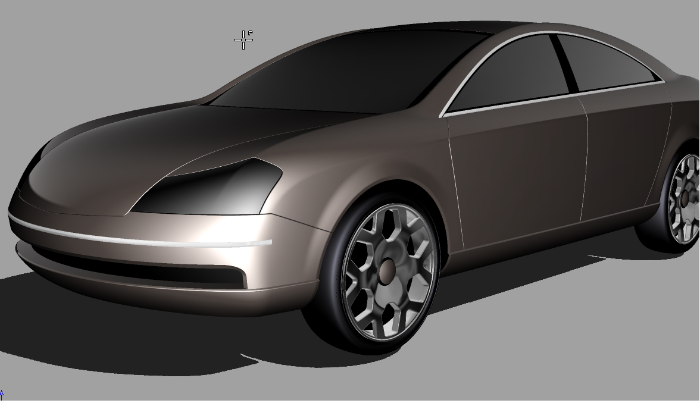 to open the Bookmark Lister.
to create an overlay in the view.
to open the Bookmark Lister.
to create an overlay in the view.
A new bookmark is created that captures the camera position, shading information and annotations.
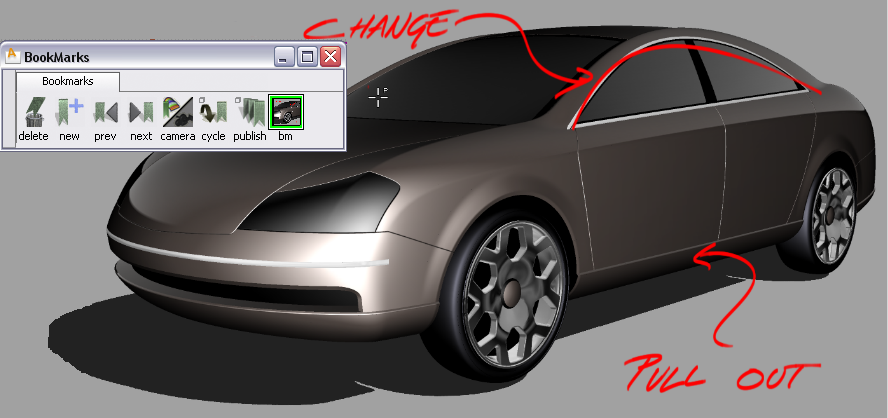
All sketching is removed.
to create an overlay canvas in the new view.