to open the Lattice Rig toolbox.
Use the lattice to stretch the model

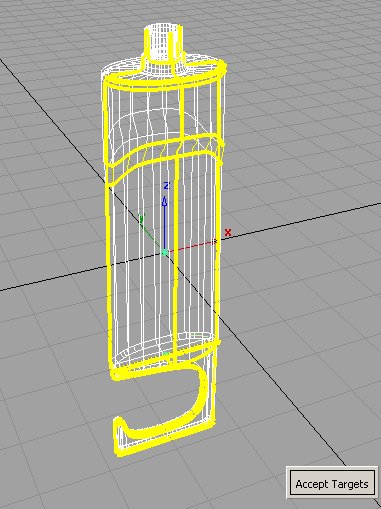
Notice the lattice is now drawn with solid lines, and the surfaces have a yellow-green highlight.
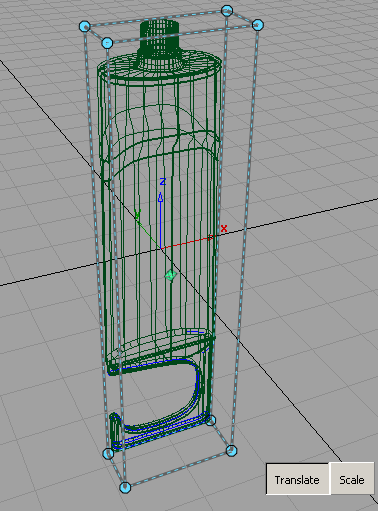
 and click on the four top points of the lattice. Notice that they now have arrow manipulators attached to them.
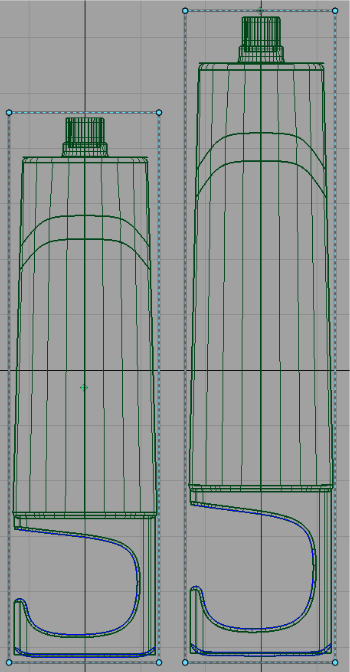
 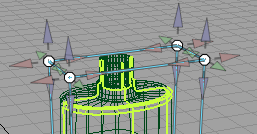 , and drag any one of the blue arrows and move the points upwards.
This is a simple stretch. Notice how all parts of the bottle were stretched, including the hook. In the next part, you will learn how to stretch only part of the model.
Part 2: Stretch everything except the hook of the bottle
Sometimes it is important that parts of your model are preserved when you use Lattice Rig to modify other parts of the same model. One way to accomplish this task is to include as Lattice Rig targets only those parts that should be modified. However, there are times when this isn't possible. For example, you may need to hold half of the same surface (or mesh) as you modify another half. This tutorial will show you how to modify the lattice to achieve this.
Follow the steps in Generate the lattice of Part 1 of this tutorial to load in the bottle model and to generate the initial lattice. In this part, we will modify the initial lattice to include only the part of the bottle we wish to modify, and then perform the stretch.
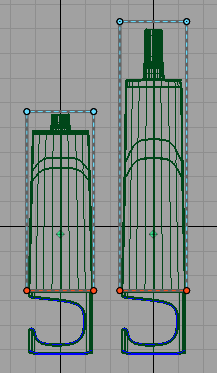
 to switch to the side view.
, draw a pick box around the bottom points of the lattice to select them. Notice the arrow manipulators.
. This moves the bottom of the lattice up. Position the bottom of the lattice just above the point where the hook meets the
bottle.
to switch to the side view.
, draw a pick box around the bottom points of the lattice to select them. Notice the arrow manipulators.
. This moves the bottom of the lattice up. Position the bottom of the lattice just above the point where the hook meets the
bottle. 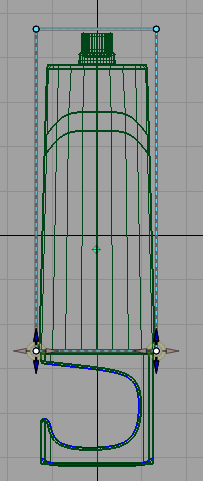
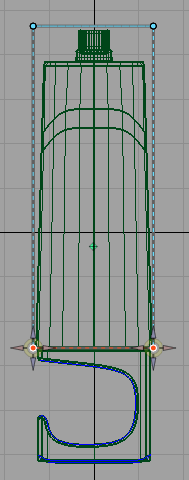
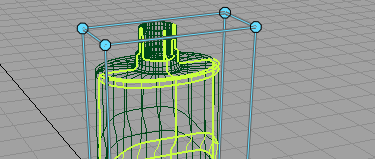
The parts of the lattice that intersect with target geometry are locked. When the lattice is engaged, locked points cannot be moved.
 , draw a pick box around the top points of the lattice. Notice that the bottom points are now unselected.