In this tutorial, you will learn how to use Lattice Rig to widen the opening of a vase two different ways, by setting up the lattice differently while it is disengaged.
Part 1: Widen the opening using a shear-type modification.
 to open the Lattice Rig toolbox.
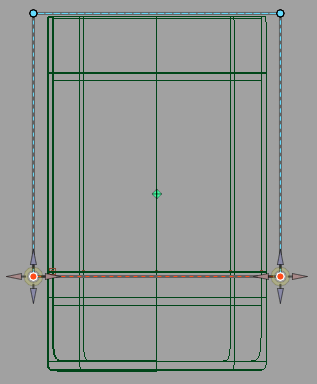
Use the lattice to enlarge the top
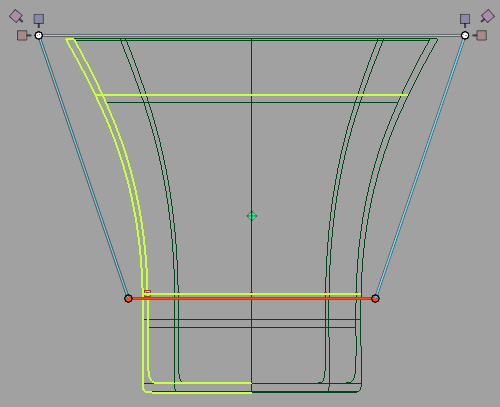
 and click the top four points of the lattice. They now have arrow manipulators attached to them.

 to switch to the top view.

The lattice is drawn with solid lines, and the surfaces have a yellow-green highlight.
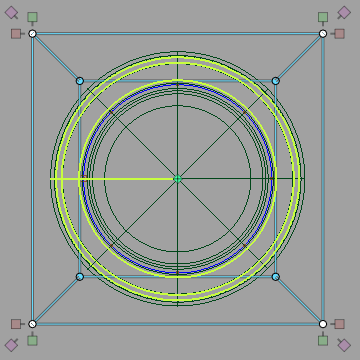
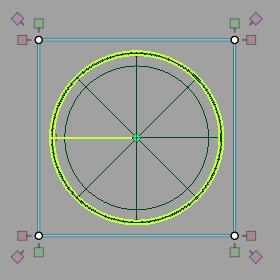 and drag on the pink manipulator to scale the selected lattice points.
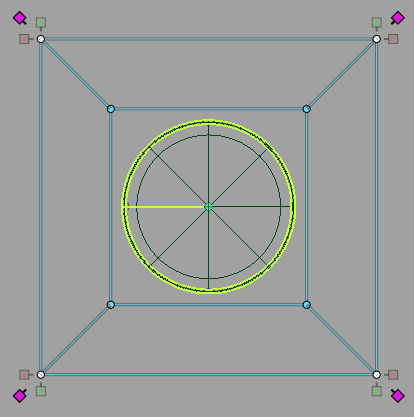
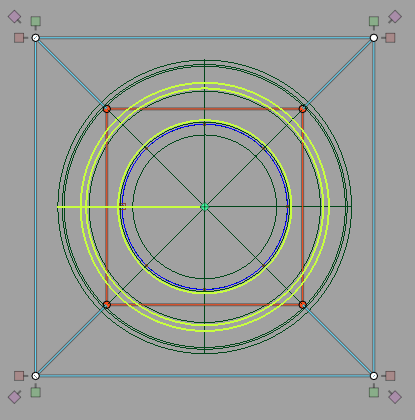
The pink manipulator in an orthographic view scales proportionally in that view. In this case, the opening of the vase enlarges, but the vase does not grow taller.
 . The top of the vase widens, and the sides of the vase remain linear.
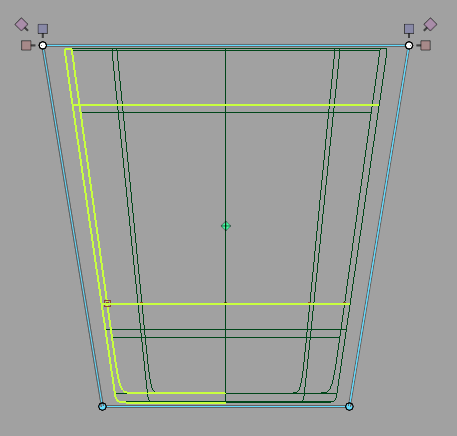
Part 2: Widen the opening but leave the bottom stationary.
Follow the steps in Generate the lattice of Part 1 of this tutorial to load in the vase model and to generate the initial lattice.
and draw a pick box around the bottom lattice points.
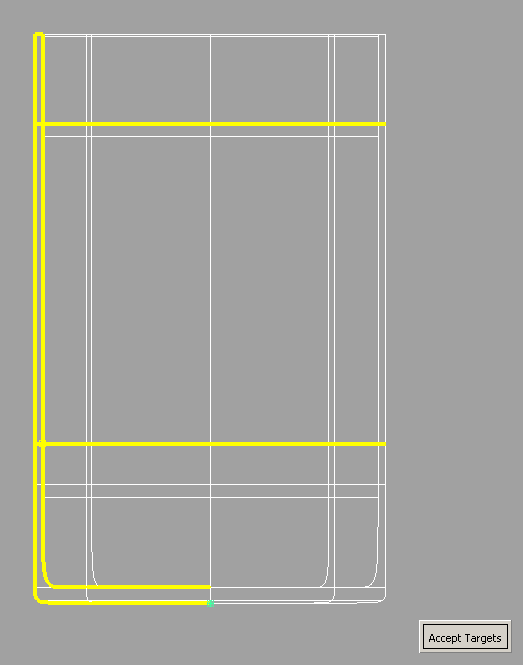
and click-drag any one of the blue arrow manipulators to move the bottom of the lattice up, as shown below. 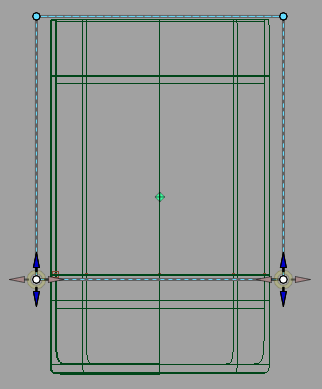
The bottom points and edges of the lattice are now drawn in red. This indicates that the bottom of the lattice is locked, as it intersects the target surfaces in this rig.
 -click the Lattice Rig icon in the toolbox to open the option window.
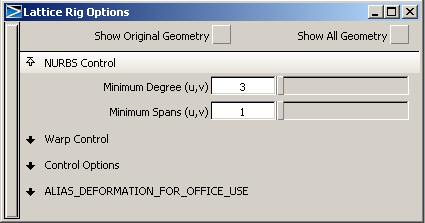
Use the lattice to enlarge the top
 and click the top four points of the lattice.
They now have arrow manipulators attached to them. Also notice that the bottom four points are no longer selected.
The manipulators change to boxes. These are scale manipulators.
to switch to the top view.
The lattice is now drawn with solid lines, and the surfaces have a yellow-green highlight.
to drag the pink manipulator to scale the selected lattice points. 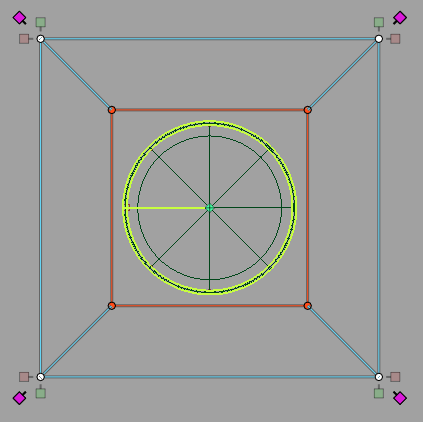
The pink manipulator in an orthographic view scales proportionally in that view. In this case, the opening of the vase enlarges, but the vase does not grow taller.
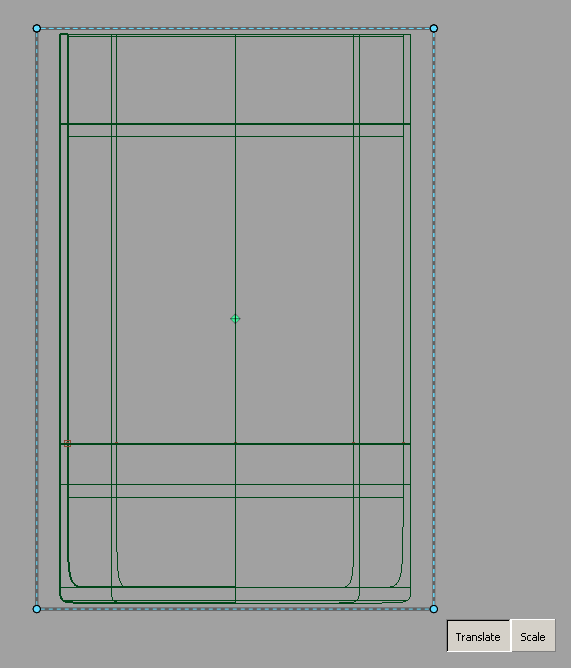
The target surfaces update to show the vase has enlarged as well.
 .
.
The top of the vase has widened, but the bottom of the vase below the bottom of the lattice remains unchanged. The sides of the vase change gradually. Contrast this shape with that from Part 1.