


How to create a collar NURBS surface along any boundary of a mesh, or curve-on-mesh.
The collar surface is fitted to the mesh along the selected curve (edge or otherwise) and provides continuity information along that curve, allowing you to build additional geometry from it.
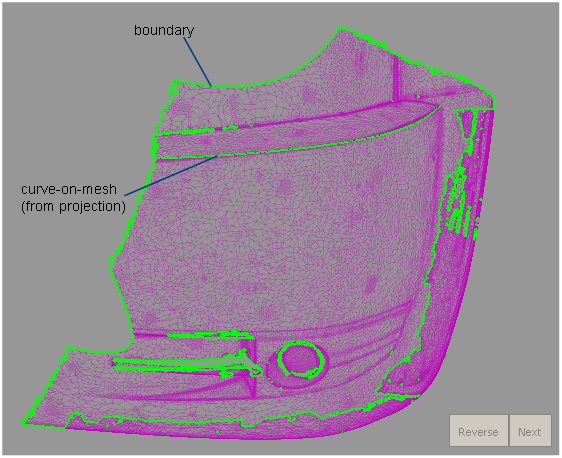
A curve-on-mesh results from projecting a curve on a mesh, or intersecting meshes.
See Project curves normal to meshes.
See Create curves at mesh intersections.
Create a collar surface against a mesh
 .
.
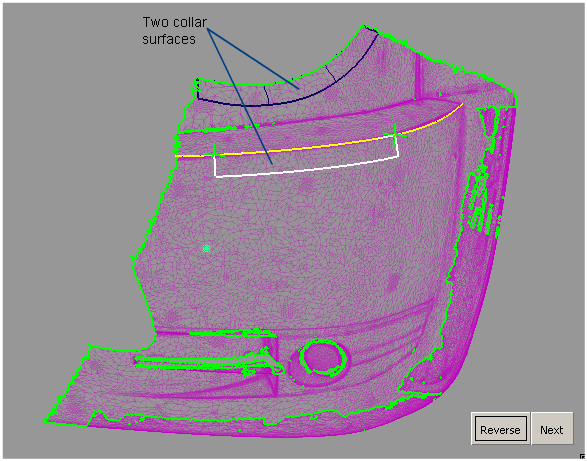
All the mesh boundaries, and curves-on-mesh, are highlighted in green.
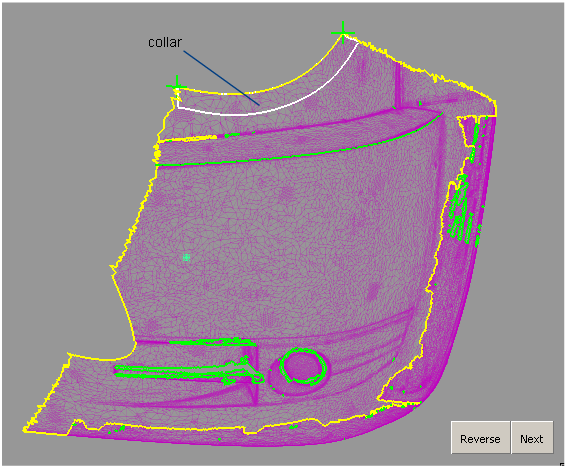
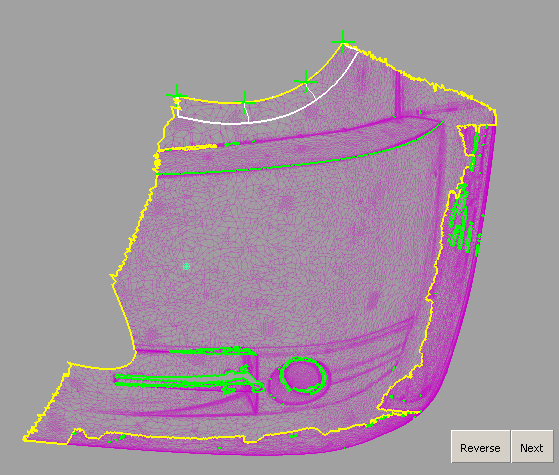
A collar surface is built along the curve, covering the shortest distance between the two points.
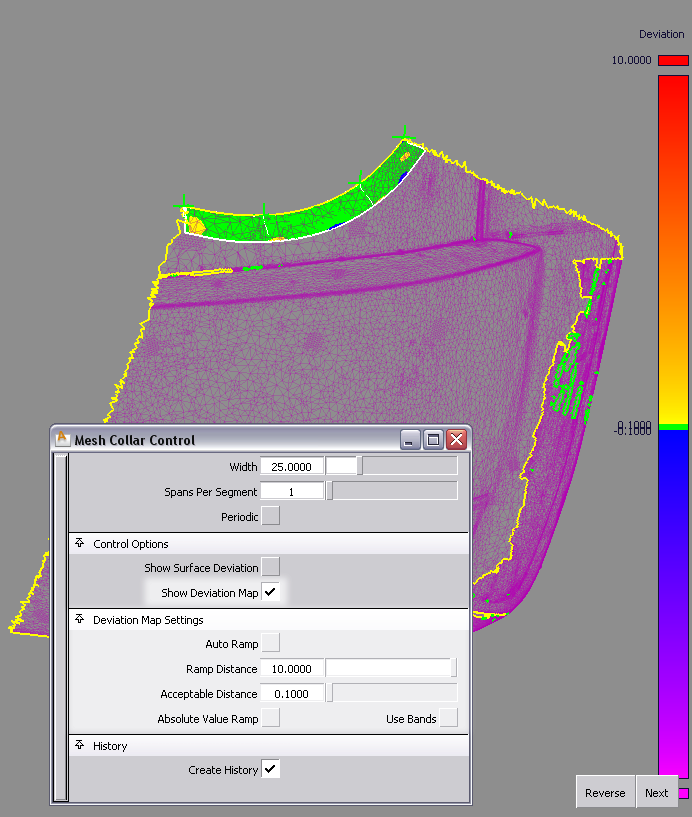
The collar is fitted to the mesh along its entire width, as well as along the selected boundary or curve-on-mesh.
Collar surfaces are degree 5 in the U direction, and degree 3 in the V direction, by default.
 and clicking the point. (Periodic collars need at least one point, and non-periodic collars need at least two.)
You can then use NURBS modeling tools on the edge of the collar surfaces to build additional surfaces against the mesh.
If you turn on Create History, you can use Object Edit > Query Edit or the History View window and select the collar to re-enter the tool and modify the option values and input points. However, changing the geometry of the mesh boundary or curve-on-mesh used to build the collar will destroy the collar history.