Use 3D mapping to position a texture on a surface


  1. Make sure that the texture mapped shader is assigned to the appropriate surface, and that this surface is the only active object in the modeling window.
  2. Open the texture’s Control Window, and open the Surface Placement and Label Mapping sections.
  3. Click the 3D mapping icon in the bottom right corner of the texture swatch in the Multi-lister.

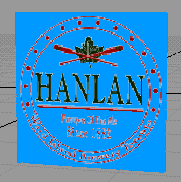
    The modeling window displays the texture directly on the wire frame of the surface.

  4. If necessary, increase the patch precision of the surface to visualize the texture better. Patch precision represents the number of curves (visual isoparametric curves) that are displayed to represent each patch on a surface. On most surfaces, the default patch precision of 2 is too low for 3D mapping. Increasing the patch precision, however, also increases the screen refresh time.

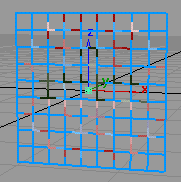
    Select Object edit > Patch Precision and enter a number between 2 and 30. The number of visual isoparametric curves per patch increases, making the texture pattern more visible.

  5. You may want to use HardwareShade display mode to visualize the texture better. Select WindowDisplay > Hardware Shade. The surface is displayed in shaded mode.
  6. Adjust the Surface Placement and Label Mapping parameters until the texture is correctly positioned on the surface.

    The Label Mapping parameters control the position and orientation of the texture relative to the surface (see Label Mapping in Render > Multi-lister).

    The Surface Placement parameters control the position and orientation of the texture pattern relative to the texture (Surface Placement in Render > Multi-lister).

  7. Click the 3D mapping icon in the bottom right corner of the texture swatch in the Multi-lister. The modeling window no longer displays the texture directly on the wire frame of the surface.
  8. If you turned on the Shade display mode in step 5, select WindowDisplay > Hardware Shade to turn it off.
  9. If you increased the patch precision of the surface in step 4, reset the patch precision of the surface to its default value (2). Select Object Edit > Patch Precision and enter 2.