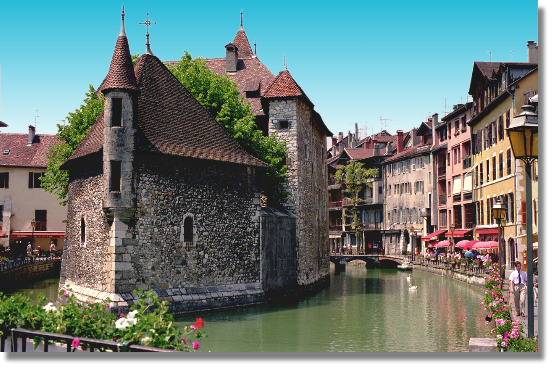
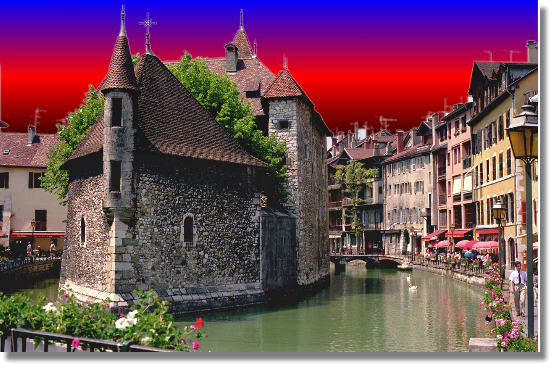
Remove the sky from an image and replace it with a textured shape.
This “How-To” uses the file annecy.tif, provided in the courseware directory.
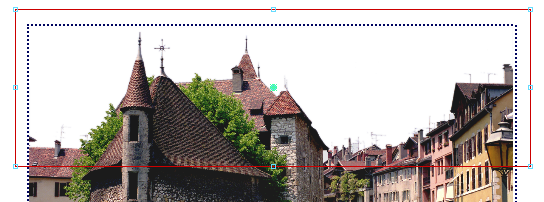
First you’ll select the sky and remove it from the image.
To select the sky and remove it
 .
.
This tool lets you select a consistently colored area of an image layer.
Notice that the Paint Panel now displays the Magic Wand Options.
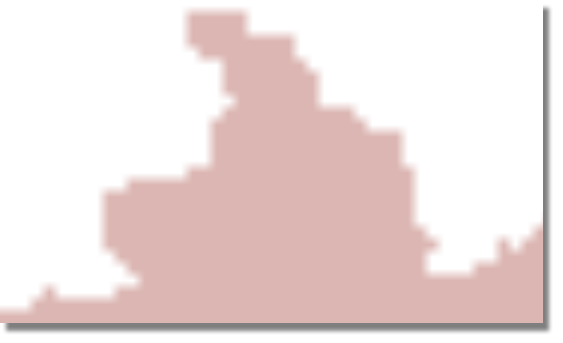
The sky appears unchanged, but the rest of the image becomes pink.
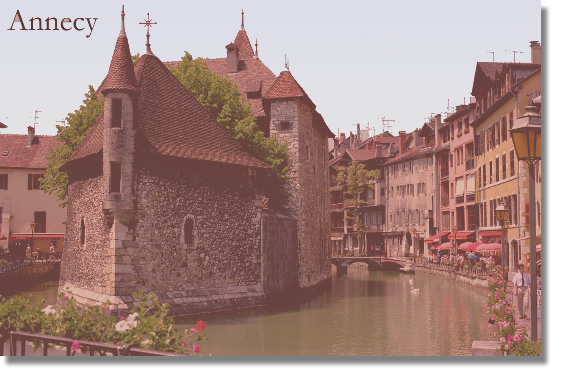
The pink color indicates regions that are not selected. (Regions that are not selected are also referred to as masked regions.)
Regions that are not pink are selected regions (or unmasked regions).
Now you can only modify the selected regions (for example, painting, erasing, copying, and so on).
You cannot modify the pink (masked) regions.
For example, set it to 100, 120, 130, and finally 20.
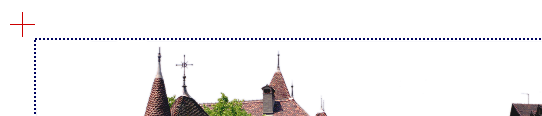
Notice that the text in the top left corner is not selected (that is, it appears pink).
 to open the Canvas Layer Editor window.
 icon for the annecy layer to hide it.
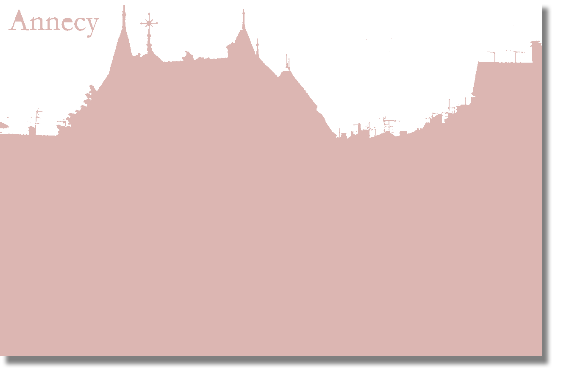
A new mask layer called Marquee-# (where # is a number) is created in the bottom section of the Canvas Layer Editor and becomes the active layer.
Regions of the mask layer that contain red paint represent areas of the active image layer that are masked, and regions of the mask layer that do not contain paint represent regions of the active image layer that are not masked (paintable).
Here we want to modify the mask by painting directly into the mask layer.
 > Eraser Hard and erase the red regions that appear over the text.
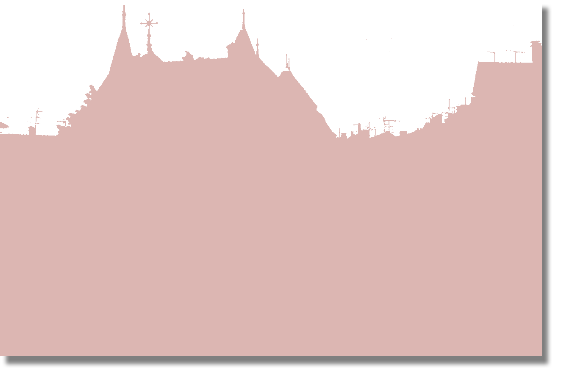
Now these regions are unmasked.
(If there were any masked regions within the sky, for example clouds, you could remove them in a similar way.)
 .
.
(The reason for this is only so a brush preview doesn’t obscure your view when you zoom into the image in the next step.)
Notice that the edge of the masked region is very abrupt and jagged.
Another modification we can make directly to the mask layer is to blur it so that the edge of the masked region is smooth.
 to blur the Selection layer.
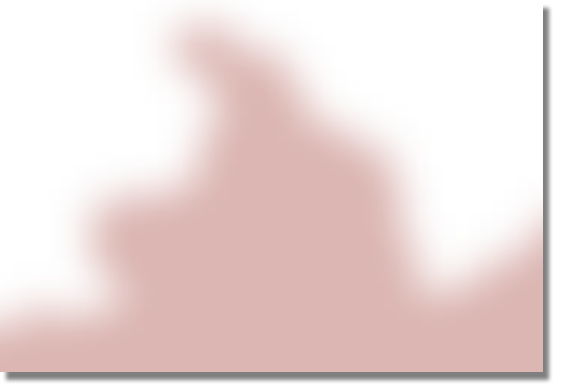
Now the edge of the masked region is much more smooth.
 icon for the annecy layer to show it again.
 icon next to the Marquee-# layer so that it becomes a
  icon. The mask is now associated with the annecy layer.
 to erase the selected region of the image.
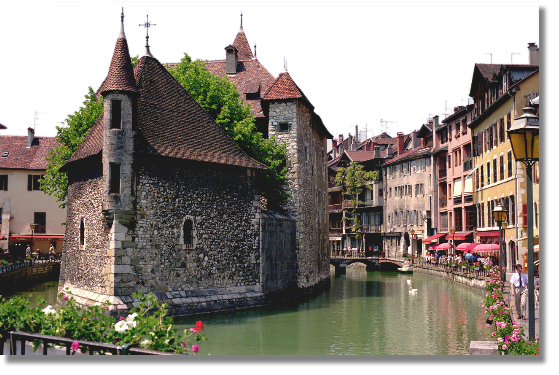
To create a shape with texture fill for the background
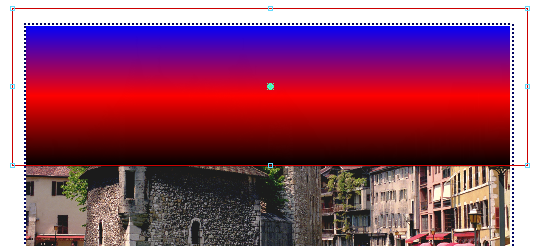
Next you’ll create a new sky for the image using a shape with texture fill.
 .
.
This tool allows you to create a rectangle using Alias curves.
 to clear the selection.
 .
.
This tool allows you to create a shape with a fill and/or outline using Alias curves.
Notice that the Paint Control Panel now displays the Shape Outline options and Shape Fill options.
A check mark should appear on it.
 button beside RGB Color to open the Shape Texture window.
This lets you choose a texture for the shape’s fill.
This window contains parameters that let you customize the ramp texture. You’ll do this later in the tutorial.
A shape layer called Shape-# is created in the Canvas Layer Editor and contains the new shape.
 to hide the rectangle.
Next you’ll move the shape behind the image and modify the ramp texture so it appears more like an actual sky.
to open the Canvas Layer Editor window.
There are two layers in this sketch: annecy and Shape-# (where # is a number). annecy is an image layer (indicated by  ) and Shape-# is a shape layer (indicated by
  ).
).
An image layer contains paint (in this case, an imported image) and a shape layer contains shapes. You cannot use a brush to paint or erase on a shape layer.
 (Windows) or
  (Mac).
 to drag the sky layer down.
Drag the sky layer onto the annecy layer. When a red triangle pointing down appears on the annecy layer, release the.
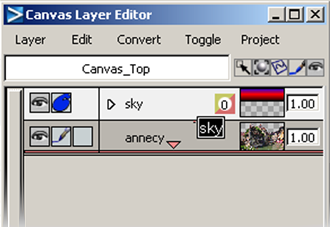
The sky layer is now beneath the annecy layer.
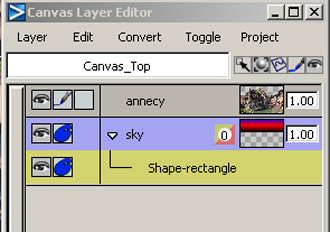
In this case, there is only one shape on the layer: Shape-rectangle.
It becomes highlighted in yellow.
The shape’s name appears in the Paint Panel above the Display options.
 beside the button under RGB Color to open the Shape Texture: Ramp window.
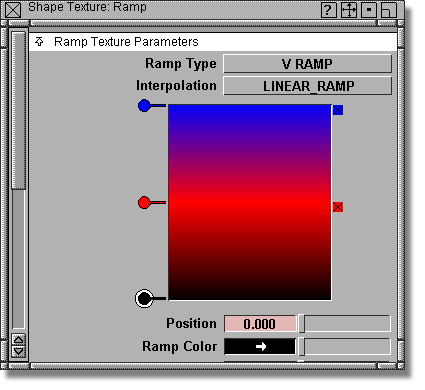
Notice how the shape’s fill changes.
The black handle at the bottom left corner of the ramp is highlighted in white indicating that it is the active handle.
Notice how the shape’s fill changes.
 to open the Color Editor.