The image warp shape tool enables you to locally change the shape of an image using curves. You creates warp shapes using
any number of curves, and these curve create a direct interaction with the image layer, so as a curve changes, the image is
also modified with a region of influence control. Some curves can be used to create positional constraints while other curves
are used to deform the image.
Warp a sketched image
- Import the image (File > Import > Canvas Image
 ) or pick the layer to be adjusted in the paint layer editor.
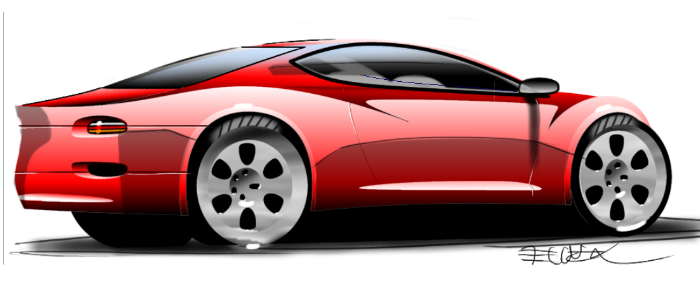
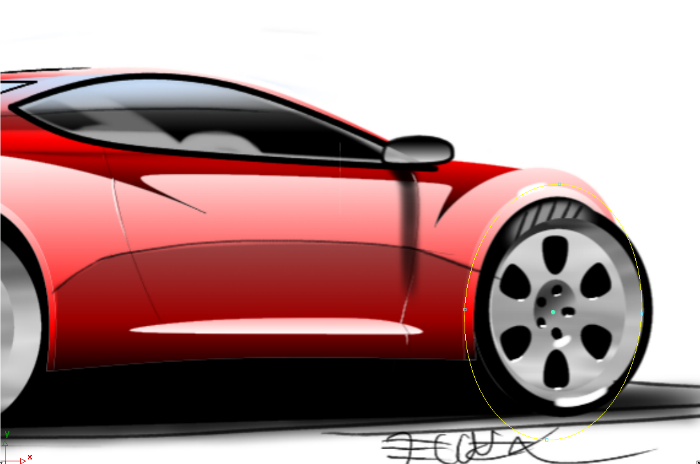
In this example, assume you want to make the front of this car smaller and reduce the wheelbase. Traditionally this would
mean redrawing the complete image, which is time consuming and tedious.
- Zoom into the area of interest.
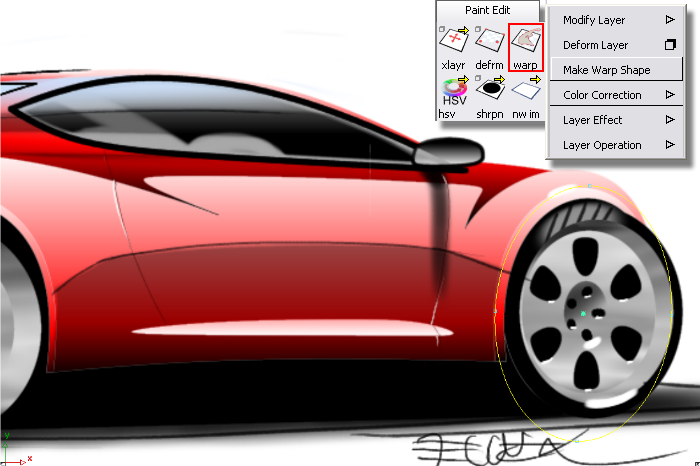
- Use any curve creation tool to define a warp region. In this example, we have created a simple ellipse.
- Reshape the ellipse to match the shape of the front wheel arch.
- Choose Paint Edit > Make Warp Shape.
- Pick any number of curves to create a warp shape from, then click . In this example we will use only one curve.
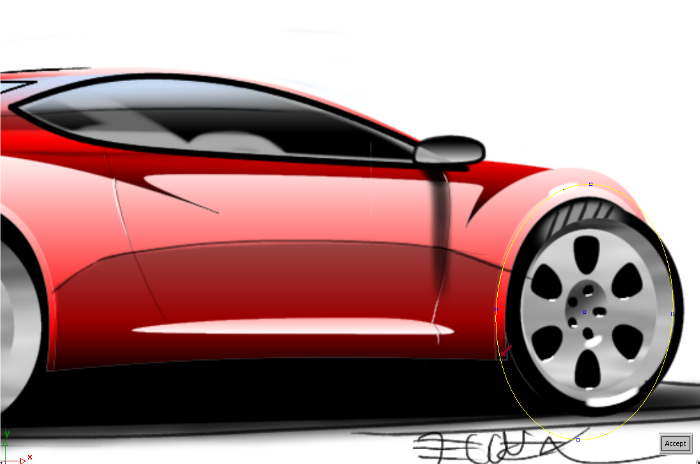
In the image layer a warp shape layer has been created.
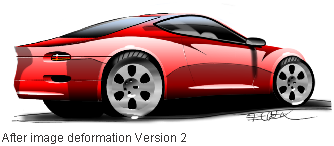
- Scale the ellipse and watch the image layer dynamically deform. You may need to change the Influence slider in the paint panel
to achieve a pleasing result.
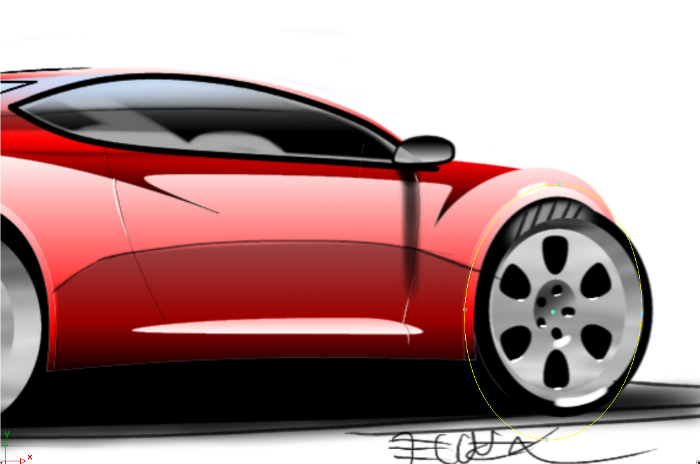
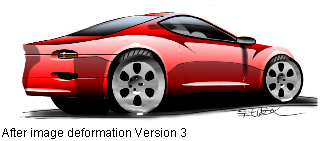
- Move the ellipse shape to the left.
Below you can see the changes.
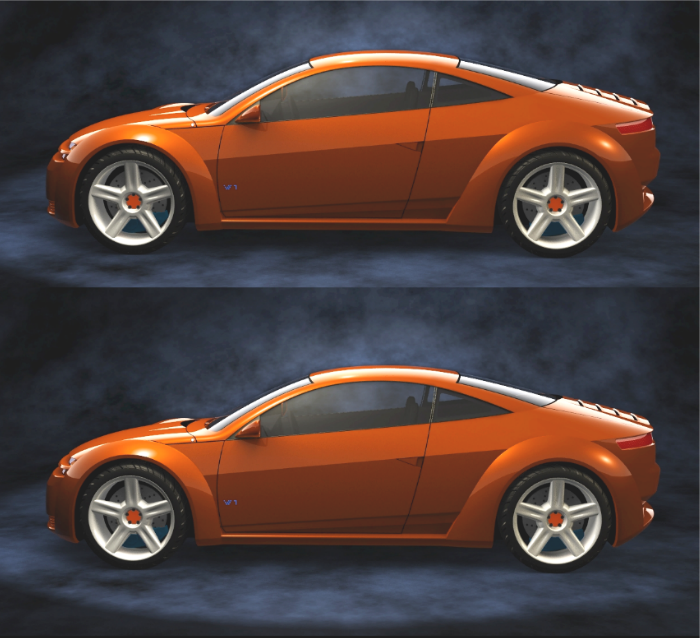
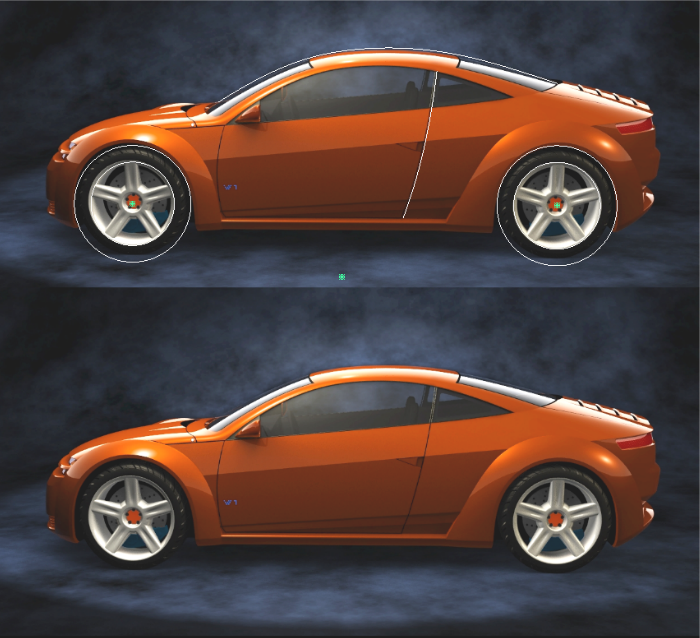
Deform a photographic image
In this example we will use the same procedure as Warp a sketched image but this time we will use a photographic style source image. Imagine that the design chief likes the overall concept car,
but wants to reduce the wheel base, raise the roof slightly, and modify the door shut line. In terms of modeling this would
be a tremendous amount of work, but this concept can be very quickly achieved using the curve warp tool.
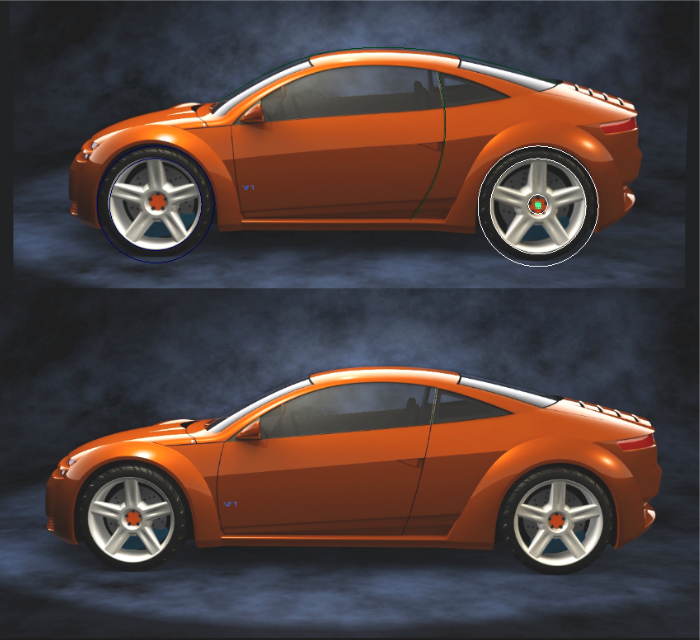
- Load the image to modify.
- Duplicate the layer and move it so we can see both the original image and the warped image layer.
- Create curves on the image to act as warp constraints. In this example, we have drawn circles over the wheel and tire to help
keep the final warped area circular.
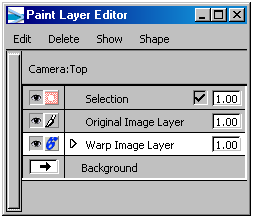
- Choose Paint Edit > Make Warp Shape and pick each curve to be used as a warp constraint.
Note
Note any type of curve (CV, Edit Point, Blend, Key Point, and so on) or surface isoparametric curve can be used.
- Open the to see the new warp shape layer that has been created.
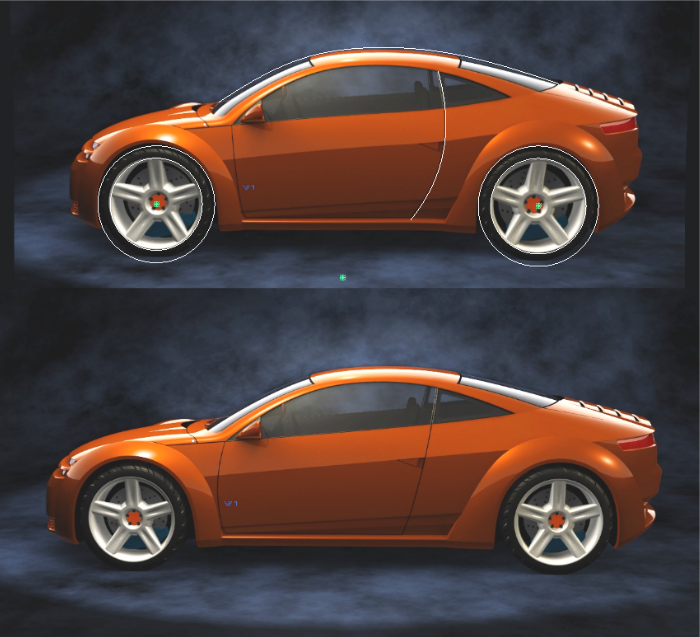
- Nothing will change in the image layer until you transform or edit the curves used as warp constraints. In the image below
we have modified all the curves: now compare both images.
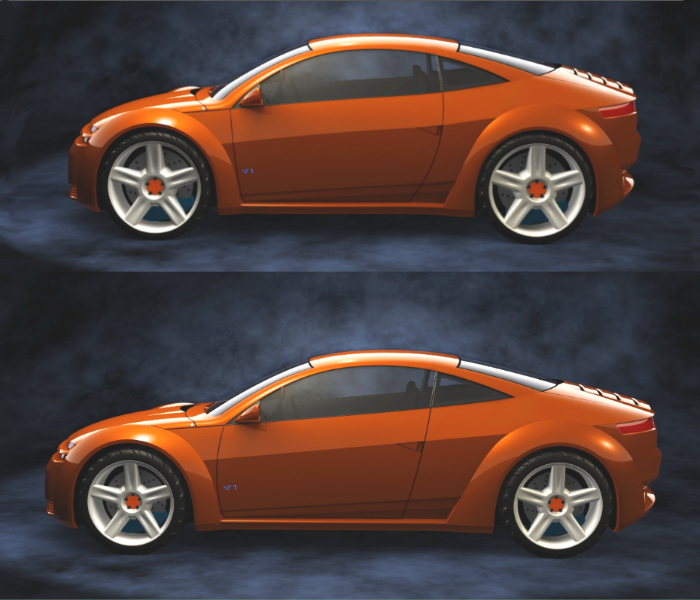
In the image below we have toggled off the curve visibility so it is easier to see the difference.
If you look carefully and critically, you will see the interior center of the wheel was warped by accident, because no curve
was used to constrain this area of the image.
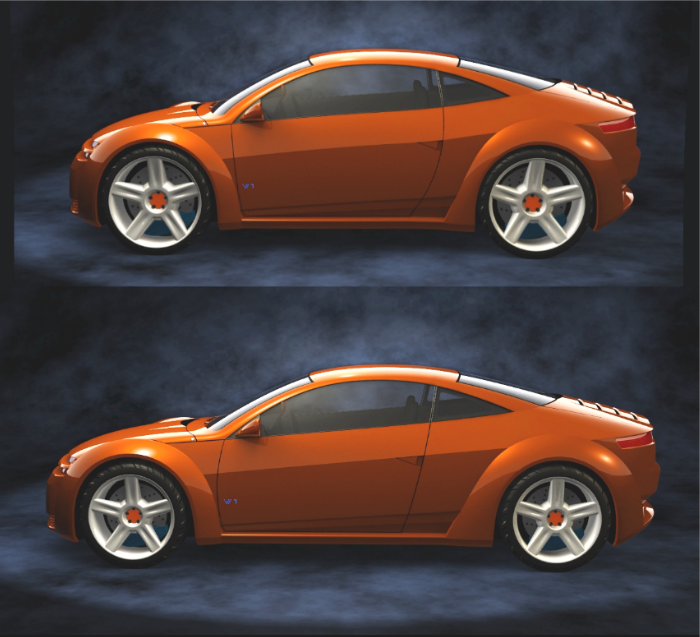
- No problem! Just add another circle in the current center of the wheel and create another warp shape using the center circle
and the outer alloy wheel area.
- Now move the center of the wheel to the correct position.
- Sometimes it is hard to see what areas of an image have been deformed, and by how much. Select any of the curves used by the
warp shape and turn on . This displays a grid that enables you to see the amount of warp in the image.
The image below shows the final image that took about 2 minutes to produce.