For many surfaces, you can obtain good results by choosing a simple but appropriate material and changing just a few settings. In this lesson, you will use this approach to add surface detail to a railing, the walls of a house, and the water for a swimming pool and for the sea itself.
 (Open File), navigate to
the \scenes\materials_and_mapping\med_villa folder,
and open the scene file med_villa_mat_start.max.
(Open File), navigate to
the \scenes\materials_and_mapping\med_villa folder,
and open the scene file med_villa_mat_start.max.
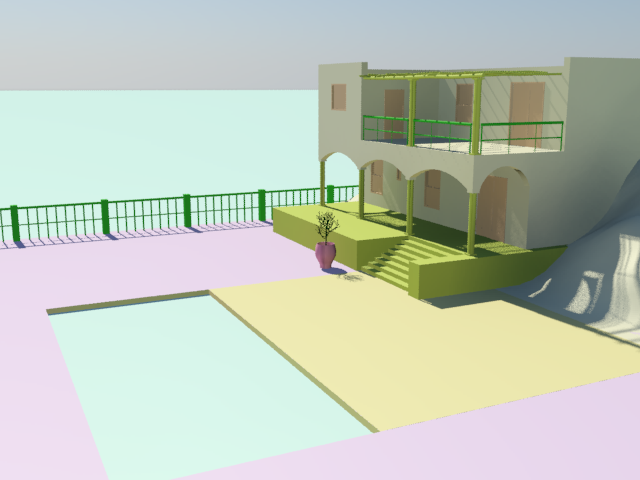
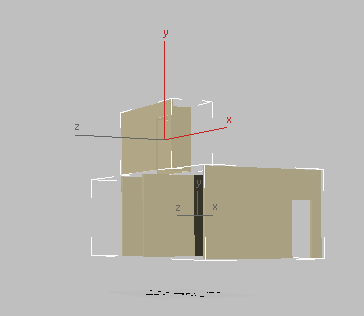
The villa before applying materials
Although the villa scene is set up with lighting and cameras, it has no materials. The effect is rather featureless and unrealistic: This is typical of newly created geometry in 3ds Max Design.
Create a material for the railings:
 (Material Editor) to open the
Slate Material Editor.
(Material Editor) to open the
Slate Material Editor.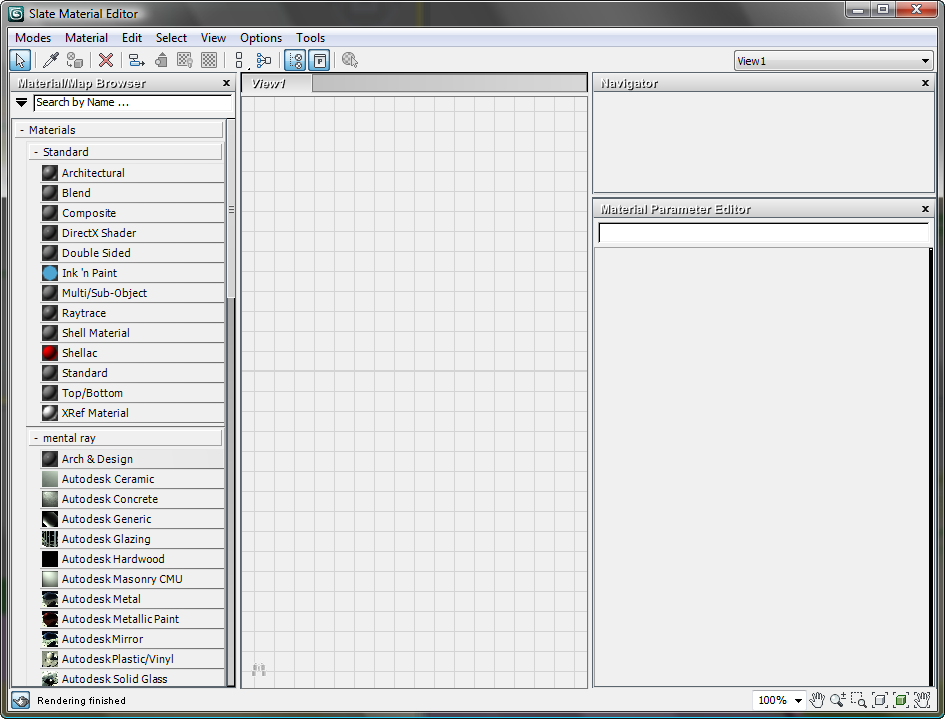
Also, to see changes in the viewport, it will help to minimize the Slate Material Editor while you work, and then restore it when you need to work on materials some more.
The Material Editor is a sort of workbench for creating, adjusting, managing, and applying materials to objects. The main portions of its interface are:
 mental
ray Arch & Design, and
drag the Arch & Design entry from the Browser to the active
View.
mental
ray Arch & Design, and
drag the Arch & Design entry from the Browser to the active
View.
3ds Max Design displays an Arch & Design material node in the active view.
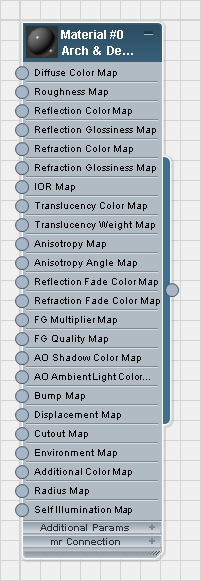
In 3ds Max Design, Arch & Design is the default material type. It is an extremely versatile material interface, but it has a large number of controls, as you can see. In this tutorial, we will use both the Arch & Design material and Autodesk Materials. Autodesk Materials are based on Arch & Design. Like Arch & Design, they are physically accurate, but they have simplified interfaces based on real-world material settings.
The parameters for the Arch & Design material appear in the Parameter Editor on the right side of the Slate Material Editor. They are grouped into rollouts.

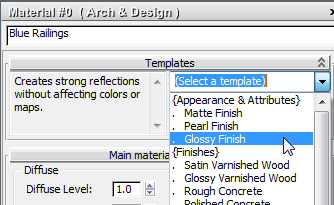
It is good to get in the habit of naming a material as soon as you create it. In a complex scene, intelligible material names are useful.
Notice that as you change the name, the name in the title bar of the material node in the active View updates as well.
Change the color of the railings:
Diffuse group, click
the color swatch.
3ds Max Design opens a Color Selector dialog.
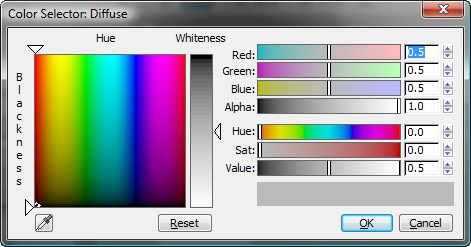
There are a few ways to do this, but probably it is easiest to click the large spectrum on the left side of the Color Selector. If the color seems too washed out, drag the Saturation slider to the right, near 100 percent.
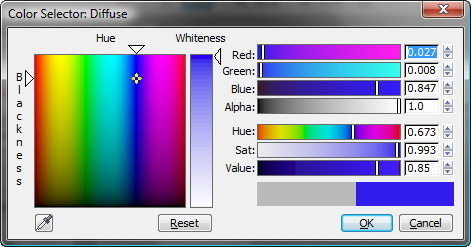
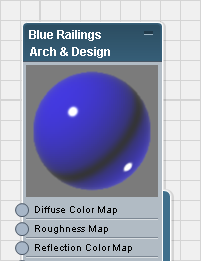
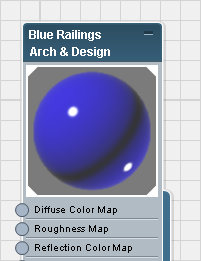
The preview in the title bar of the Blue Railings material node now shows the blue color.
Reflection group, change the value of Reflectivity
to 0.3.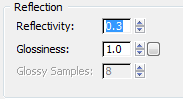
Apply the material to the railings:
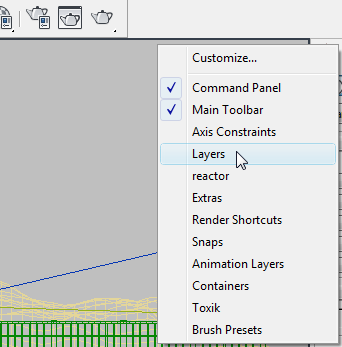

The Layers toolbar
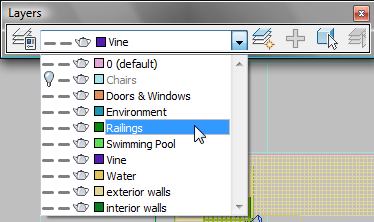
 (Select Objects In Current Layer).
This selects the railings in the scene: both the railings along the deck, overlooking the ocean, and the railings on the balcony of the house.
 (Assign Material To Selection).
In the scene, the railings turn blue.
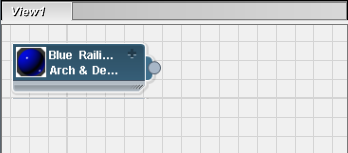
Look at the material preview: It now has angled corners.
Angled corners on a preview mean that the material has been applied to at least one object in the scene. When the angled corners are solid white, as they are in this case, the material is said to be hot. When you make changes to a hot material, the scene changes immediately, and usually the viewport display shows the material changes you have made.
Create a material for the house:
(Select Objects In Current
Layer).
Diffuse group, click
the color swatch.
These settings handle the finish and color of the white concrete house, but concrete often has a texture to it, as well.
3ds Max Design opens a pop-up menu so you can complete the connection.
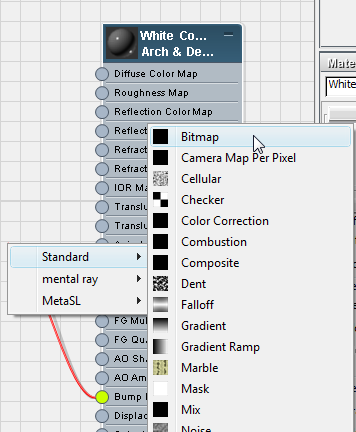
Bitmap.
(Assign Material To Selection).
In the shaded viewports, the house turns to a light gray color.
Use a rendering to see the White Concrete texture:
The distant views of the house won’t show the concrete texture clearly, but if you render a close-up of the house, the texture will be apparent.
Camera_house_closeup.
 (Render Production).
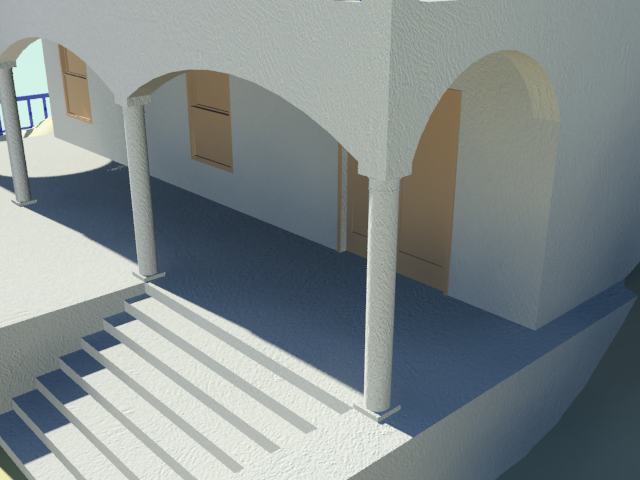
The close-up view of the porch of the house shows the concrete texture well.
 Close the rendered frame
window.
Camera-Terrace.
Close the rendered frame
window.
Camera-Terrace.
 (Move Children), and drag
the White Concrete node to move both
nodes out of the way, near the Blue Railings node.
(Move Children), and drag
the White Concrete node to move both
nodes out of the way, near the Blue Railings node.
 (Move Children) again to
turn it off.
(Move Children) again to
turn it off.
Create a material for the interior walls:
(Select Objects In Current
Layer).
In the views that are active now, you can’t really see the interior.
Now you can see the interior wall selection even in the shaded camera viewports.
mental
ray group.)
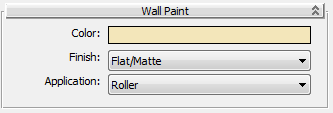
(Assign Material To Selection).
In the shaded viewports, the interior walls now have a light cream color.
Create a water material for the swimming pool:
The default setting for the Autodesk Water material is Swimming Pool, which has its own custom color. This is appropriate for this scene, so don’t change the Type setting.
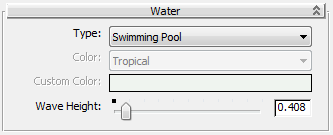
Dragging and dropping from the output of a material node is a shortcut way to assign a material. It is useful when you apply the material to a single object, such as the water in the pool.
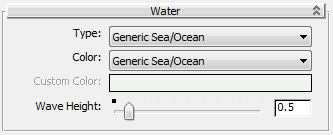
Create a different water material for the ocean:
 (Zoom Extents) so you can
see all the objects in the scene.
(Zoom Extents) so you can
see all the objects in the scene.
(Render Production).
Rendering of the villa with simple materials applied
Even simple materials greatly improve the realism of the scene.


