


Using a Multi/Sub-Object
Material for the Doors and Windows
The villa includes doors and windows. These objects use multiple material IDs to enable you to apply different materials to different surfaces of the object. (Some other architectural objects, and even some primitives, use the same method.)
A material ID is simply an ID number associated with certain surfaces on an object. It works with the Multi/Sub-Object material. The Multi/Sub-Object material contains multiple sub-materials, each of them linked by material ID to the object that uses the Multi/Sub-Object material.
Doors and windows use material IDs in the same general way, as shown in the following illustration.
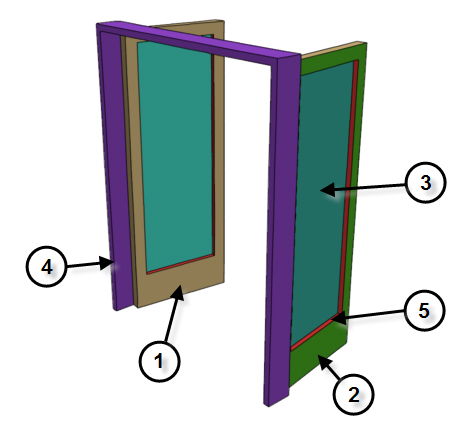
Material IDs for a door or window
1. Front of door
2. Back of door
3. Inner bevel
4. Door frame
5. Inner door
In this lesson, although doors and windows employ five different ID values, you use only two sub-materials: a solid color for the wooden parts, and a transparent material for the glazing or glass panel, which corresponds to the “inner bevel” ID.
Create the top-level multi/sub-object material:
 Slate Material Editor, drag
a Multi/Sub-Object material from the Browser into the active View.
Drop it a good deal to the right of the nodes that are already in
the View, so its sub-materials don’t overlap the older nodes.
Slate Material Editor, drag
a Multi/Sub-Object material from the Browser into the active View.
Drop it a good deal to the right of the nodes that are already in
the View, so its sub-materials don’t overlap the older nodes.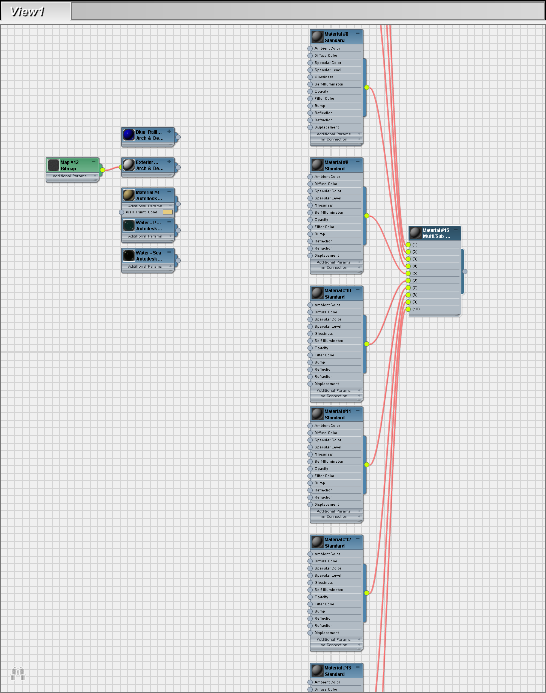
 Standard group.
By default, the Multi/Sub-Object material comes with ten Standard materials wired to it. It looks a little overwhelming, but we don’t need all those materials.
 (Zoom Extents) to see all
the nodes in the View.
(Zoom Extents) to see all
the nodes in the View.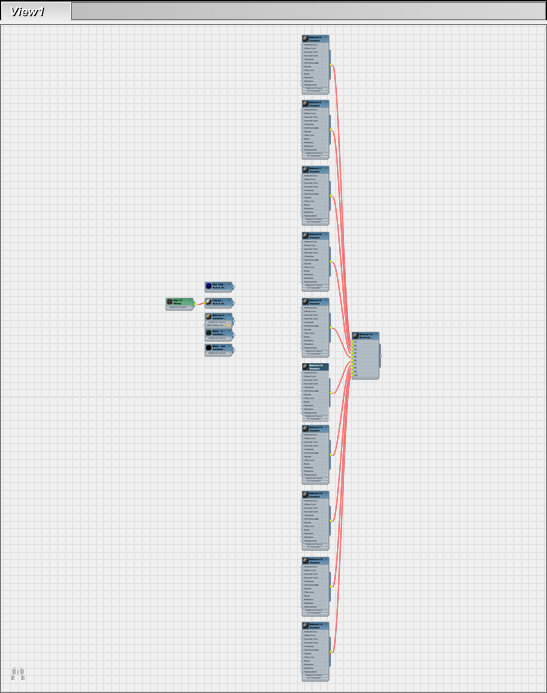

Dragging a box to select the sub-materials
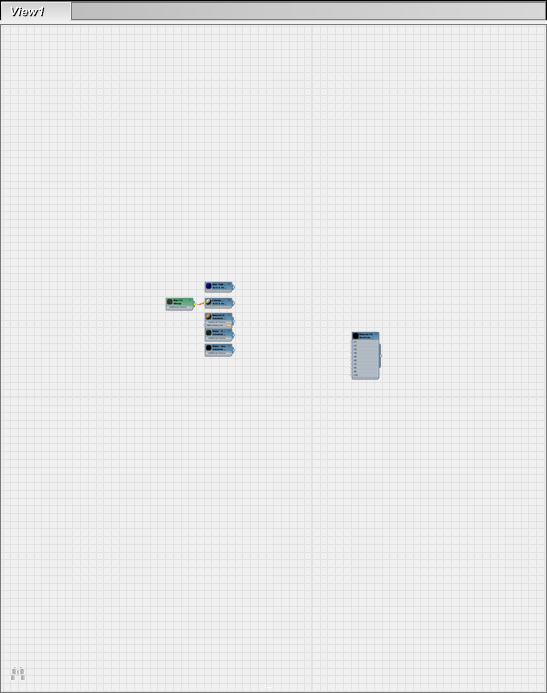
Sub-materials deleted
(Zoom Extents) again.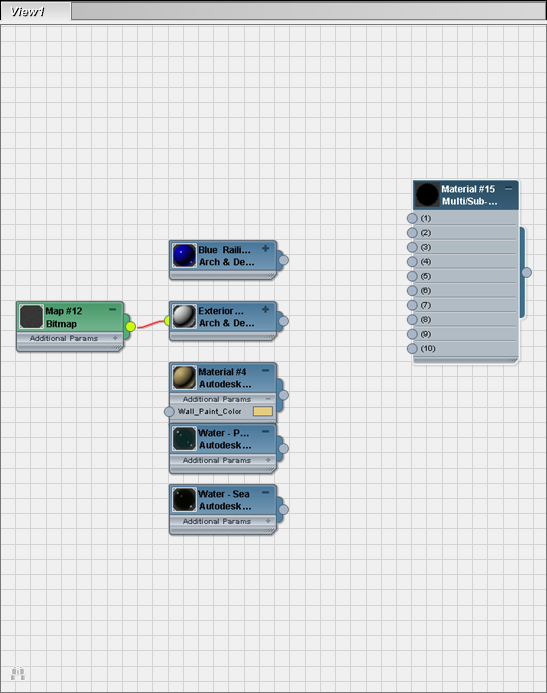
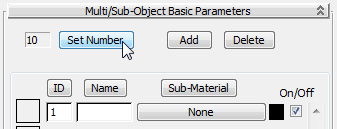
In the small dialog that opens, reduce the number of sub-materials to 5, and then click OK.

Now the rollout shows only five sub-materials, and so does the material node, which now looks more manageable.

For the solid parts of the doors and windows, you can use the same blue material you used for the railings of the deck and the house.
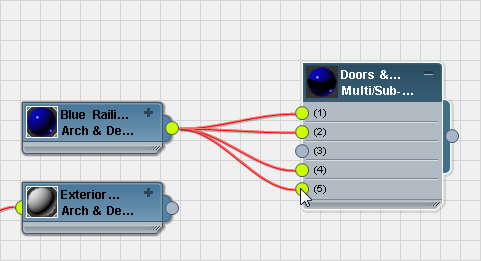
That leaves only ID 3, the inner bevel, which requires glazing.
For the glazed parts of the doors and windows, you need a different sub-material that is transparent.
mental
ray group) into the active View, and wire it to sub-material (3)
of the Doors & Windows material.
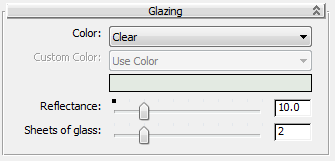
The default color is Clear, which is what we want, so leave these settings unchanged.
Select the doors and windows, and apply the material:
 (Select Objects In Current
Layer).
(Select Objects In Current
Layer).
 (Assign Material To Selection).
This applies the Multi/Sub-Object material to doors and windows: The frames turn blue, while the glazed parts (“inner bevels”) turn transparent.
 (Render Production).
3ds Max Design renders the scene.

Incidentally, in this rendering you can see a small amount of the interior wall paint that you created in the previous lesson.
 open
open