First, you will create a Daylight system. (If the model were linked or imported from Autodesk Revit, a Daylight system would already be present.) Then you will perform a test rendering to check image quality.
 (Open File), navigate to
the \scenes\lighting_and_rendering\lighting_analysis folder,
then open arena_start.max.
(Open File), navigate to
the \scenes\lighting_and_rendering\lighting_analysis folder,
then open arena_start.max.
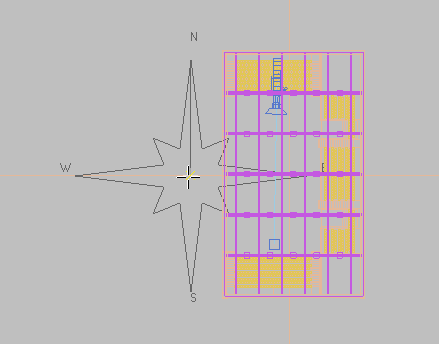
The scene consists of an indoor tennis court. Materials have already been applied to its surfaces.
 Create panel, click
  (Systems). On the Object
Type rollout, click Daylight to turn it on.
(Systems). On the Object
Type rollout, click Daylight to turn it on.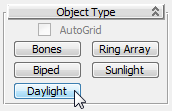
3ds Max Design opens the Daylight System Creation dialog, which recommends an optimum exposure control setting for mental ray.
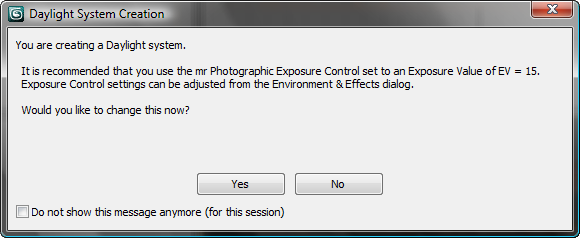
Exposure Control is comparable to the shutter and aperture settings of a camera. It adjusts the brightness and contrast in a rendered image. It does not affect the actual amount of lighting in a scene.
3ds Max Design opens the “mental ray Sky” dialog, asking if you want to add an “mr Physical Sky” environment map for the background of your scene.

 Common
Parameters rollout Background
group, click the Environment Map button and assign the shader yourself.
Common
Parameters rollout Background
group, click the Environment Map button and assign the shader yourself.
To revert to this default
tools settings, from the Customize menu choose Custom UI And Defaults
Switcher, and on the Choose Initial Settings dialog Initial Settings For
Tools Options, choose DesignVIZ.mentalray.
The sky map is cosmetic, and while it will create a nicely shaded background to the scene exterior, it will not affect the interior lighting levels in any way.
 Modify panel, scroll down
to the “mr Sky Advanced Parameters” rollout, and make sure Aerial
Perspective is turned off.
Modify panel, scroll down
to the “mr Sky Advanced Parameters” rollout, and make sure Aerial
Perspective is turned off.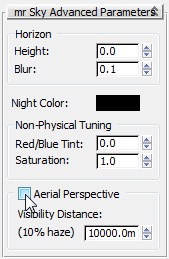
This option, which simulates atmospheric haze and reduces the visibility of distant objects, can interfere with lighting analysis.
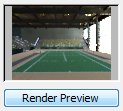
The preview thumbnail takes a moment or two to render. The resulting image is quite dark because the default Exposure Value of 15 is not suitable for an indoor scene.
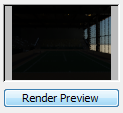
Render preview with Exposure Value set to 15.
Exposure
group Preset
drop-down list, choose Physically Based Lighting, Indoor Daylight.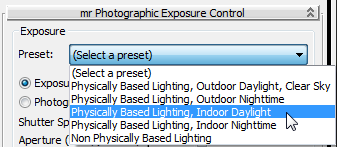
The Exposure Value changes from 15 to 10 and the render preview thumbnail appears somewhat lighter.
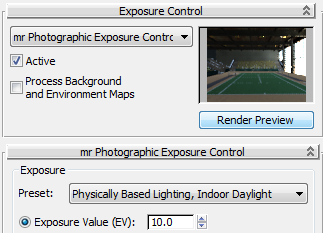
The preview updates to show the effect of the new setting.
Specifying even lower exposure values causes the scene to appear brighter. Now you will enhance the illumination of the scene by using Final Gather to increase light bounces.
 (Rendered Frame Window).
This increases the number of times a ray of light bounces on object surfaces in a scene. Values of 4 through 7 are the most effective. Values under 4 produce less noticeable results, while values over 7 require a great deal of render time, with limited added benefit.
Exposure Control rollout,
click Render Preview again to see how the added bounces have brightened
up the interior of the model.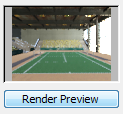

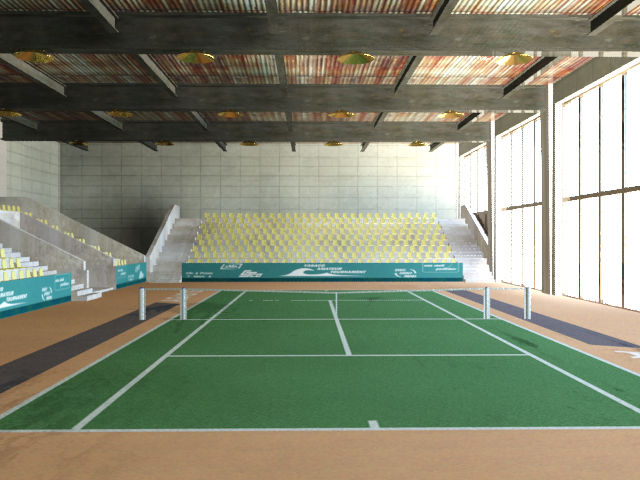
Artifacts present in the scene
The model renders well, but the shadows on the back wall, especially at the left, are too dark. There are also some dark patches on the floor of the court, to the left, that look like shadows but don’t have anything to do with the geometry of the scene.
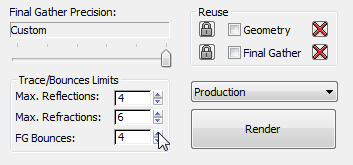
You could improve the render quality by adjusting the Image Precision and Final Gather Precision sliders on the Rendered Frame Window. Each slider position represents a preset group of Final Gather settings. In this lesson, however, you will perform your adjustments manually.
Use custom Final Gather settings to improve the quality of the rendering:
 (Render Setup).
Indirect Illumination
tab Final Gather rollout Basic group, set Initial
FG Point Density to 0.2, Rays Per FG Point to 150,
and Interpolate Over Num FG Points to 50.
(Render Setup).
Indirect Illumination
tab Final Gather rollout Basic group, set Initial
FG Point Density to 0.2, Rays Per FG Point to 150,
and Interpolate Over Num FG Points to 50.
These values will eliminate most of the noise artifacts in the scene while ensuring a reasonably fast calculation time.
To learn more about Final Gather and each of its settings, refer to the 3ds Max Design Help.
 clone of the rendered image,
then render the scene again.
clone of the rendered image,
then render the scene again.
This time, your image will take two to three times as long to render.
Some artifacts remain, but the overall image is much improved.
Artifacts reduced after adjustments made to Final Gather
 Close the Rendered Frame
Windows and all other dialogs.
Close the Rendered Frame
Windows and all other dialogs.


