In the previous lessons, you used photometric lights to illuminate the foreground of your mediterranean night scene. In this lesson, you will complete the picture by changing the color of the sea and using a bitmap image of a sky as a backdrop.
First, you will change the sea to a more realistic color.
 (Rendered Frame Window)
to display the rendered frame.
(Rendered Frame Window)
to display the rendered frame.
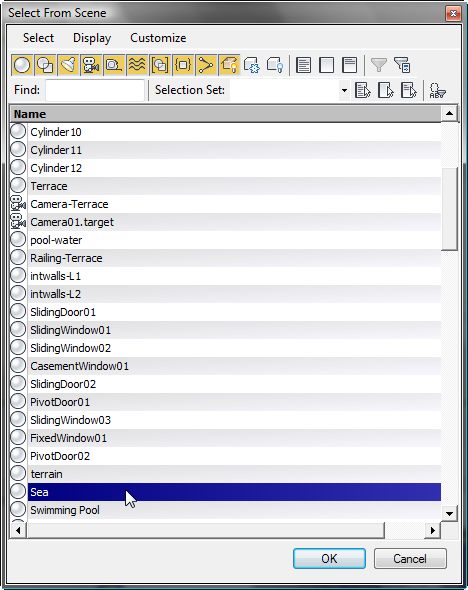
 Area To Render drop-down
list choose Selected, then click the Render button.
Area To Render drop-down
list choose Selected, then click the Render button.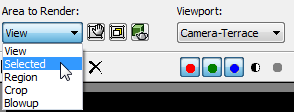
This rendering takes some time, so feel free to cancel the rendering once you get an idea of the result.
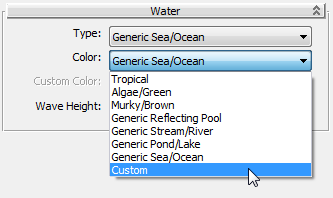
The color of the sea water is suitable for a day scene but not for nighttime.

 Slate Material Editor.
3ds Max Design opens the Material/Map Browser.

Standard group.)
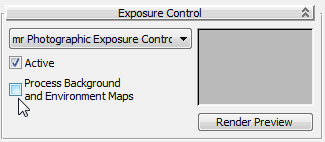
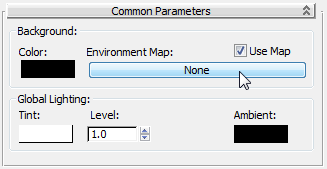
When this option is turned on, 3ds Max Design applies the exposure control to the background map itself. For most bitmaps (those that don’t save a high dynamic range), in effect this makes the background and other environment maps invisible.
 Render the Camera01 viewport.
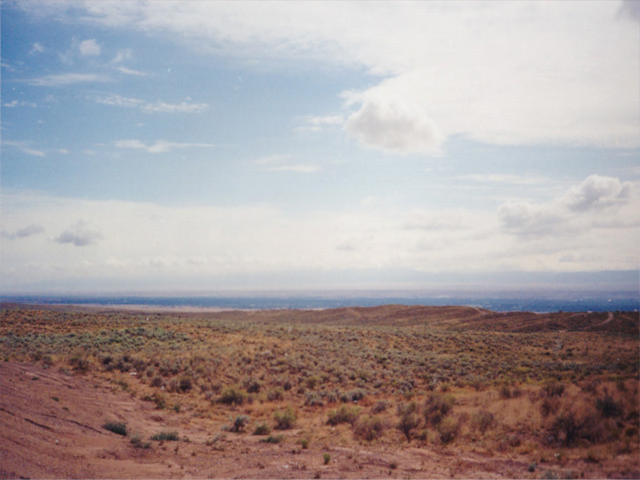
With all objects hidden, 3ds Max Design has rendered only the background image. It is apparent that you will need to make the image darker so it suits the nighttime scene.
Slate Material Editor.
3ds Max Design asks if this should be an instance or a copy. Make sure Instance is selected, and then click OK.
 Close the Environment And
Effects dialog.
Close the Environment And
Effects dialog.
Once again, 3ds Max Design asks if this should be an instance or a copy. Make sure Instance is selected, and then click OK.
Render the Camera01 viewport
again.
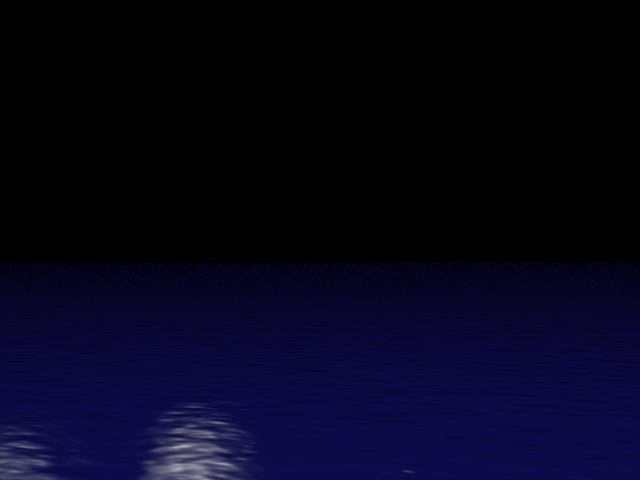
The result is a heavily underexposed image, resembling a night sky: a digital version of filming “day for night.”
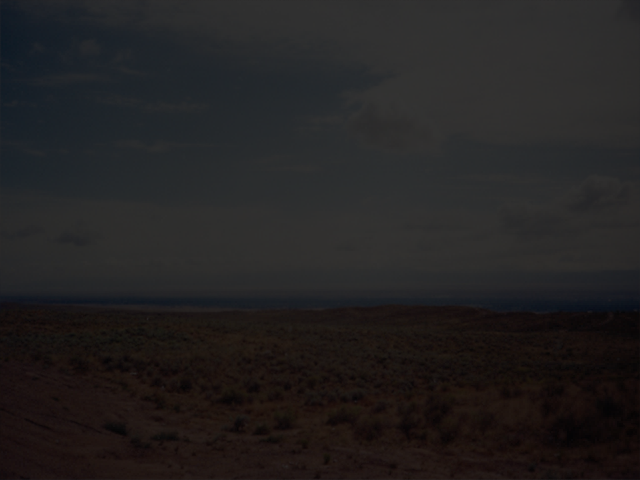
Background bitmap heavily underexposed to suit night scene
Close the Slate Material
Editor.
Render the scene to see the background changes:
render the Camera-Terrace
viewport.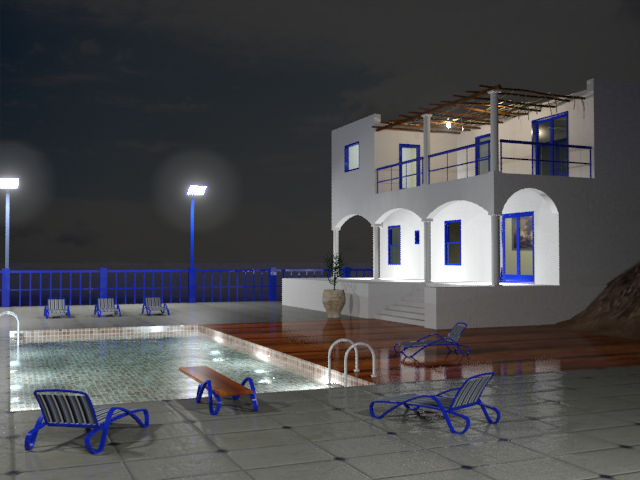
The darker ocean is more realistic, and the background of a cloudy sky gives depth to the scene.
This completes the rendering
of the villa at night. If you wanted to further reduce the amount
of antialiasing in the rendering, you could move the Rendered Frame
Window Image
Precision and Final Gather Precision sliders one notch to the right.
However, increasing these settings greatly increases the rendering time.
In this tutorial, you learned how to use photometric lights to illuminate a scene at night. You specified the color of light sources and defined how shadows were cast. You used self-illumination and a Glare shader to improve the appearance of light sources. You also learned how to take a background image and reduce its output level to make suitable for a nighttime scene.


 open the scene file